|
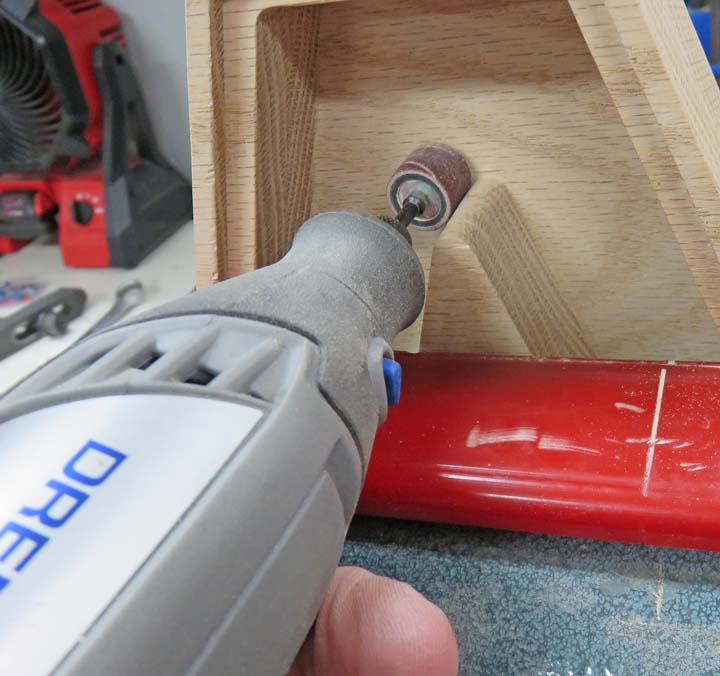
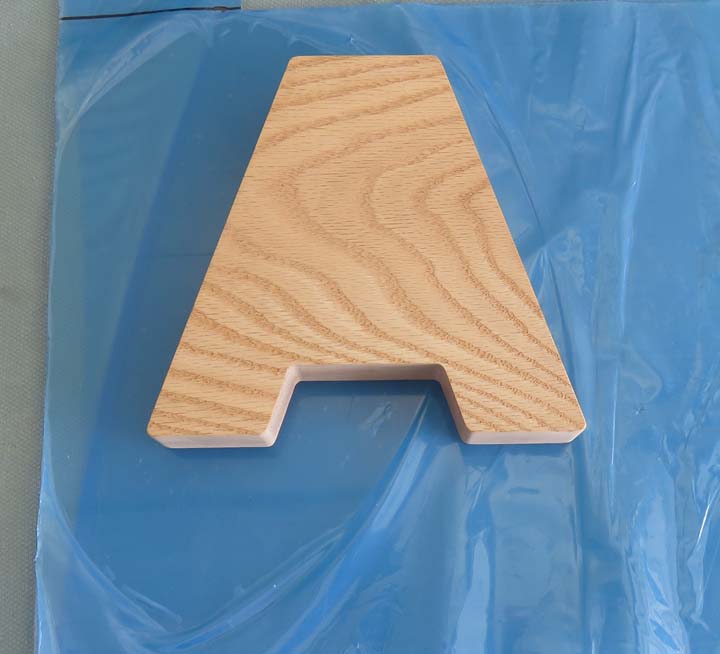
My Dremel made short work out of all those corners and now I have nice
rounded edges on all of them. Using a sanding drum with some coarse
grit worked great for this. However, the length of the shank on my
sanding drum was almost to short to reach the bottom. I was holding on
to the very end of it and I wondered if it was going to get away from
me. Fortunately it stayed where it needed to be and everything went
great.
|
|
 |
|
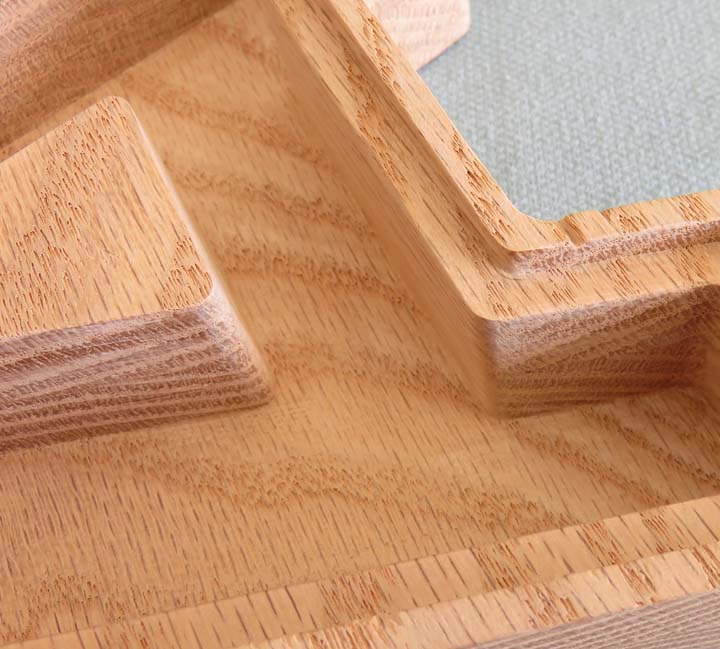
Here are some of the other edges that I sanded as
well. Once I had them all roughed in with the Dremel, I sanded each one
by hand with finer paper.
|
|
 |
|
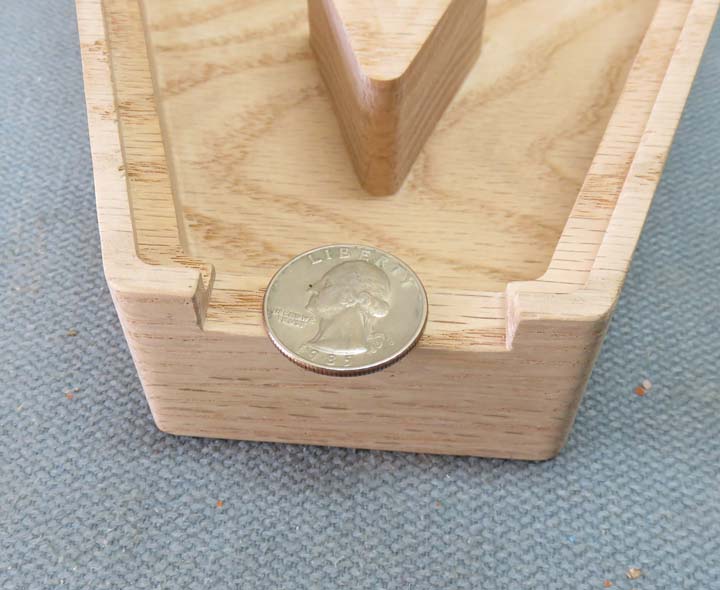
Here is how Audrey will put her coins into the bank. I
milled a slot in the top that should be enough clearance to slide in a
silver dollar.
|
|
 |
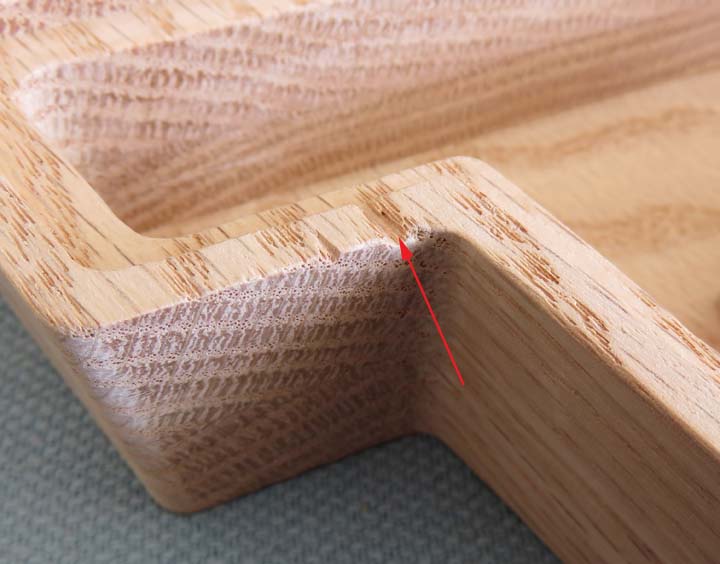
The one thing I found out about this species of wood is that it
chips very easily. This happened while milling the recess which I didn't
know about until I blew off all the wood chips. I should have used
something else in place of oak, like hard maple or black walnut for this
project. Live and learn...
|
|
 |
|
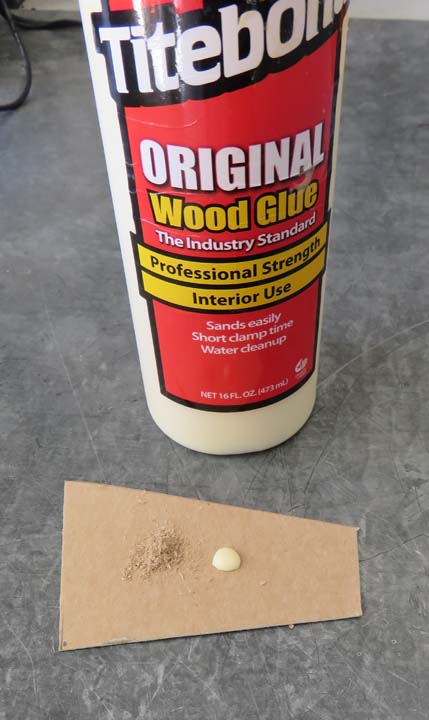
I gathered some of the sawdust (wood chips) from the ground and decided
to add some glue making a paste. I applied the paste to the chipped area
and let it dry over night.
Well....this didn't work out like I planned. The paste dried much
darker than the wood, leaving what looks like the color of a knot. I
wasn't happy with it so I removed the paste mix with a file and tried it
again. This time I used my workbench as my mixing place, eliminating the
cardboard from the first time, thinking that it darkened it somehow. The
second one came out just like the first one so now I'm left with a weird
spot and don't know what to do. Let's put it this way, I didn't want to
take a picture of it but I'll show you later.
|
|
 |
|
The next step is to make the clear plastic piece that
will fit inside the recessed area. This plastic piece will get screwed
into place when
finished.
|
|
 |
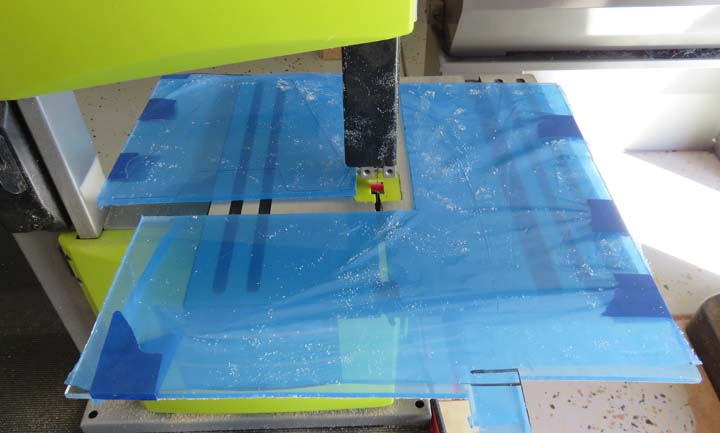
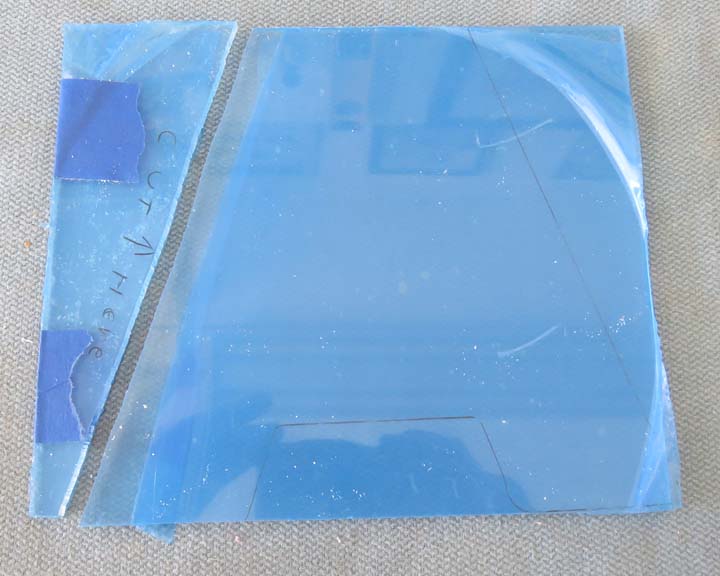
I had this piece of plastic leftover from the
computer case that I made
back in 2002. This material is made out of Plexiglas and is much easier
to work with than polycarbonate. Polycarbonate is brittle and cracks
easily whereas poly is softer and is much more forgiving. Here I'm using
my bandsaw to cut a section out which went fast.
|
|
 |
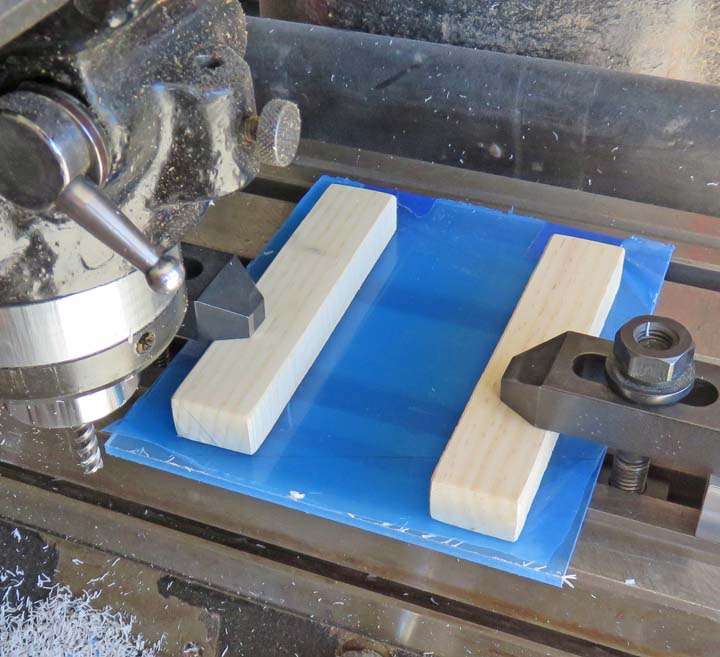
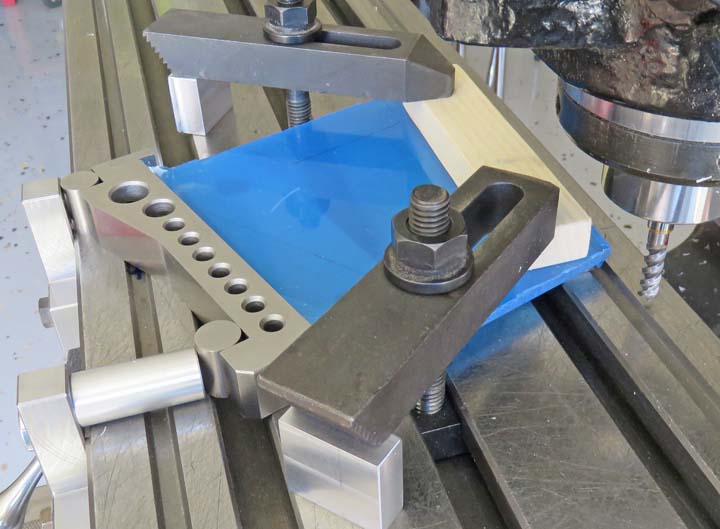
The next step is to square the plastic so I can repeat the process here
that I went through with the wood. I have the plastic raised by 1/4",
the thickness of some parallels so I can cut along the edge without
hitting the mill table.
|
|
 |
|
I laid out some lines and cut one side only, just like
the wooden piece.
|
|
 |
|
And again I'm using my sine bar to get the 19 degree
angle needed. Once I had the first side cleaned up, I changed the sine
bar setup to do the 38 degree side.
|
|
 |
|
1
2
3
4
5 |