|
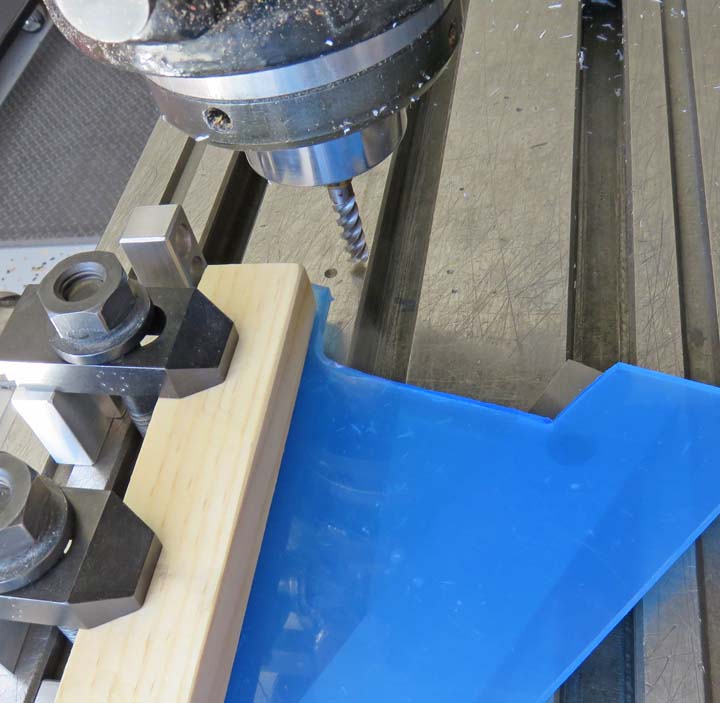
Once I had the angled sides finished, I saw cut this
small section out with my bandsaw.
|
|
 |
|
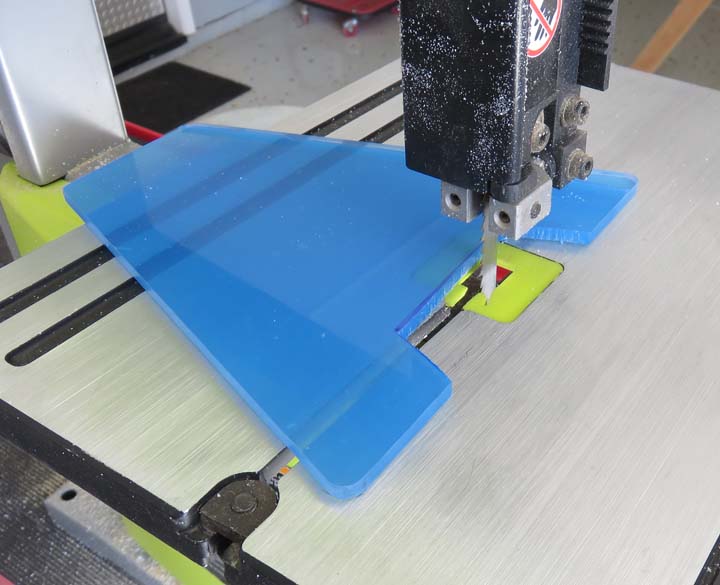
All of the steps to machine the plastic is just like
when I did the cut wood, except the plastic is smaller.
|
|
 |
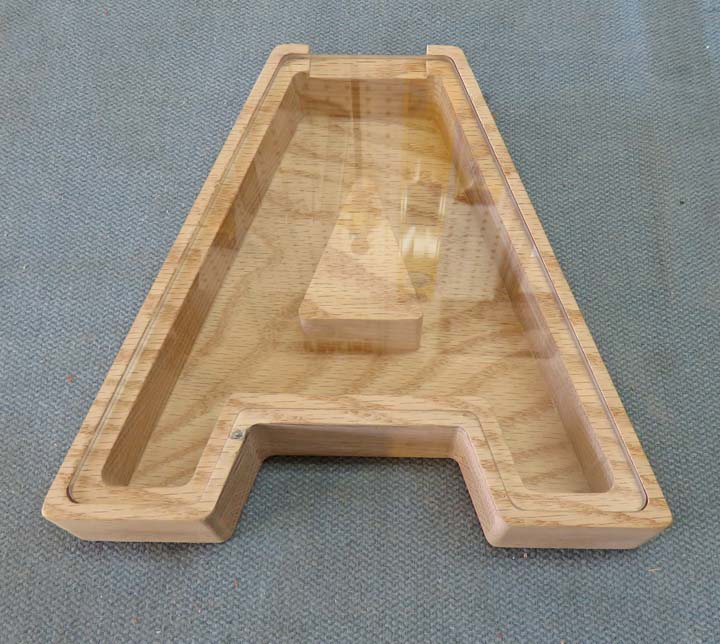
After some hand sanding and fine tuning the plastic fits pretty good.
All the corners were done with a sanding block and then finished with a
fine grit by hand as well. Also notice the chipped area near the bottom
that I filled in earlier. I don't like this look but I'm not sure what
to do about it. I guess I could say it's a knot in the wood...but it's
not (no pun intended).
|
|
 |
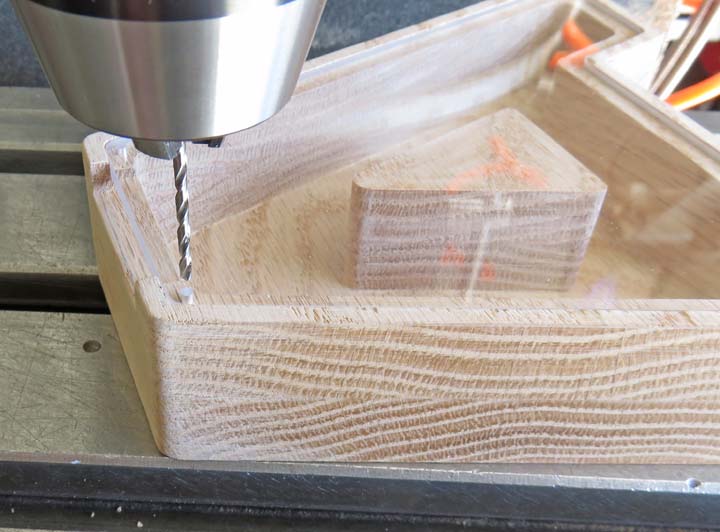
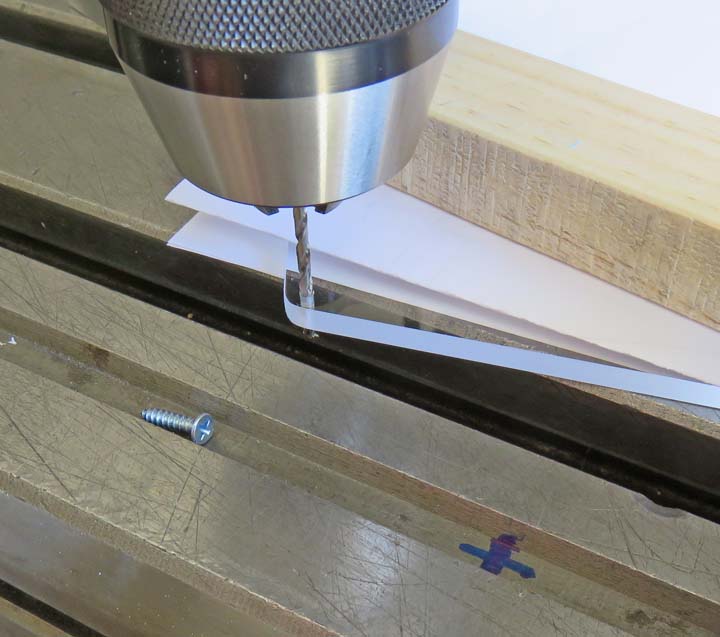
I'll be adding four small screws to hold the plastic on with. The screw
size is #4 and after measuring the pitch of the thread, I'm drilling a
pilot hole for them through the plastic and into the wood. This way I
know the holes will line up later.
|
|
 |
What I'm doing here is finding the pilot hole location in the plastic
using the same drill as above. Once the drill is in this position, I
clamp the plastic down and then change drills to put clearance holes for
the screws.
|
|
 |
|
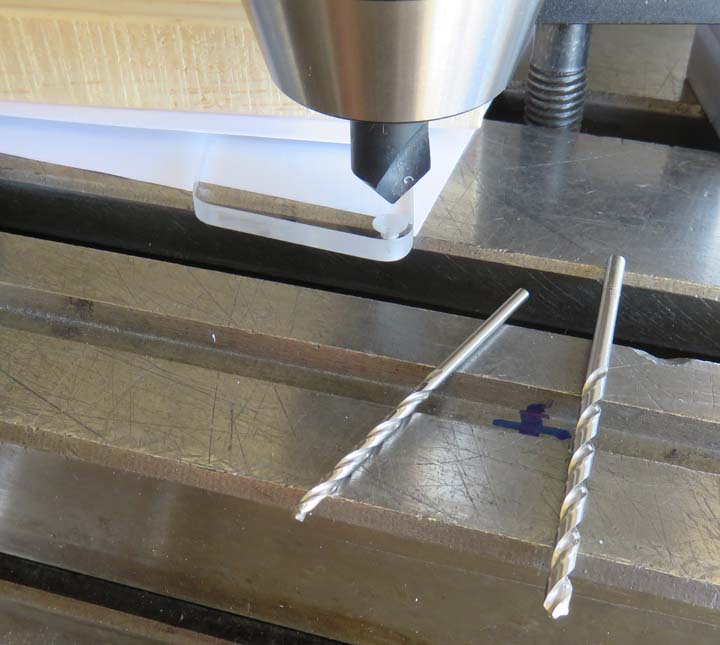
After the holes have been drill for the screws, I find
the location once again with the clearance drill and repeat the process
for the countersink.
|
|
 |
|
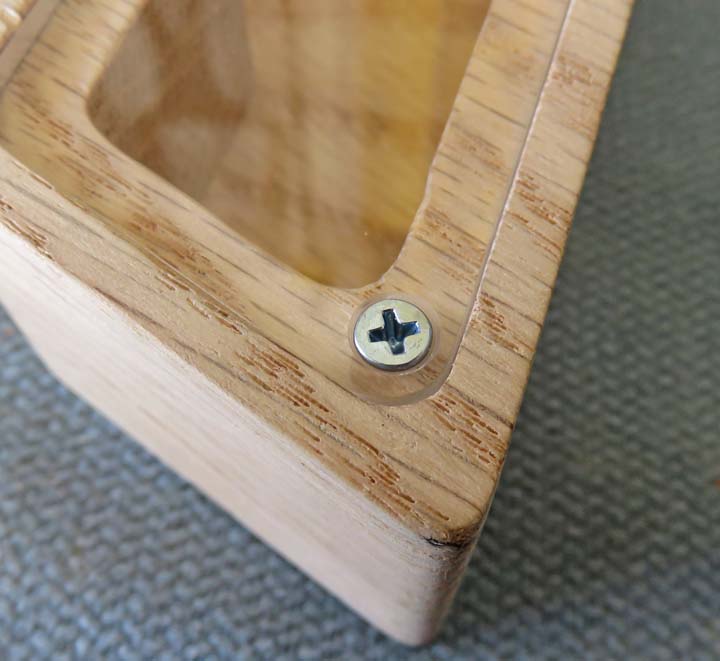
There we go, all the screws are in place and below the
surface of the plastic.
|
|
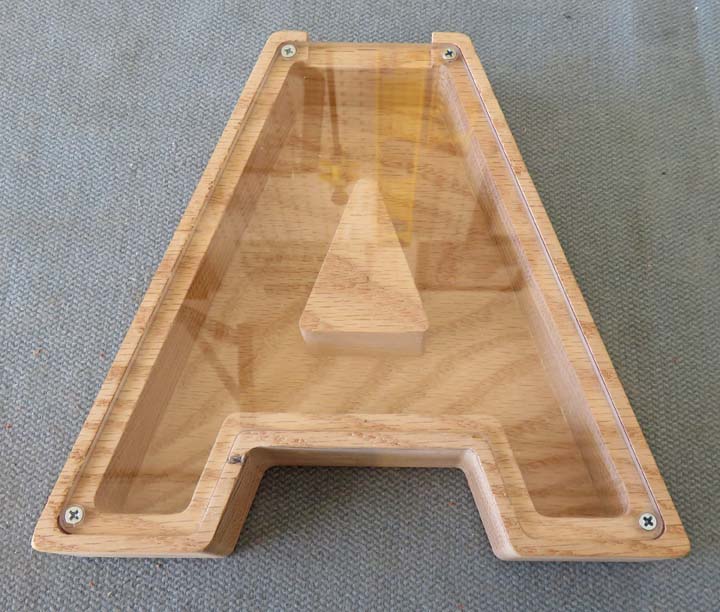 |
It might be hard to see here but the plastic is slightly below the wood
surface just in case someone were to tip it over. And the plastic
is protected from being scratched if you were to slide it, but not if it
fell on something.
|
|
 |
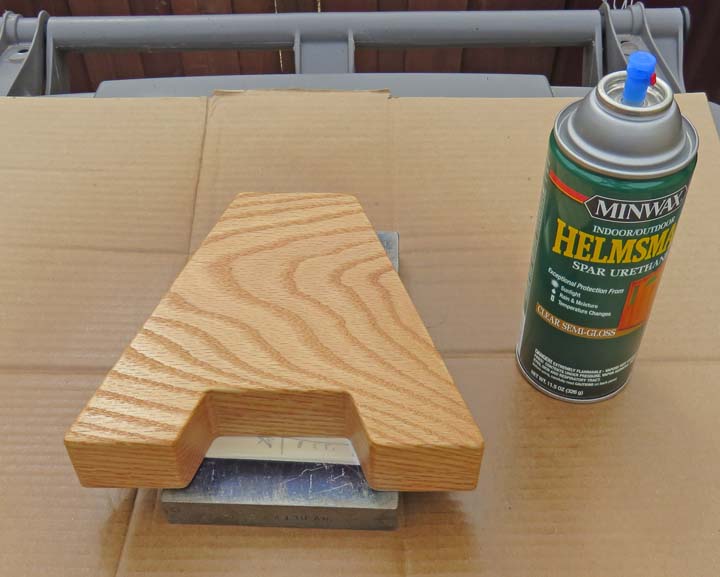
I applied four coats of semi-gloss to all the surfaces, including the
area where the clear plastic sets. Then I let it dry for a week and sure
enough the plastic didn't fit. No big deal, I just sanded the high spots
from the wood and then sanded the plastic until it fit. It was an easy
fix and went quick.
|
|
 |
|
1
2
3
4
5 |