|
My daughter Angela and her husband Matt have a new addition to their
home, a daughter named Audrey. Audrey's birthday is at the end of May and to
celebrate her big day, I'll be making a present for her. This gift will
be a bank that you can drop coins or paper money into and will be made out of oak.
The bank will be unique to Audrey's name because I'll be making it in
the shape of the letter 'A' to represent her first initial. She will
also be able to see everything inside it because I plan on covering the
front with clear plastic. However, I believe mom and dad
will be doing most of the saving for the first few months.
|
|
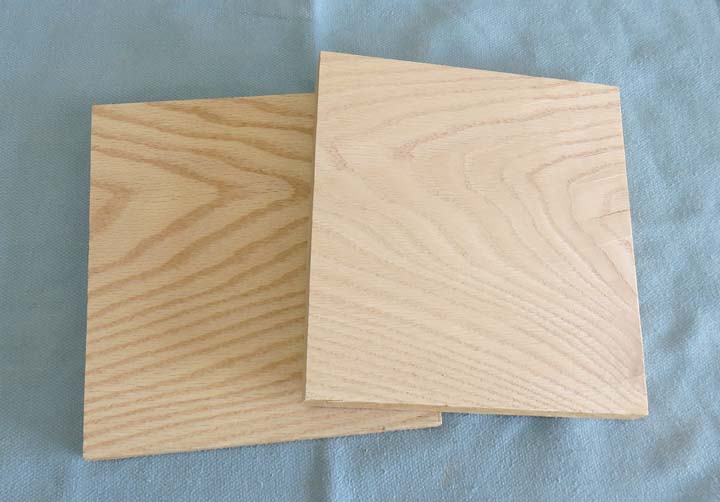 |
The first thing I did was sand both sides and
then glued them together. The size of the wood pieces below are 7" X 8"
but that will change slightly later.
|
|
 |
|
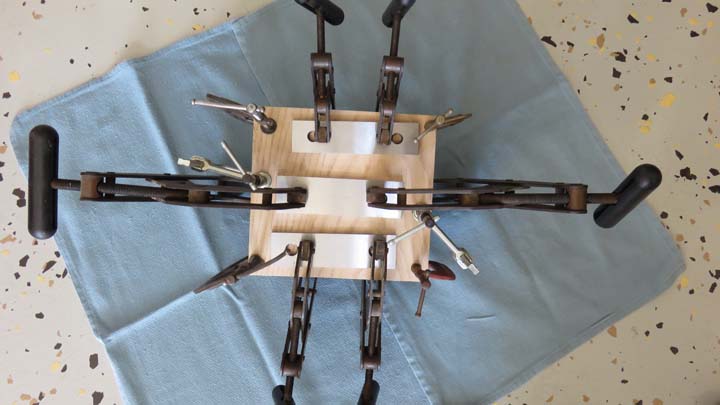
After the glue was dry I squared the four outside
surfaces of the wooden block, which is 1 1/2" thick. This was an easy task and it went quickly.
|
|
 |
|
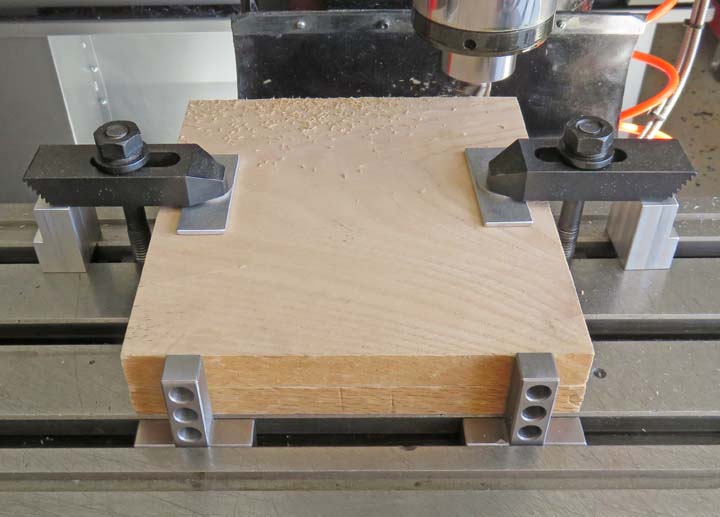
Next it was time to surface the top and bottom to make
sure everything is flat and parallel. If you look close you can see wood
chips flying from the cutter.
|
|
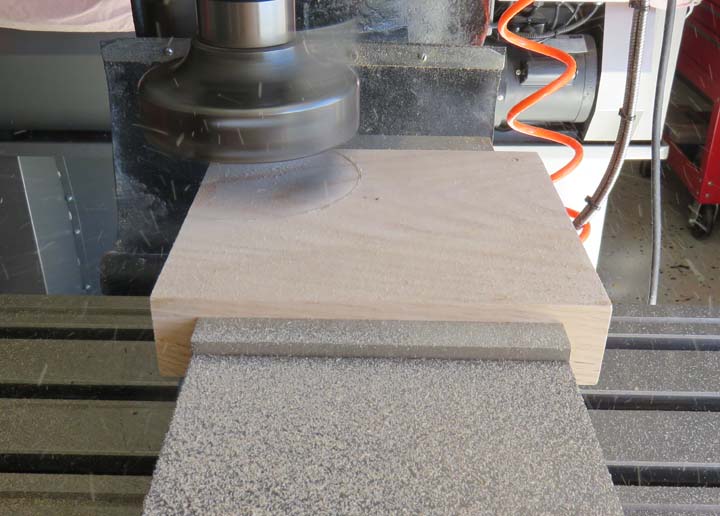 |
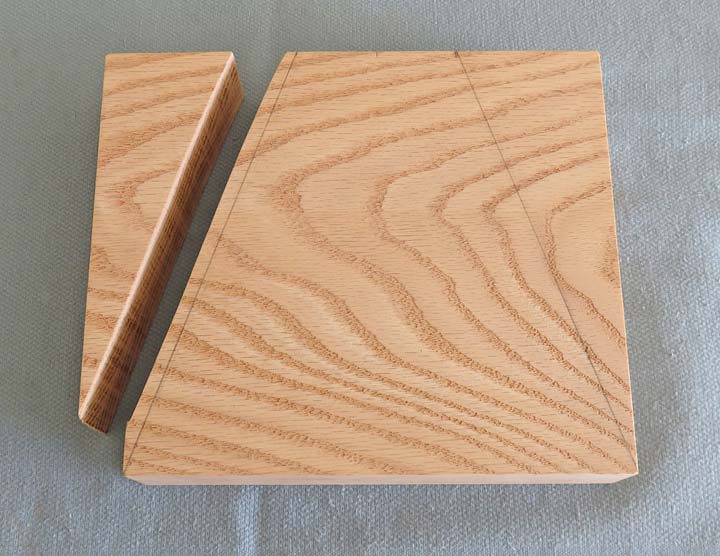
I laid out some lines to give me an idea where I needed to make my first
saw cut. Notice I only cut one side here. The reason for this is
because the angles for the A shape will be 19 degrees each (38 degrees
included). If I saw cut both sides now, I'd have a problem because those
saw cut surfaces would end up having who knows what angle with the rough
cut edge. This way I'll use the opposite side that I squared earlier to work from so I end up
with the correct angle.
|
|
 |
|
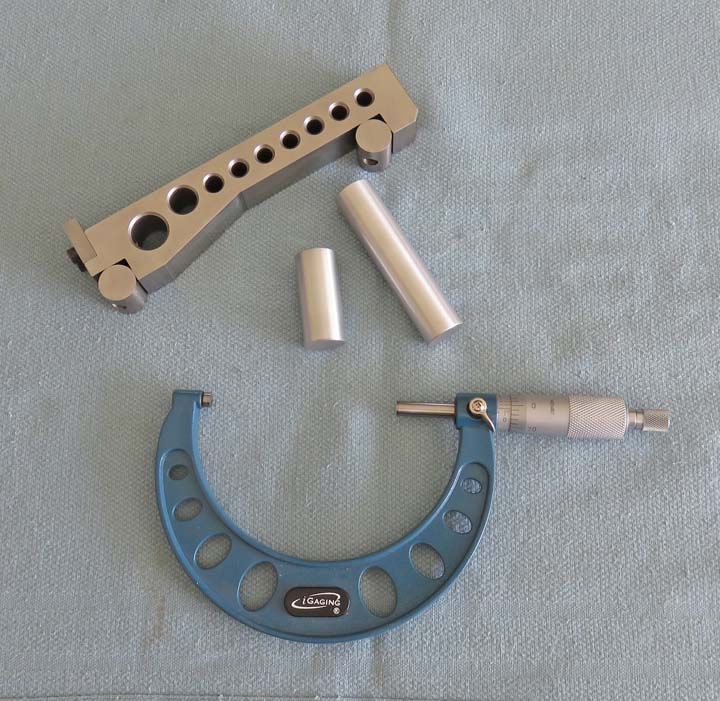
To make sure my angle is exactly 19 degrees, I'll be using a sine bar. A
sine bar is used to for setting up a precise angle, which makes things
much easier than making some kind of tooling in this case. The sine bar that you see
below is something I made back in the 80's and I've used it many times
over the years.
See the two round pieces attached to it? Those are called 'rolls' and
they are exactly five inches apart. What you do is find the angle that
you want, (in my case is 19 degrees) and then you find the 'sine' of
that angle. Yes I know this is Trigonometry but anyone can do this with
a scientific calculator or by using the internet. This works out to be
.3255 of an inch (Google it).
Now all you do is multiply that number times the length of your sine
bar. So .3255 (sine of 19 degrees) X 5.000 (sine bar length) = 1.6278".
Knowing this number I made a piece out of aluminum that was 1.627 long
(disregarding the forth decimal place), which will be used for my first
side of the bank. And then I did the same thing for the larger angle of
38 degrees (19 X 2 = 38) so the sine of 38 degrees = .6156 X 5.000 =
3.078. Making these pieces on my lathe only takes a few minutes and is
much easier than trying to find odds and ends that make up those exact
lengths.
|
|
 |
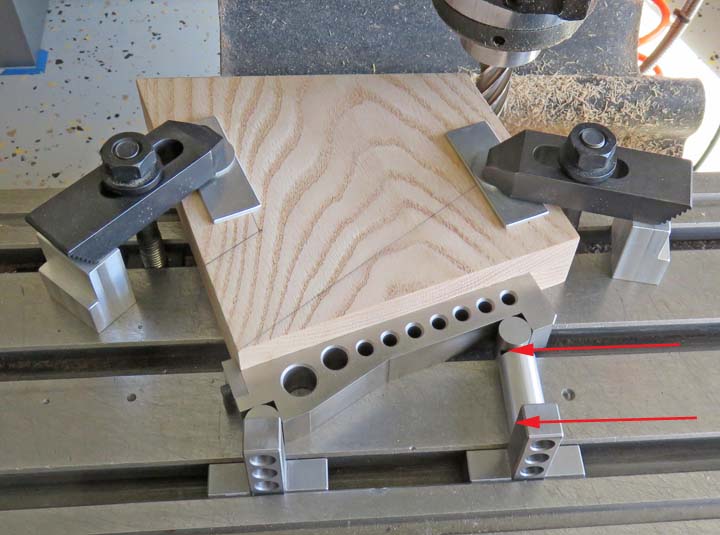
Here you can see the sine bar resting against my mill stops along with
the shorter aluminum piece that represents 19 degrees between them
(arrows). Once you have that in place, you put your work piece against
the sine bar and clamp it down. Now I'm ready to cut the first side of
the 'A' on the opposite side.
|
|
 |
|
After cutting the first side, it's time to cut the other side now. As
you can see I'm using the longer 39 degree length for this one (arrows).
This worked out really well and went pretty quick too. But the best part
is that I know those angles are exactly what I want.
While I was cutting the second side, I needed to make sure I hit a
certain dimension. I wanted the base of the bank to be 7.500" exactly.
And to do that I used my large 12" calipers to make sure it was right.
Yes I know...using machinist calipers on wood? I do it all the time
because using a scale (ruler) or tap measure just won't be close enough
for me.
|
|
 |
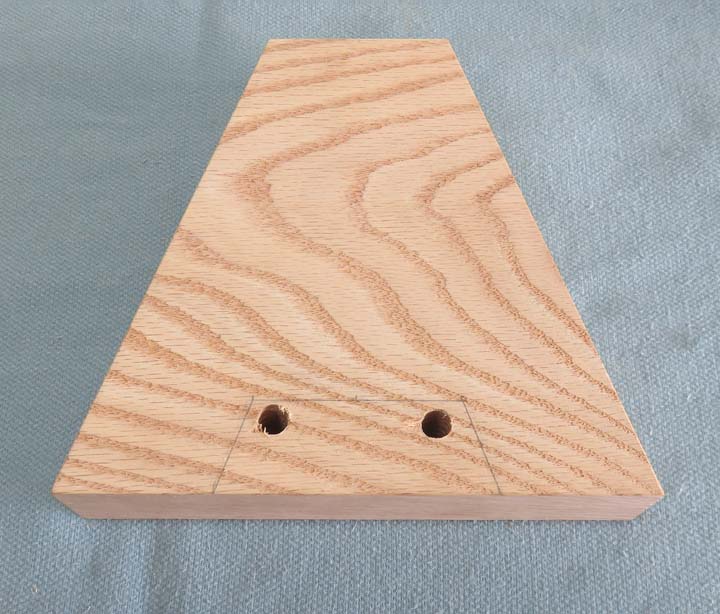
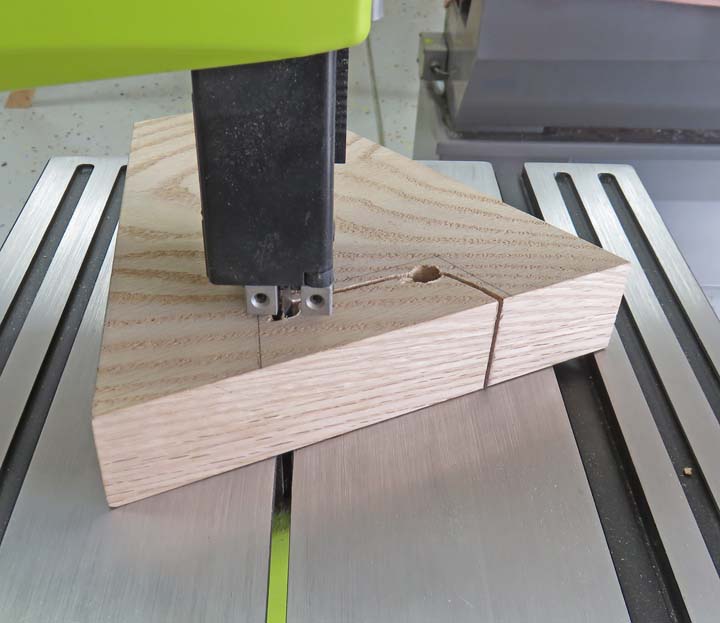
Now that the base is 7.500" wide and the height is 7.000" tall, next
I'll be cutting out the bottom section of the A. Using my layout lines,
I drilled two holes through and used my bandsaw to rough this area
out.
|
|
 |
|
The holes were used so I could turn my work piece as I
was saw cutting. As long as I didn't go past my line I knew I'd be good
to go.
|
|
 |
|
1
2
3
4
5 |