|
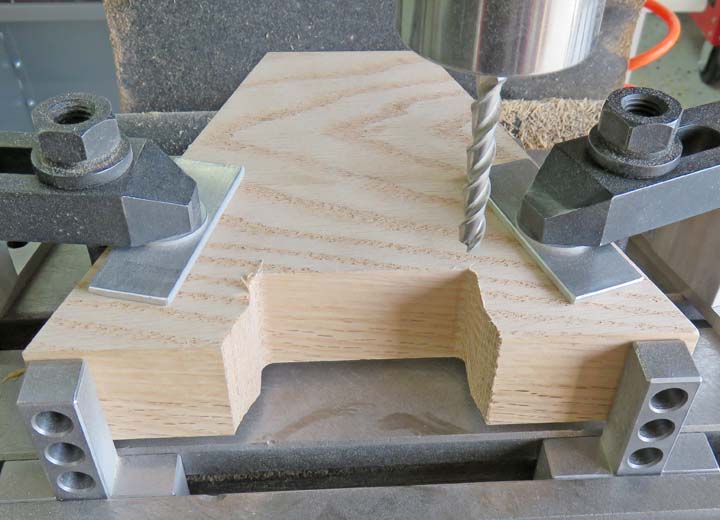
I'm using my mill stops for this operation again because the section
that I'm getting ready to cut is parallel to the bottom surface. This
makes for a fast setup and is very accurate. What I needed to do is cut
this section of the A shape to an uncommon number of 2.682" in length.
If
you're wondering why such a weird number, I drew the bank in my CAD
system and after drawing everything, that's the number I ended up with.
No big deal because it's not any harder to hit this number than any
other number. The trick is to make sure I keep the 2.682 length centered
within my work piece. The cutter size is 3/8" diameter.
|
|
 |
Now that I have that 2.682 dimension done, it's time to
machine both of the shorter sides. These two short lengths are parallel
to the outside surfaces, respectively, which makes for another easy
setup (two setups, one for each side). However, both of these need to tangent
(meet) correctly into the previous one that I just cut
so I need to be careful.
|
|
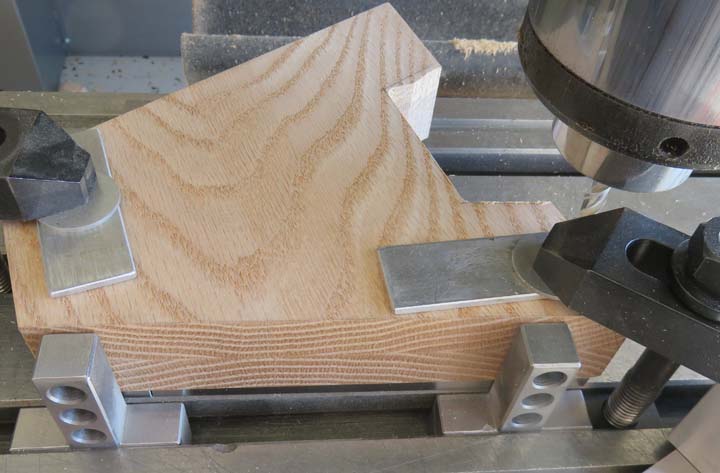 |
Here you can see one side is finished and how it runs parallel to it's
outside surface that I'm locating from. Next I'll turn my work piece
around and do the opposite side the same way.
|
|
 |
|
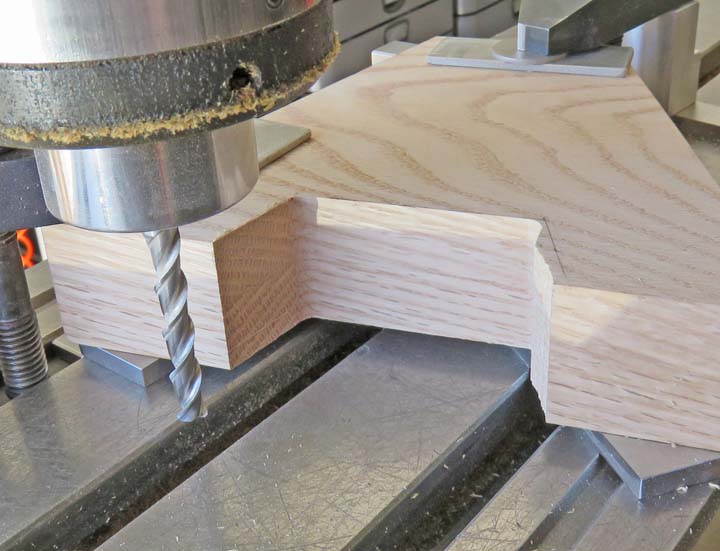
Here is the periphery all finished, except
for the sanding. I'll be putting a radius on all the outer edges soon.
|
|
 |
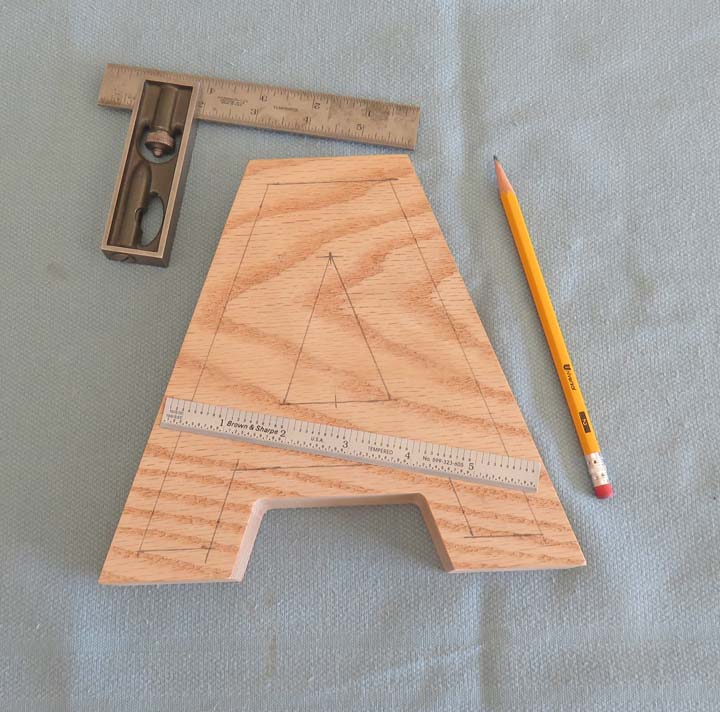
What I'm doing here is laying out some lines for the interior of the
bank. And with these lines you should be able to see what my vision is.
Once I machine away all that material, this will leave room for some
coins.
|
|
 |
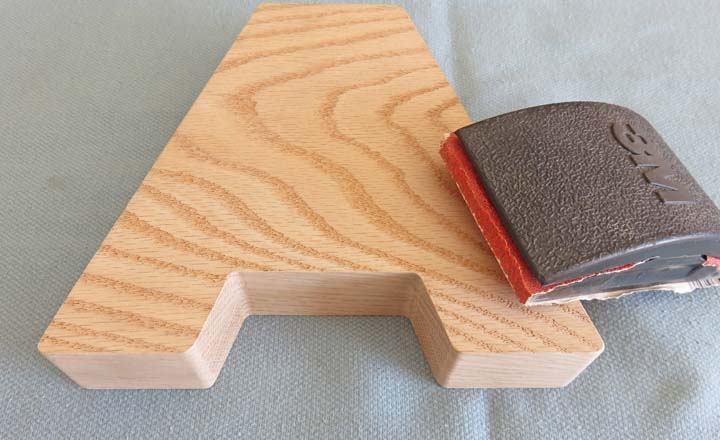
At this point I went ahead and rounded all the outer edges with a
sanding block. This went quick and was easy. The radius that set the
size for all of them was the 3/8" end mill that I used a few steps
earlier. The radius for that cutter is 3/16 (radius = half of the
diameter) so I sanded all the corners to match that size.
|
|
 |
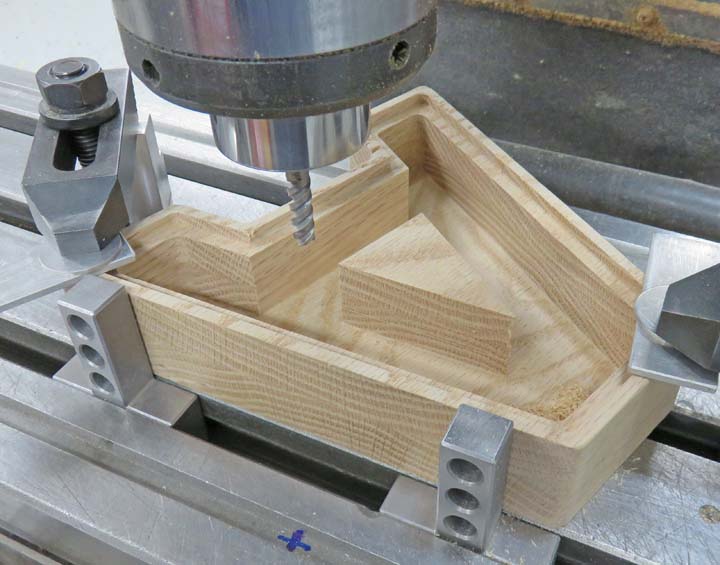
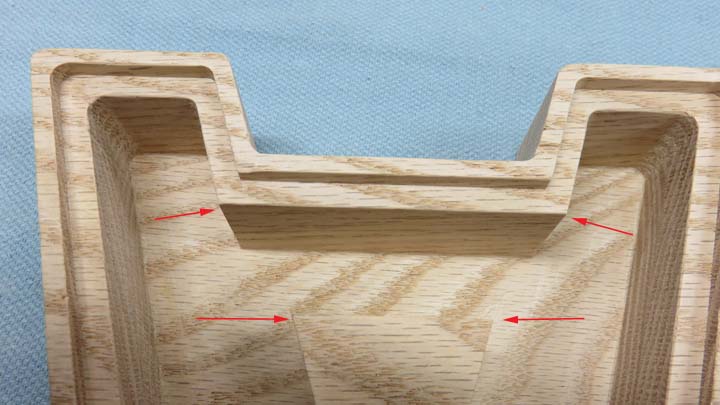
I'm finishing the inside of the bank here. All of the walls run parallel
to the outer surfaces, again making for an easy setup using my mill
stops. The recess that you see around the perimeter is for the clear
plastic and is 3/16" deep. And yes the triangle area in the center is
the same depth as the recess.
|
|
 |
|
All that remains now is to sand the inside surfaces to
get rid of those sharp edges. The depth of the pocket (or money area) is
1.150 deep making the wall thickness at the bottom (or back) about the
3/16" thick.
|
|
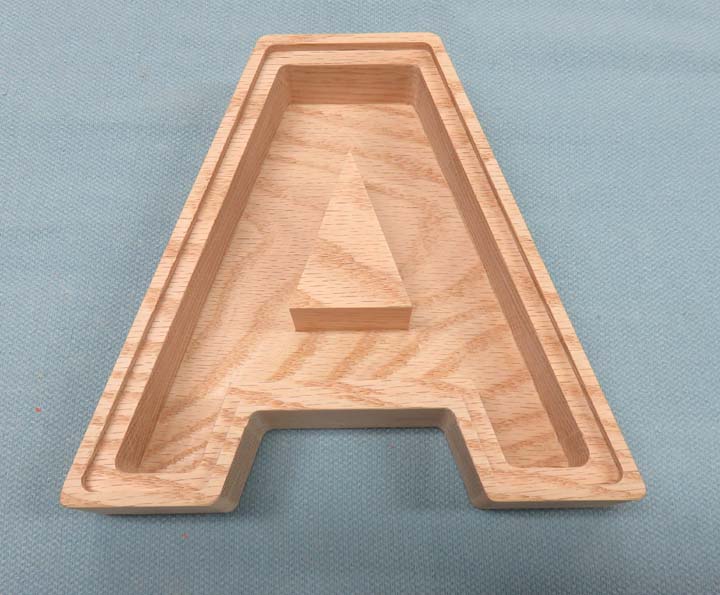 |
Doing this kind of work on a conventional milling machine (like I have)
can be a challenge because there are a lot of corners that need to
tangent out just right. I don't do this kind of work very often, which
makes it fun when I do. The wall thickness for all of the sides are 7/16"
and the recessed wall thickness near the top is 3/16".
|
|
 |
|
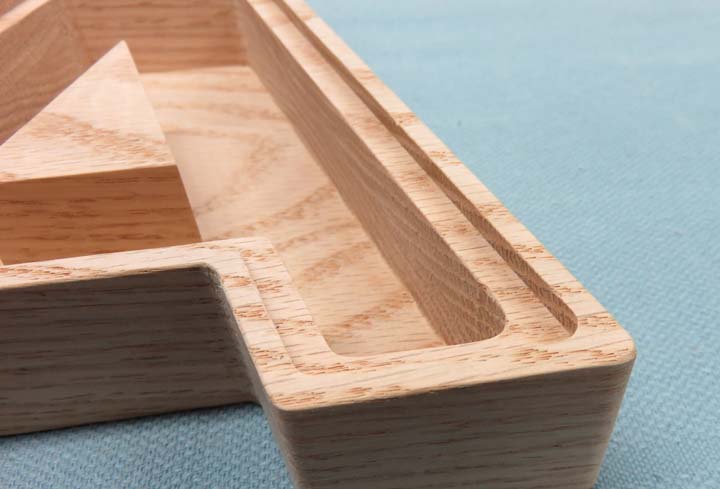
Next I'll be sanding a radius on all those sharp
corners but my sanding block won't work here. Time for something else.
|
|
 |
|
1
2
3
4
5 |