|
Making Some Tooling Continued
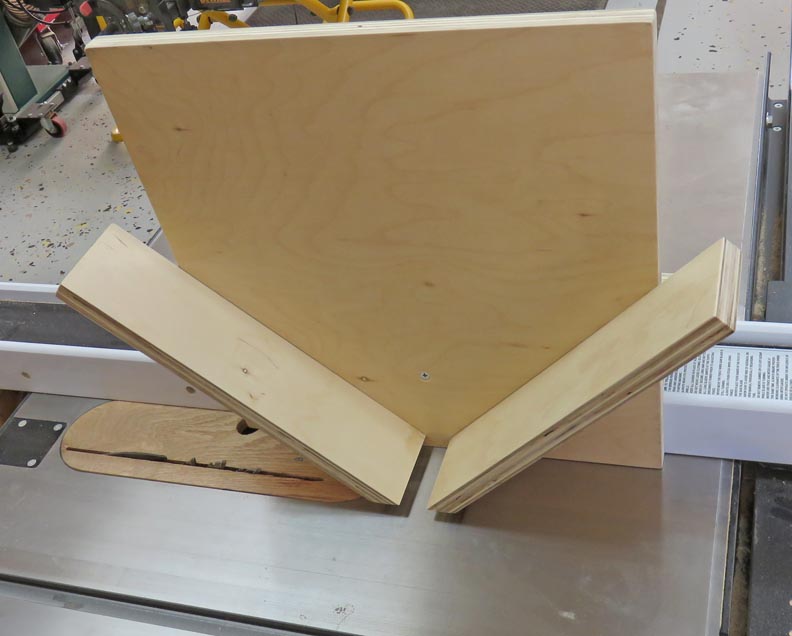
I drilled some clearance holes in the larger piece and
screwed the cradle pieces 90 degrees from one another. This will
accommodate my 3" wide frame and will work with just about anything else
I make in the future.
|
|
 |
The jig slides perfectly along my fence
which was critical. Now it's almost time to test it.
|
|
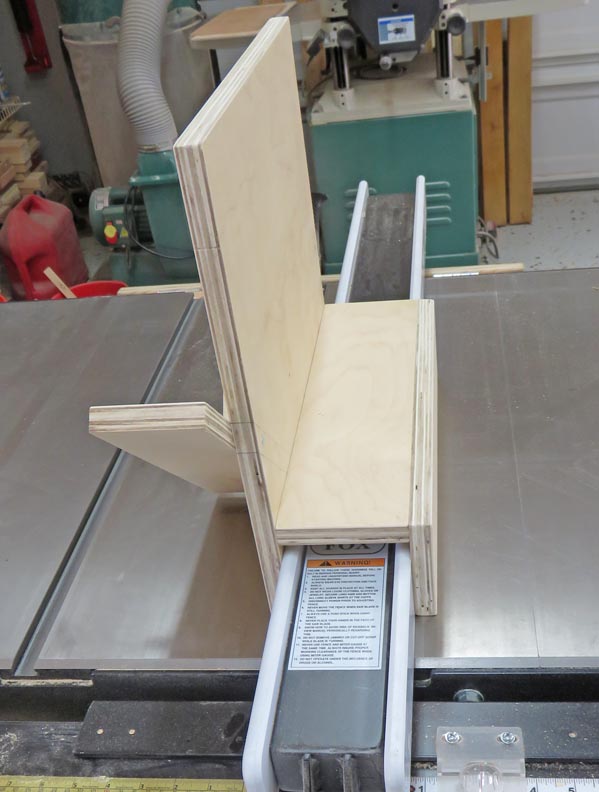 |
I placed the cradle about 3/4" above the table so I could see the saw
blade while setting up for a cut.
|
|
 |
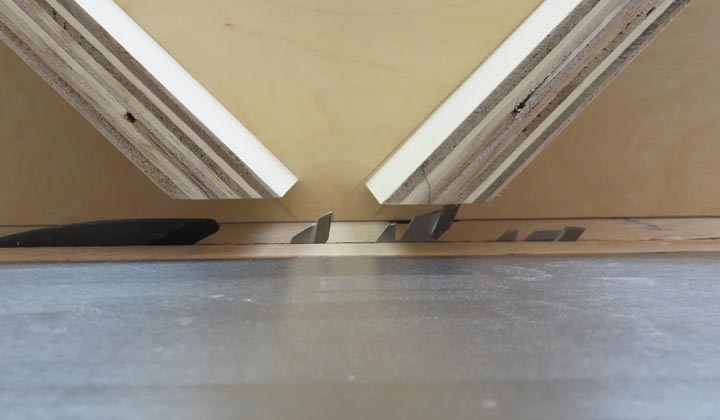
This also makes it easy to see how deep my cut is while setting up as
well. This jig didn't take long to make and was easy to do. And now you
can see the mitered ends that I talked about on the previous page.
|
|
 |
|
Working With Wood Again
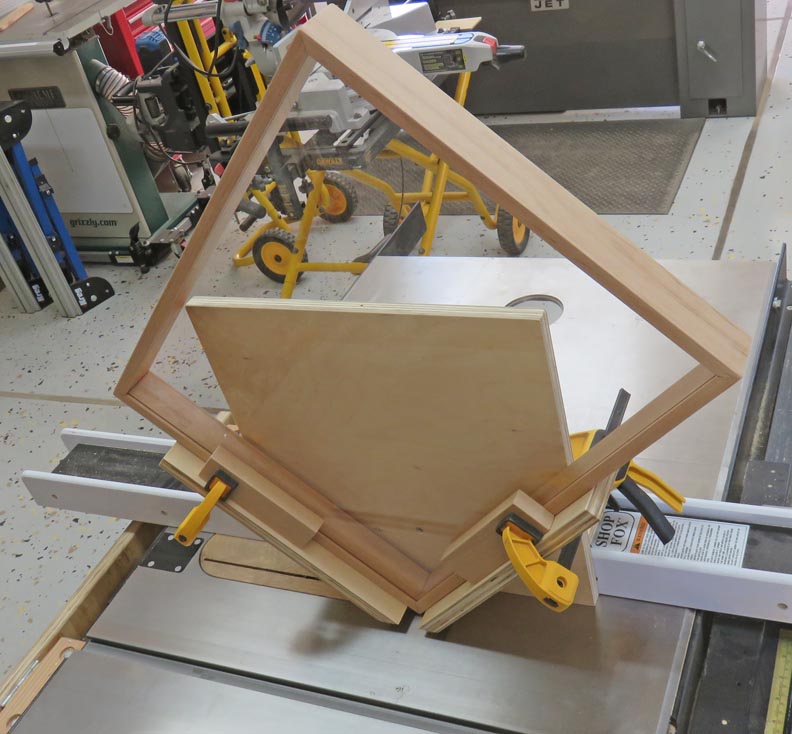
I made a couple of clamp blocks to work with different sizes of
frames. With the use of some squeeze clamps, I'm ready to cut some
slots.
|
|
 |
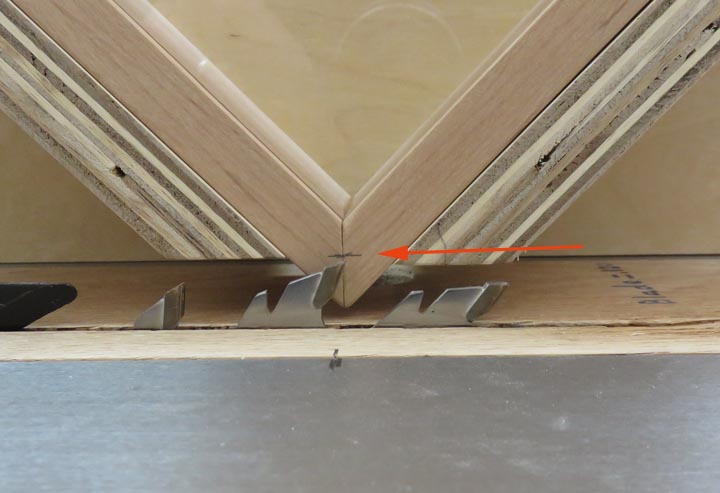
I placed a layout line on my frame, which is how deep I wanted my slot to
be (arrow). Then I raised my blade to that height, making sure to keep the frame in the
center of my blade (pencil mark in the foreground on my blade insert).
|
|
 |
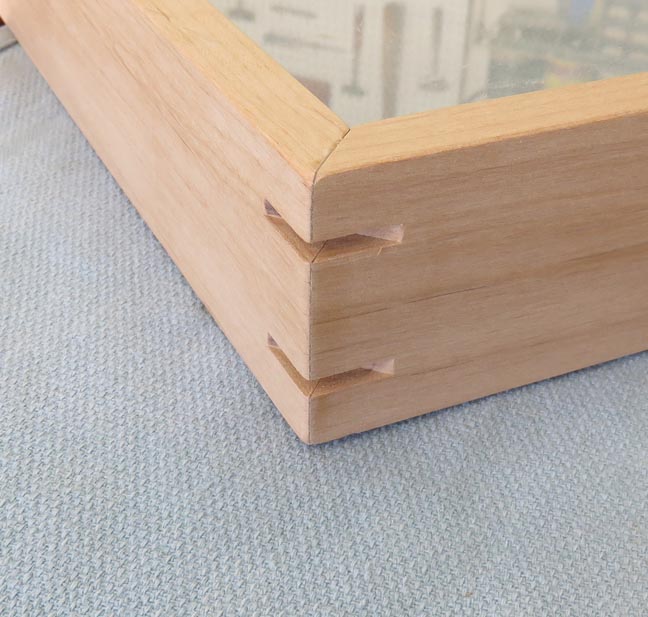
I placed the center of each slot a 1/2" from each edge. This will add a
bunch of strength along with a nice look with some contrasting wood.
|
|
 |
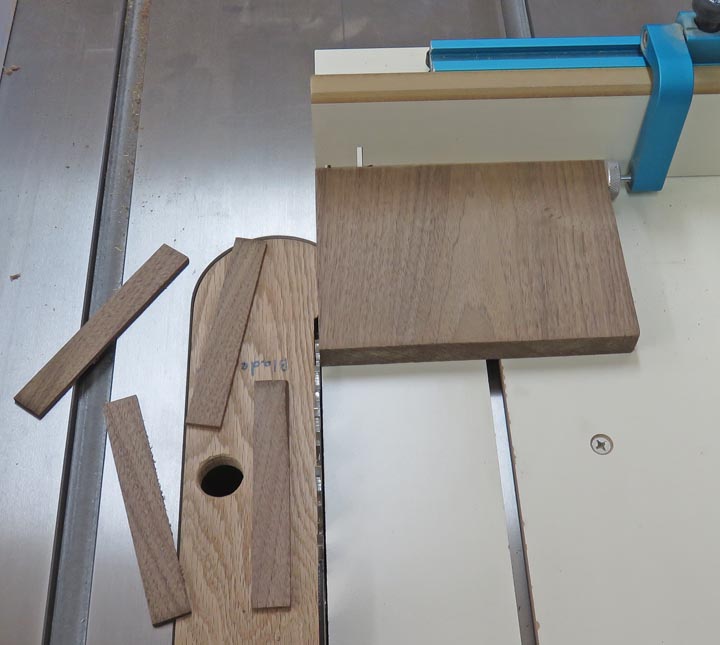
I used my cross-cut sled to cut some 1/8" wide black walnut pieces to
use as my splines. This was easy to do this way and it was safer,
because sometimes thin pieces get trapped between the fence and blade
which can shoot back at you.
|
|
 |
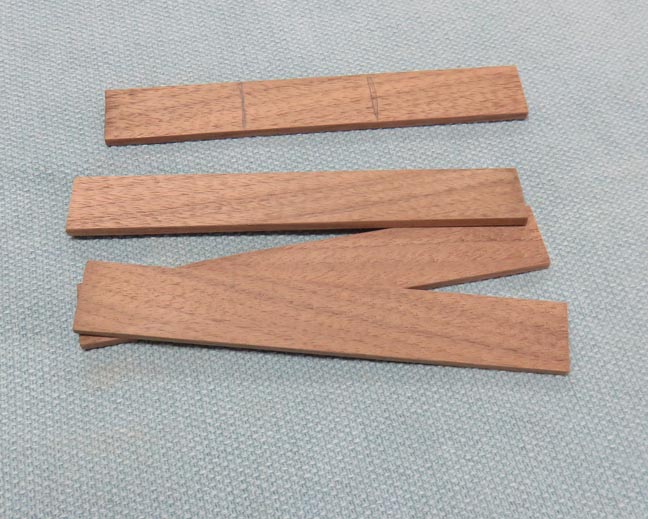
I'll get three pieces out of each piece (pencil lines).
|
|
 |
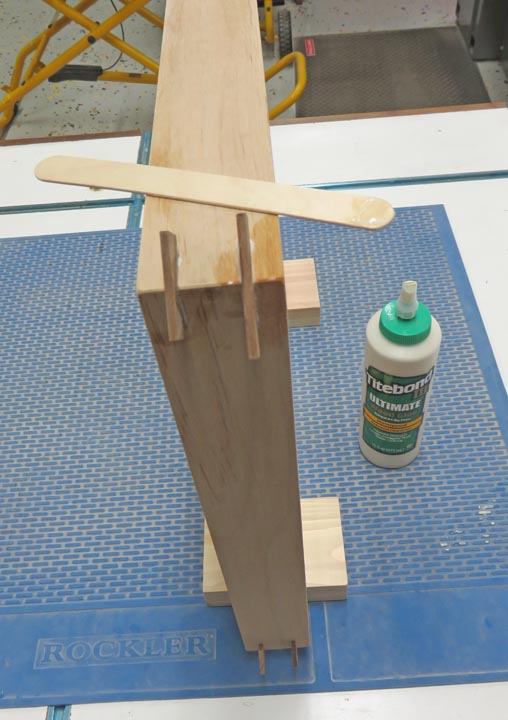
After cutting my splines, I spread some glue in each slot using a tongue
depressor and then wiggled in each piece.
|
|
 |
|
1
2
3
4
5
6 |