|
Working With Wood Continued
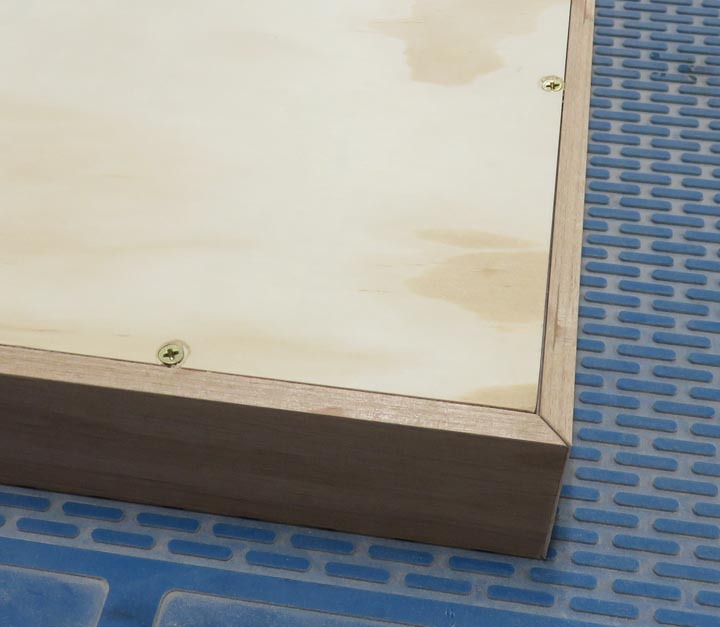
Once I was happy with the fit, I drilled all the pilot holes for the
#4 screws.
|
|
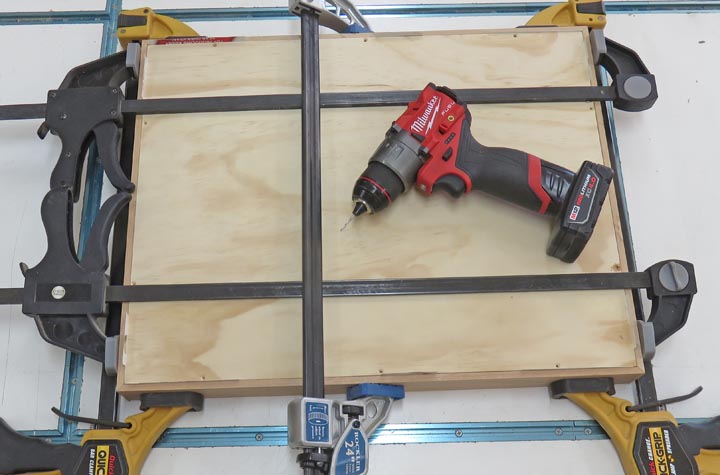 |
If you look close, you can see the
flathead screws are at a slight angle. I did this because the wall
thickness was very thin in this area. No big deal as I just made the
countersinks deeper to compensate.
|
|
 |
|
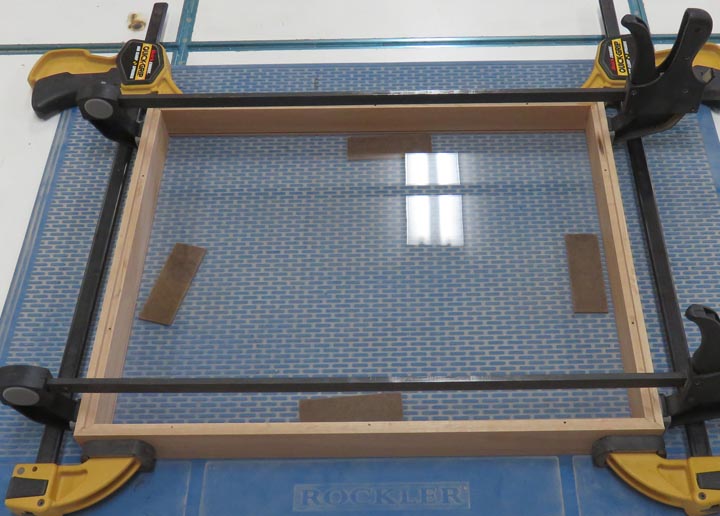
Now it's time to glue the frame together. I applied two
coats of glue to the mitered corners knowing that end grain doesn't glue
together very well. Now I've used this method before and had good
results so this should work pretty good. However, I've never had to glue
a frame together with a clear piece inserted at the same time (glass or
plastic as I'm doing now). So to help me keep the plastic at the correct
height I used some wooden shims that were 1/8" thick under it. These
shims kept the plastic in the right position as I joined all the corners
and then clamped everything in place. Plus these shims are made out of
wood so they are more forgiving on the plastic than then steel ones I
used before (when the protective layer was on the plastic).
|
|
 |
|
The hardest part about doing the glue-up this way was to
make sure the glue didn't get on the plastic anywhere. Well, it did in a
couple of places but I managed to clean it off with a wet towel before
it dried.
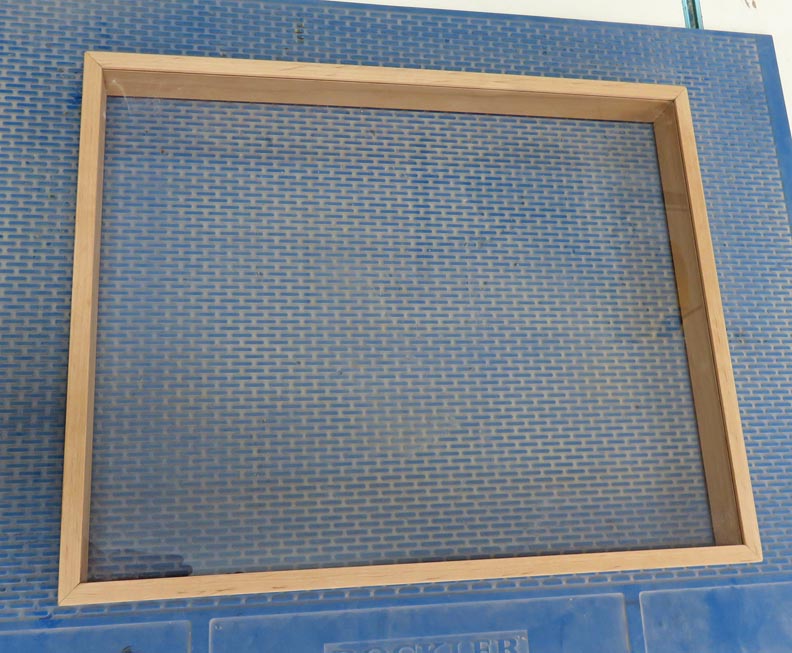
Like I said before, this type of glue joint isn't very
strong so that got me thinking on how I could strengthen the corners?
Splines!
Yeah that's it..."splines". Because if you add some
splines to each corner, they will end up making the frame much stronger.
But I don't have a jig to put splines in a frame. Looks like it's time
to make one then.
|
|
 |
|
Let's Make Some Tooling
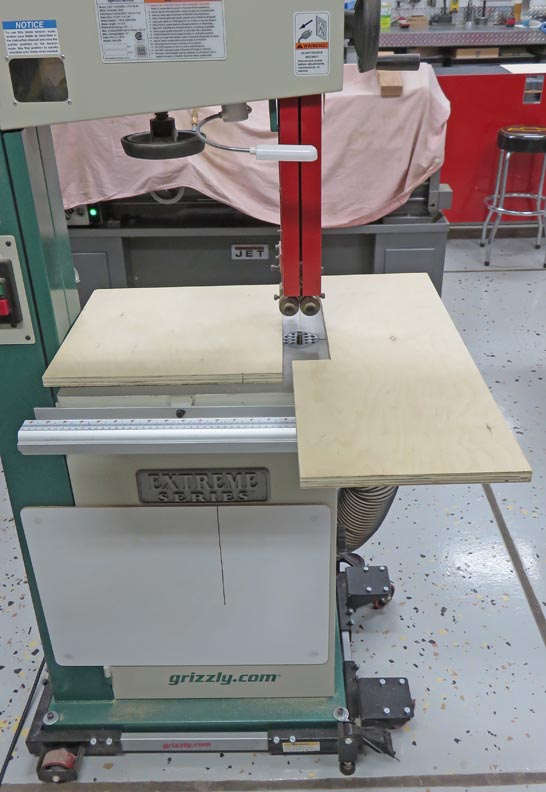
I'm going to make a spline jig out of some 3/4 plywood. Here I'm
rough cutting some pieces on my bandsaw.
|
|
 |
Then I used my table saw to bring all my pieces to size.
|
|
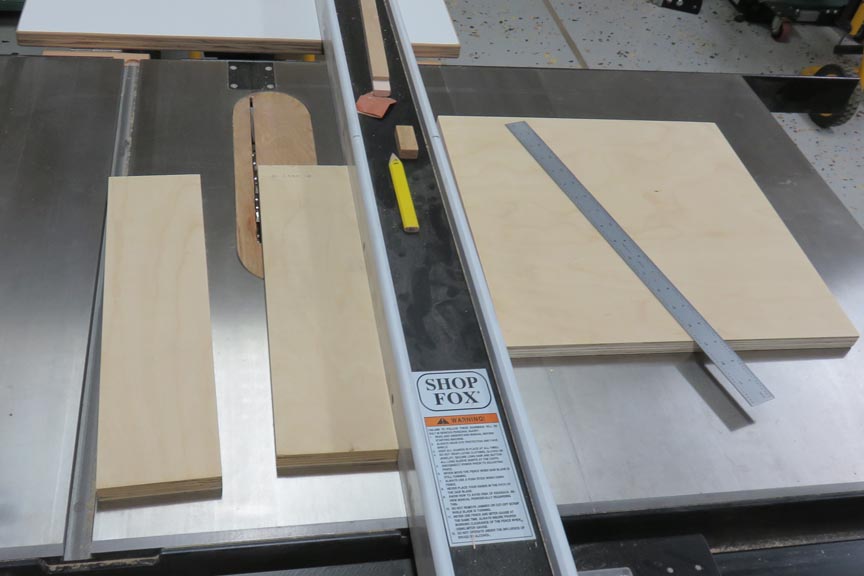 |
The large piece is 15" square, the middle piece is the width of my
tablesaw fence and the last piece is 3 1/2" wide.
|
|
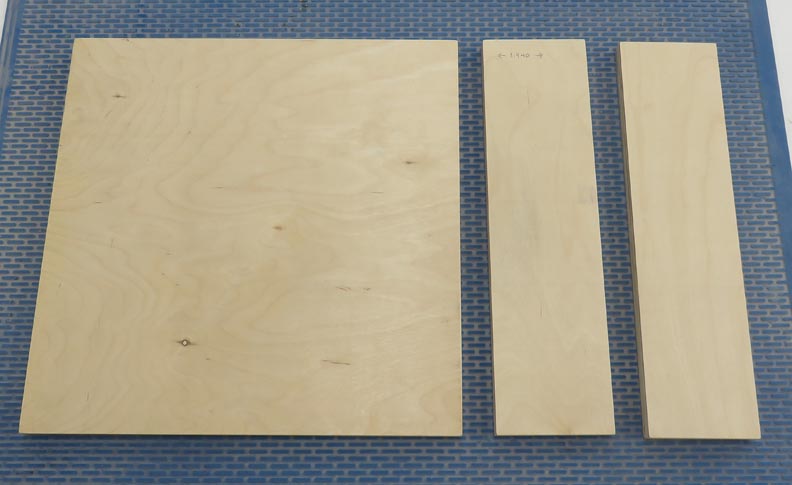 |
I also cut two more pieces that were 3" wide by 12" long that will
become the cradle that holds the frame. I'm also putting a 45 degree
angle on one end. I'll show you why on the next page.
|
|
 |
|
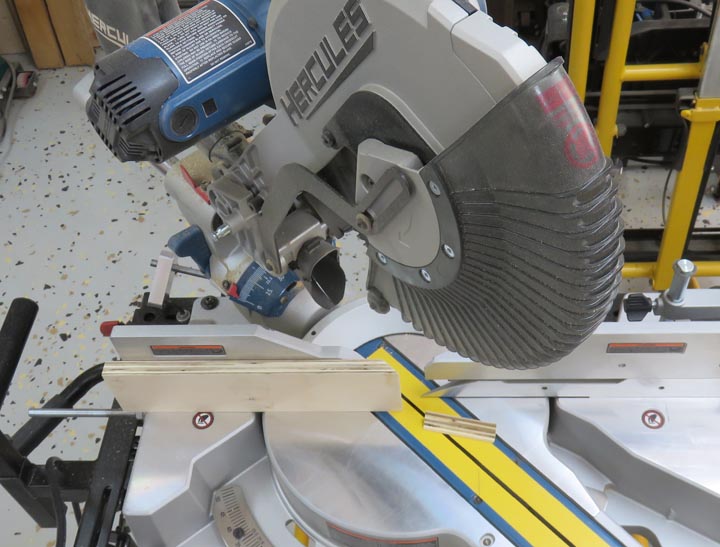
Here I'm screwing my assembly together. Notice the
center piece that goes across my tablesaw fence. I measured my fence,
added about .010" and then cut my piece. This extra .010" should give me
just enough width so when everything is assembled, the whole unit will
side without binding.
|
|
 |
Here I'm squaring up the front side before I put in all the screws.
|
|
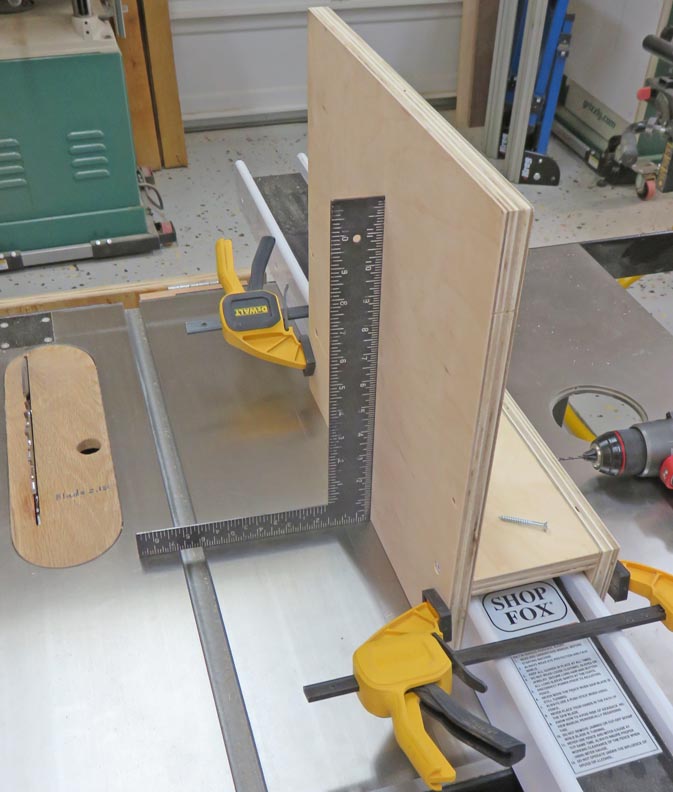 |
|
1
2
3
4
5
6 |