|
Working With Plastic
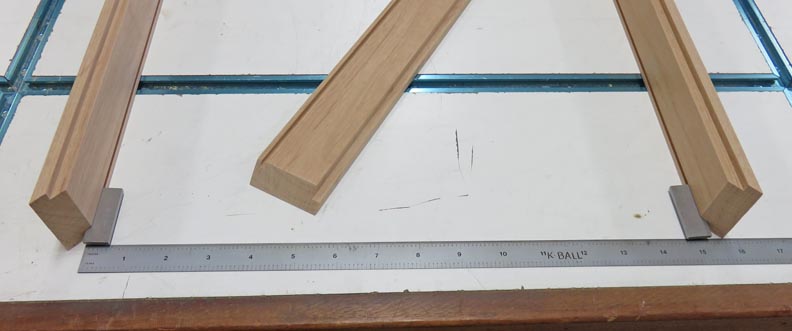
Here's what I came up with to get my measurement. I put
all four pieces of the frame together like I did before. But this time I
placed some parallels inside the groove, then I removed one side and took
my measurement.
|
|
|
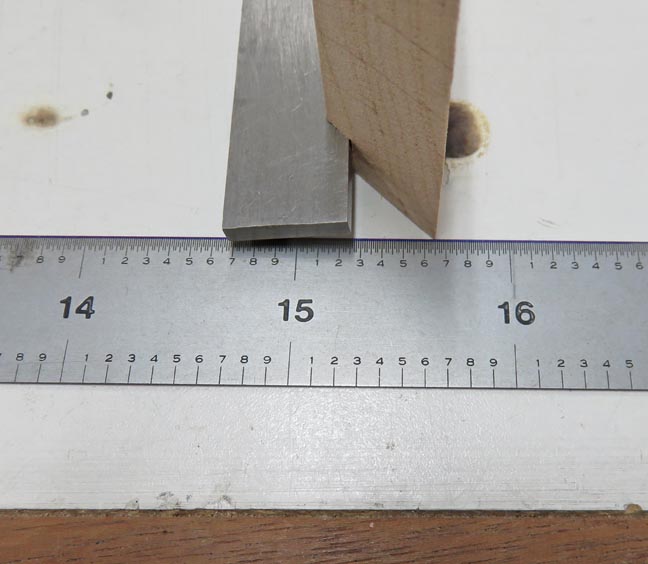
Very carefully, I placed one end of my scale against the
left side parallel (out of view). Then I took my measurement by looking
carefully at the business end. And as you can see it's about 15.250".
With this number in mind, I'll cut my plastic slightly smaller than this
so it will fit without any binding.
|
|
|
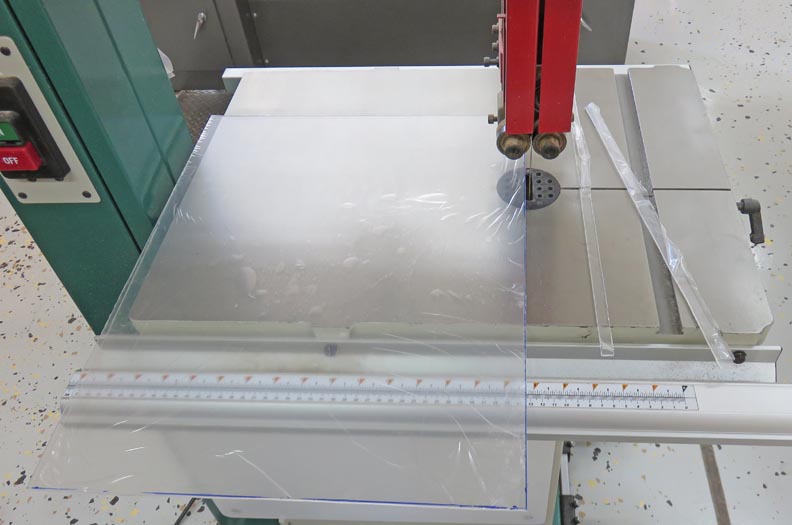
I bought a piece of acrylic from the hardware store but had them cut
it larger than I needed. Then I used my bandsaw to rough cut it 1/8"
oversize of my final dimension.
|
|
 |
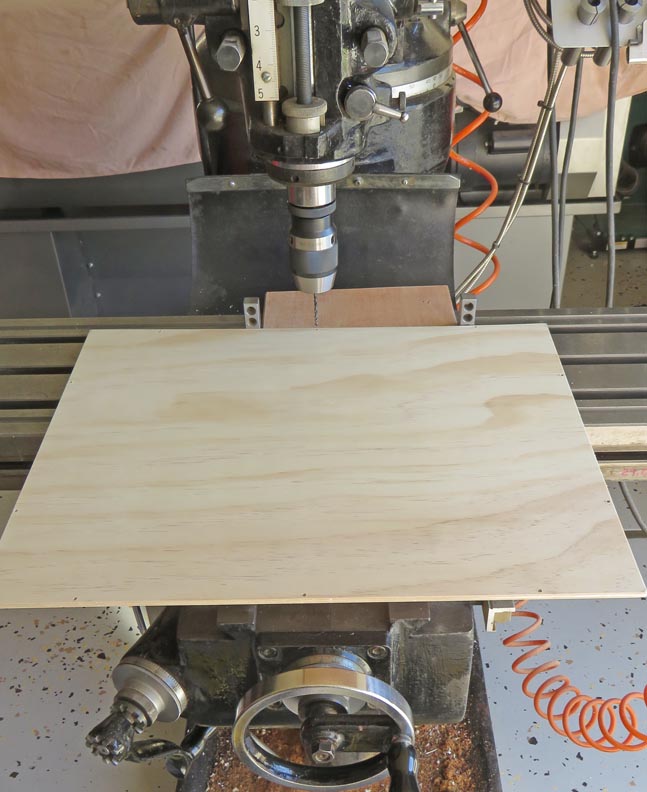
To cut the plastic to size I'll use my
milling machine. I placed the plastic between two pieces of wood and
then clamped on the wood to hold it.
|
|
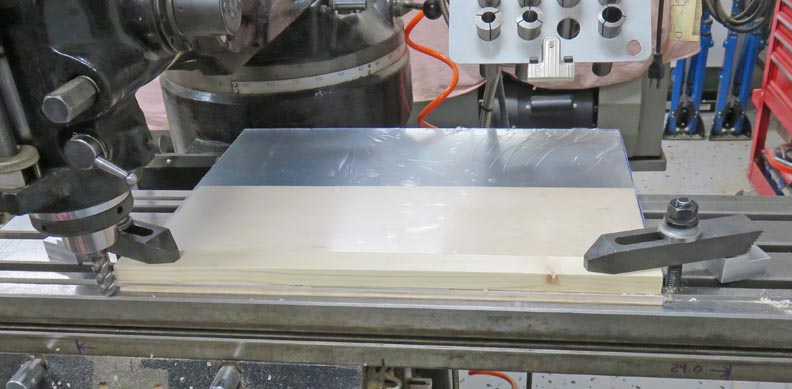 |
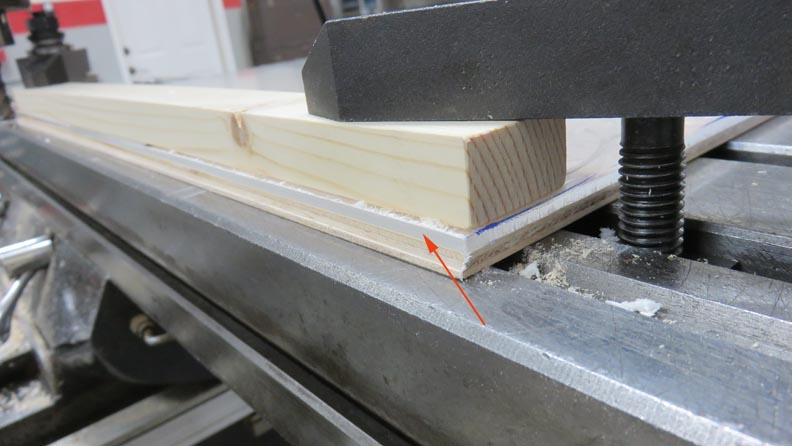
Here's a close-up of my setup. I made sure the plastic was extended out
from the wood surface so I could cut it (arrow).
|
|
 |
|
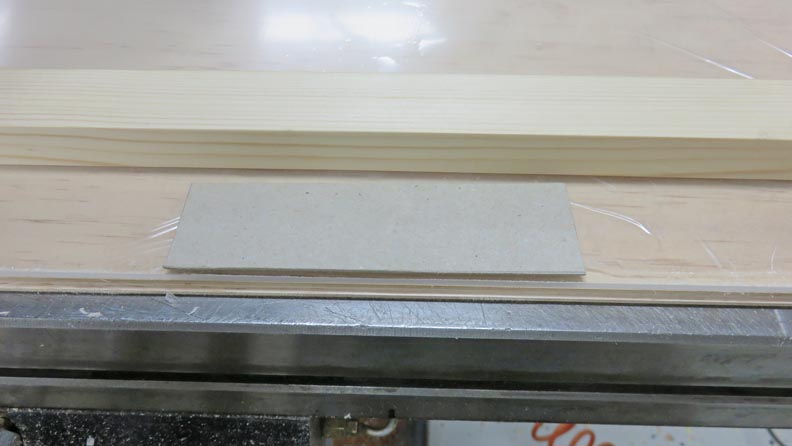
I wasn't able to place a clamp in the middle while
milling so I slid a piece of thin cardboard under the board (in the
middle) that was
clamped on top. This made the top piece 'bow' slightly which put
pressure against my plastic acting like a third clamp. This worked great
and I was able to machine my work piece without any problems.
|
|
' |
|
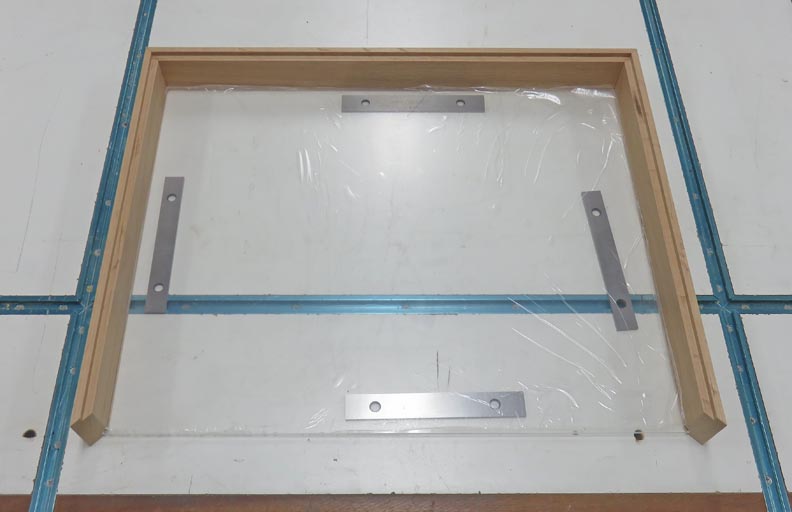
Here I'm doing some test fitting with the help of some
1/8" thick parallels under my plastic. These parallels raised the
plastic high enough so I could slide my frame together, which acted like a
third hand for me. And the plastic fit perfect so my
calculated dimensions from earlier worked out pretty good.
|
|
 |
|
Working With Wood Again
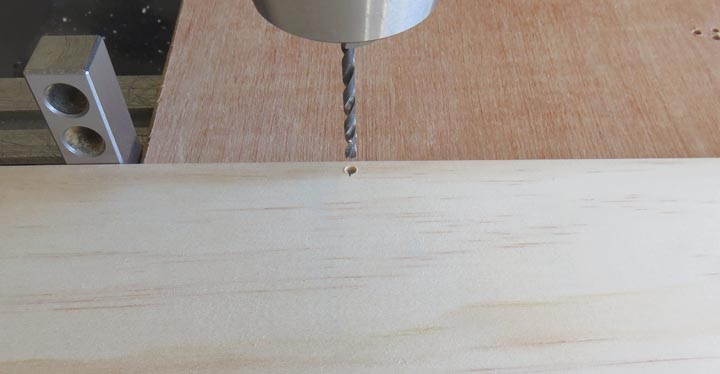
Now it's time to put in some screws to hold the back on. I'm going to
use three screws on the long sides and two screws on the short sides.
Below I'm drilling some clearance holes for some #4 flathead screws.
|
|
 |
After all the holes were in, I used a countersink on each one..
|
|
 |
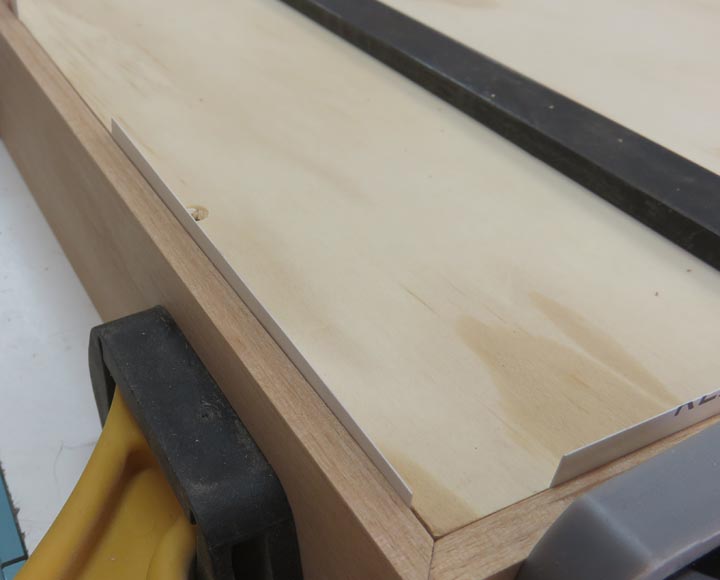
Here I'm test fitting the back. To make sure it stays in the center
of the frame, I'm using some cardboard shims all around to keep it in
the middle.
|
|
 |
|
1
2
3
4
5
6 |