Here you can see the rivets are in place but I didn't want to tighten
them too much in fear of cracking the wood. While I was putting epoxy on
the scales, I also put some on the rivets and threads as well. This
should help them from coming loose over time.
|
|

|
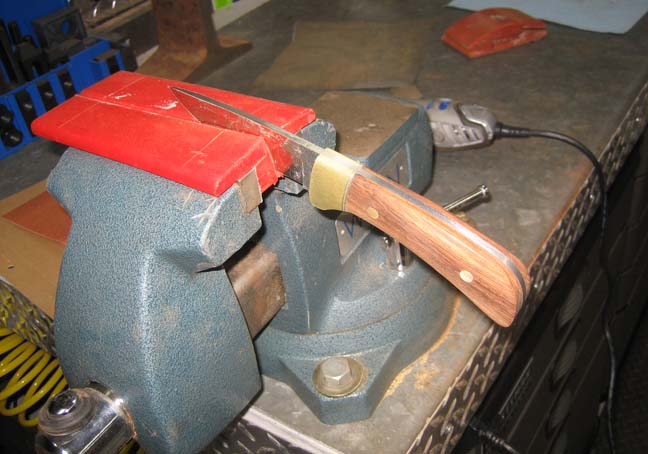
Here is where most of my time was spent, sanding and shaping. This is
also the place to use your creative side because you can do almost
anything you'd like. I used my belt sander for most of the roughing
along with a file and Dremel for the shaping. Notice my sanding block in
the background, that worked well for many areas as it's made from soft
rubber material that has some give to it. Note the plastic soft jaws to
prevent scratches.
|
|
|
|
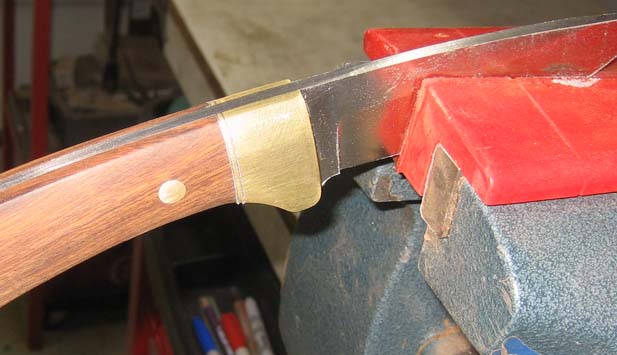
I started with 180 grit paper and worked down to 600 for every surface
except the blade face (where it's clamped). If you look close, you can see the stainless and brass
strips between the scales and bolster. If you don't like a polished
metal surface then you could stop sanding once you've reached the desired look. I choose to buff mine and I used my Dremel
for that task. It's
funny, I've bought a couple of Dremels over the years and they all came with a few
accessories. One item I didn't think I'd ever use was the small buffing
wheels but they came in handy for this project.
|
|
|
|
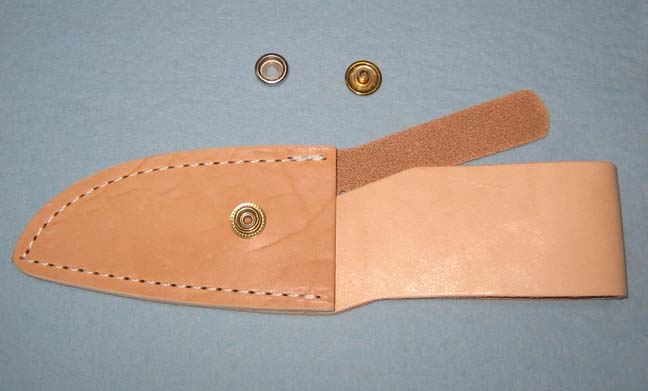
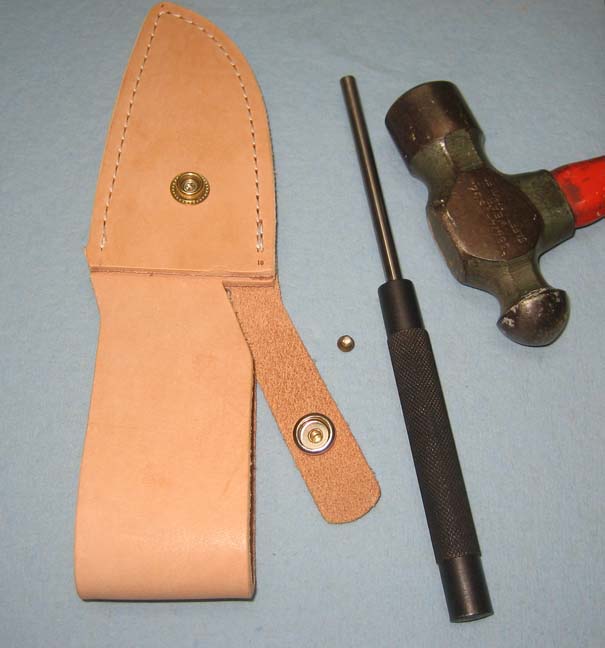
While choosing the blade that I wanted, the website will suggest a few
items that you might want or need. This was the sheath that Jantz Supply
listed so I bought two of them because it would fit both of my blades.
This sheath came with instructions which was nice but Jantz has a FYI
section for rookies like me.
A few things need to be done here with the first being, attaching
one of the snaps. The one that you see on the sheath was already in
place but you need to attach the mating piece. The reason is so it
will fit your knife.
|
|
|
|
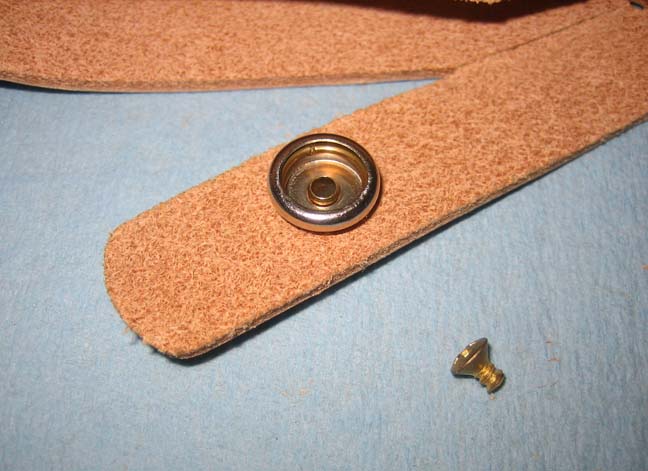
Once you mark and punch the spot for your hole, you'll need to attach
the two piece fitting. They sell a tool for doing this called a setting
tool, but when I was buying my components I decided not to purchase it
because I wasn't going to be making knives for a living and thought I
could come up with a different way (call me cheap).
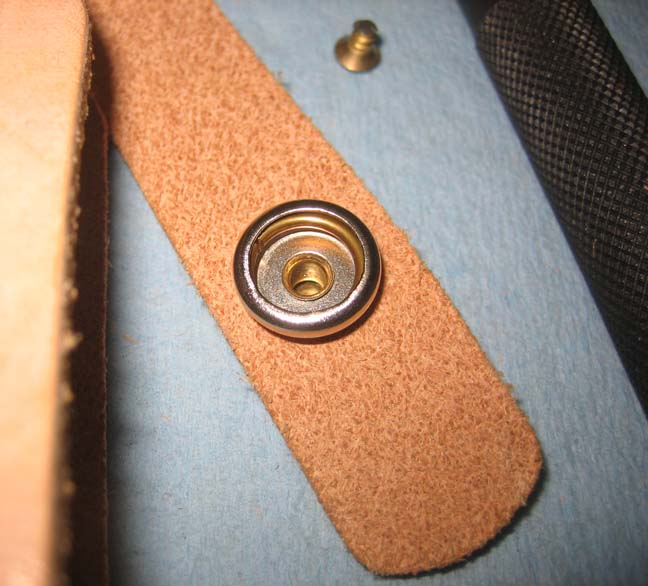
I looked at the one already attached and noticed that it was flared
or rounded over. Now that I know what needs to be done, I have to come
up with a tool of my own. Notice the small flathead screw below, that
would be my setting tool.
|
|
|
I thought of this area to be flared like a piece of tubing and treated
like one. The whole idea here is to bend or mushroom this area over its
mating piece. First I measured the depth from the top of the tube (for the lack
of a better term) to the bottom. I then cut a flathead screw (so it
wouldn't bottom out against the outer surface) and placed the outer part
of the snap on a soft rag. By using a punch and hammer I slowly worked
the tubing into a flare.
|
|
|
|
After pulling and snapping it a few times, this worked
out good and I saved a few dollars in the process. The next step was to
soak the sheath in hot water for a minute and then form the leather
around my knife. This makes it a custom fit as no two knives are the
same.
Once you take the sheath out of the water, you insert
the
knife all the way inside it and start forming the leather around it.
This process was very easy and didn't take long. When you have your
desired shape, you let the leather dry over night and it keeps the
shape.
|
|
|
|
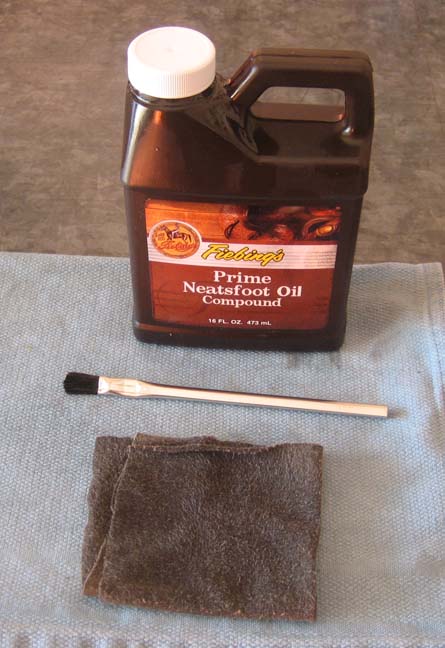
The next day it was time to apply some oil to help preserve it and color
it. They recommend neatsfoot oil, which i've used on baseball gloves and
other leather items over the years. I used a brush and rag for applying
it and that worked out good. |
|
|
I used five or six coats on the top and bottom but a few more coats on
the sides. I also found out that some areas ended up darker than others
while applying the oil. By using the brush I was able to concentrate on
the lighter areas so everything blended. This was a trial and error
process but it worked out.
|
|

|
|
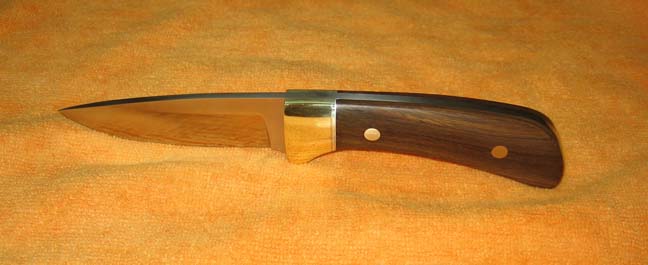
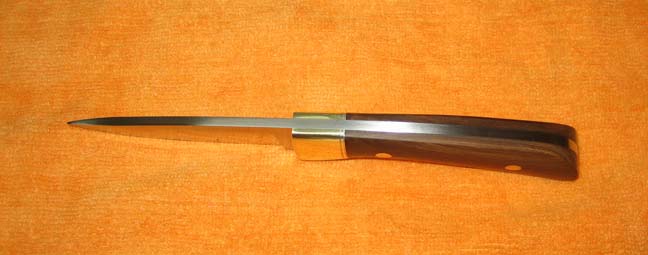
Here is the finished knife. I used some buffing
compound that was made for different metals including brass and wood.
|
|
|
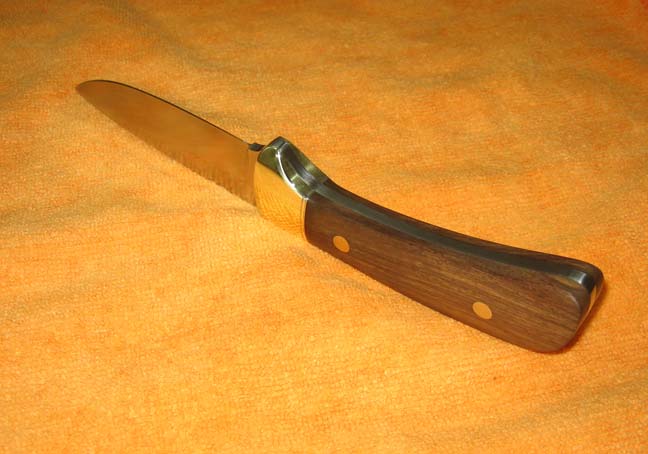
The Dremel worked really well here compared to my larger bench mounted
grinder/buffer. The Dremel was easy to control and went where I wanted
it which is key.
|
|
|
|
You can shape your bolsters any way you'd like and for
me I rounded them over but not to a point. This makes it feel good in
your hand.
|
|
|
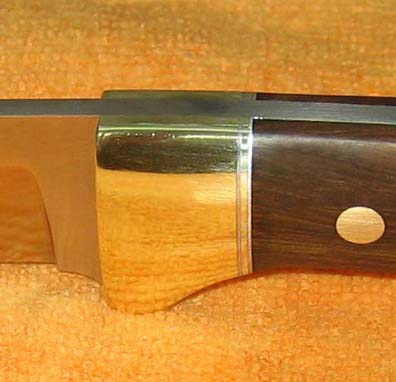
Here you can see the stainless and brass strips. And after seeing how it
came out, I will do the next one with an even thickness of material or
double-up the stainless so it's more pronounced because I think it would
look better if they were the same thickness.
|
|
|
|
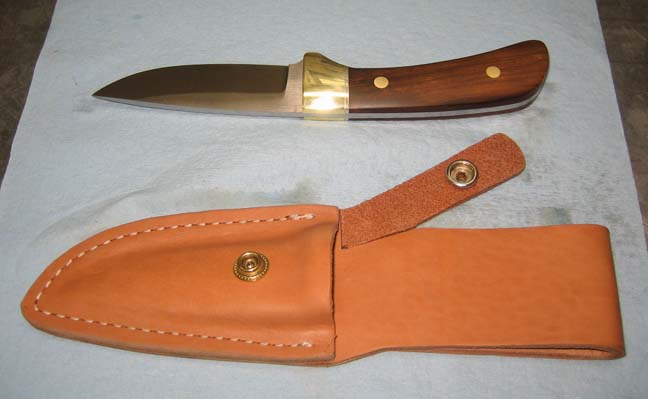
One more thing I didn't like about this project was the
sheath. The quality of the leather isn't the problem, it's the type of
sheath the website recommended. With the strap coming in from the side
and then overlapping the handle, it doesn't hold the knife well. When
marking out the snap placement I made sure it was tight and compensated
for stretch in the leather. I'm sure this helped but the knife can still
be pulled out even with it snapped.
What I'm going to do is buy one that has the strap that
goes around the handle that's placed midway in the belt loop area. That
should keep the knife right where you want until you're ready to remove
it. Other than these minor complaints, I'm happy with how it came out
and I'm looking forward to doing the other one.
|
|
|
|
1
2
3
4
5
6 |