| I like making gifts from time to time and this year I
decided to make a few Christmas things for the kids and my
father-in-law. The hardest part about this whole process is deciding on
what to make! Once I have an idea, I'll usually give it a try because,
what's the worst that can happen? I've had plenty of mistakes when making projects but that's how I
learn and I try do better the next time. The choice of material for
the kids will be made out of wood, mostly because I work with metal all day at
work so this is a nice change for me. What I had in mind this time was
some cutting boards. The plan was to make two sizes but after cutting up
the wood I needed, I used some leftover scraps to make a third smaller board.
Cutting boards are used in our house many times a week so I was
hoping this would be a practical gift and I'd have some fun making them
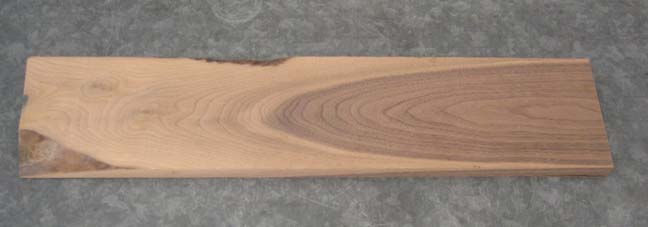
because... I like having projects to keep me busy. The species of wood
being used will be black walnut (picture), maple, curly maple, mahogany,
oak, purple heart, cocobolo and zebra wood. Only four species of wood will be used for each
cutting board so they will all be unique.
|
|
 |
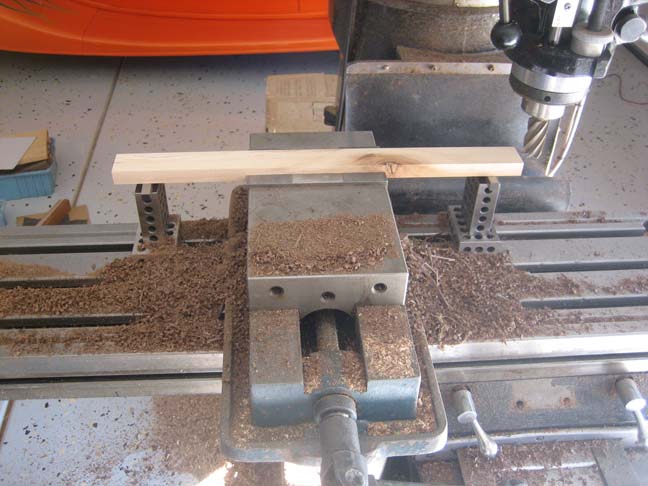
| I don't own any wood working equipment at all so I
machine each and every piece with my milling machine like it was made
out of metal. Now this is a very slow process doing it this way compared
to using wood working equipment. On the other hand, it does keep me busy.
Here I'm squaring a piece of maple that will be used on the larger
board (all four sides). Notice all the black walnut shavings on the mill table. There
sure is a big difference in aroma between these two species.
|
|
 |
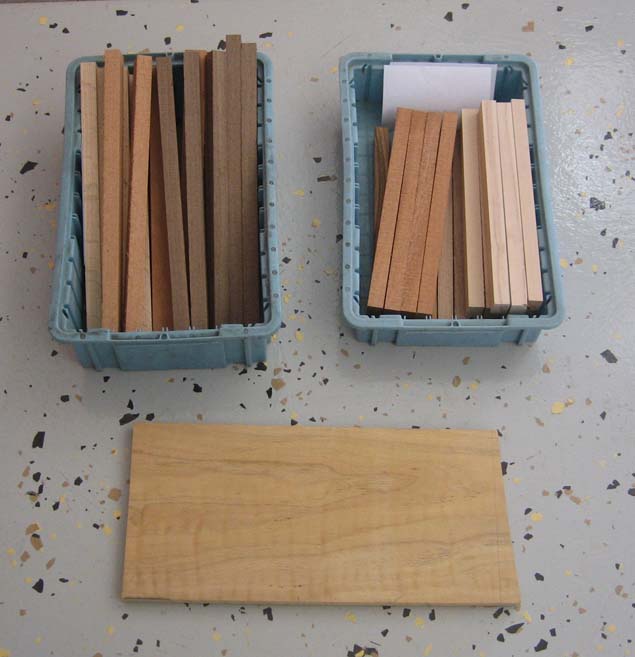
Here you can see all the squared pieces for the medium and small boards in
their respective tots. The piece of curly maple still needs to be cut
into strips which I did at my work on the bandsaw. This is how I cut all
the boards for this project. The size of the medium board will be 15" X
9" X 1" thick and the small one will be 12" X 7 1/2" X 1" thick.
|
|
 |
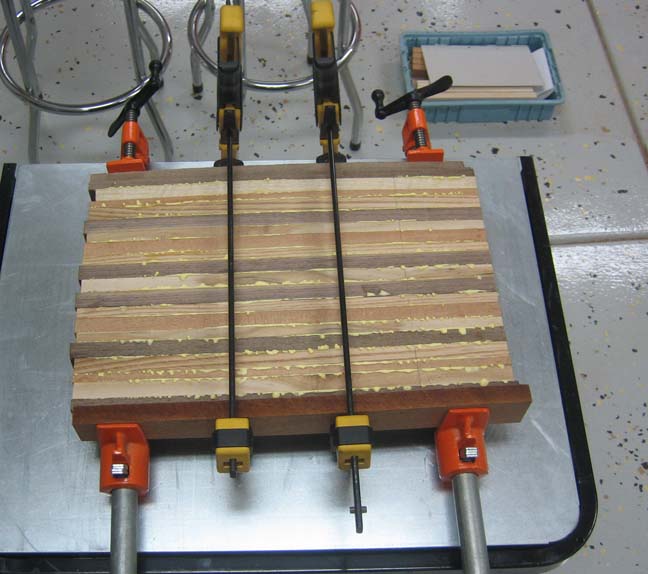
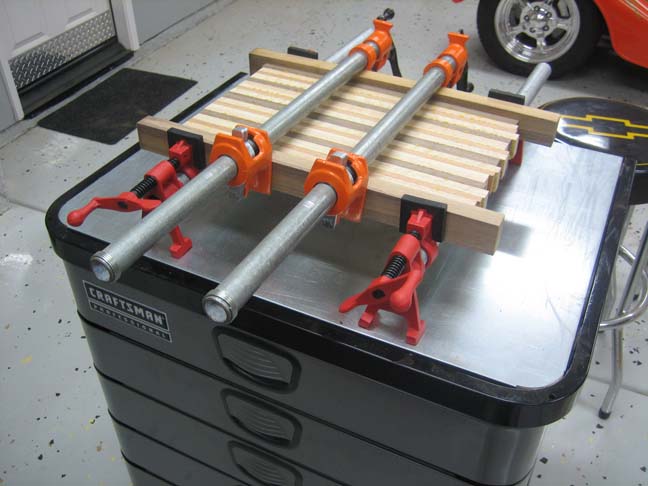
This is the large cutting board being glued here and the size will be
18" X 13" X 1 1/2" thick. The outer clamps
produced much more clamping force than the squeeze type clamps in the
middle but these were the only clamps I had so I used them. After taking
the clamps off the following day, I didn't like the result so I bought
two more screw type clamps.
|
|
 |
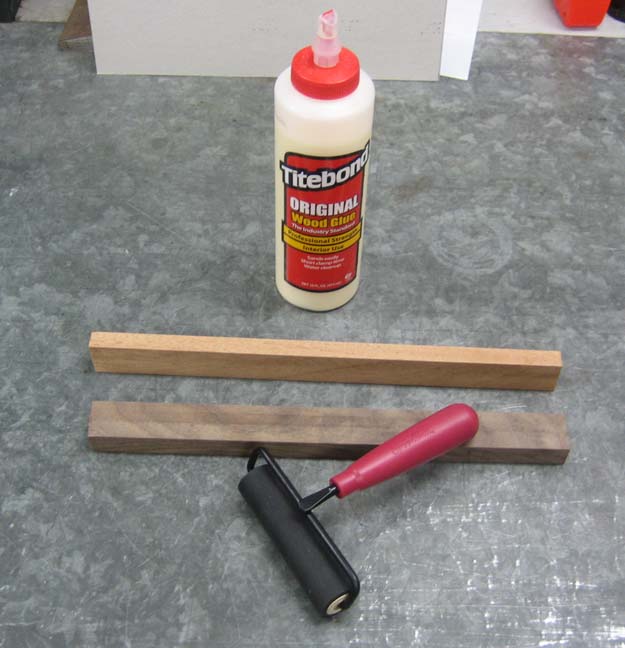
I also struggled with the first glue-up using a small brush to spread
the glue with. I've used this method before and it's worked for me but
it's slow and almost got me in trouble this time. For
the other two boards I used a much faster
and better way of applying it. I first laid down a bead of glue and then
used a roller to spread it over the entire board surface. This worked really
good, what a difference this roller made...wow!! If you ever do a
project like this, I highly recommend using a roller like you see below
(like I said, I'm not a woodworker but I learn from every project).
|
|
|
This is the medium cutting board along with my two new clamps.
Notice the new ones have feet to help keep them from moving while you're
clamping, a really nice feature. And they have rubber on the clamps to
help protect your project (which are removable). Both clamps use 3/4"
pipe and worked great!
|
|
|
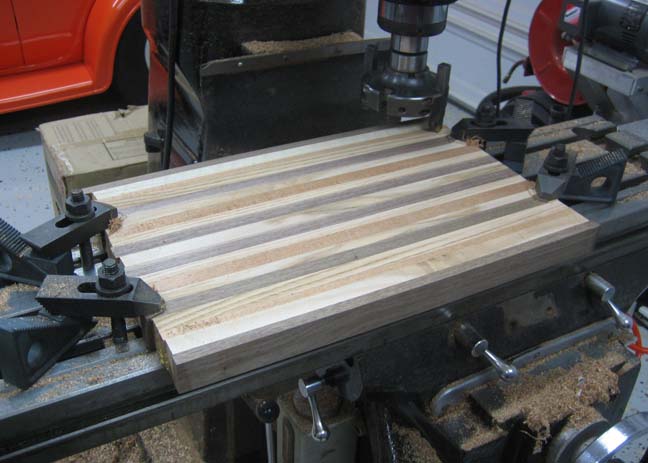
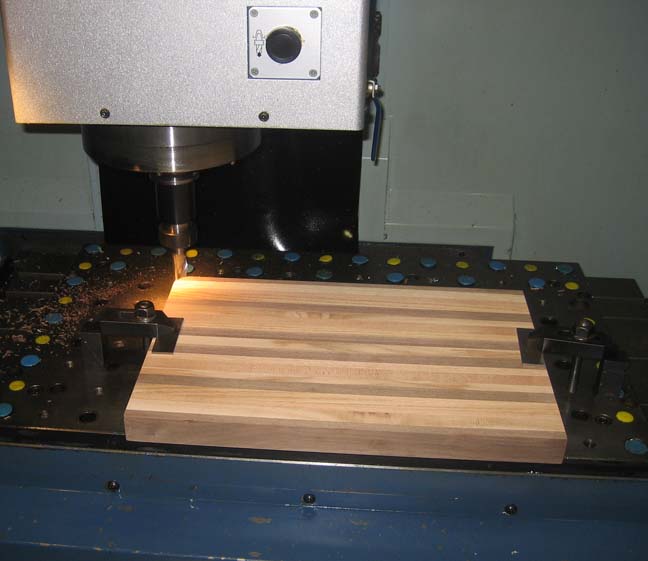
After all the boards were glued together it was time to surface both
sides to make them nice and flat. Now you can't just throw the glued
board on the table and clamp it down because the surface isn't close to
being flat. What I did was use different size shims here and there to
help keep the board from rocking one way or the other. You also have to take
into account the placement of the shims so you only cut the minimum
amount of material. If you don't do all this, you could end up cutting
much more than needed from one end leaving the board thickness smaller
than you originally wanted. Notice I'm using four clamps here. What I
had to do is work around these clamps which means a small portion is
left uncut. BTW, this is the large board.
|
|
|
|
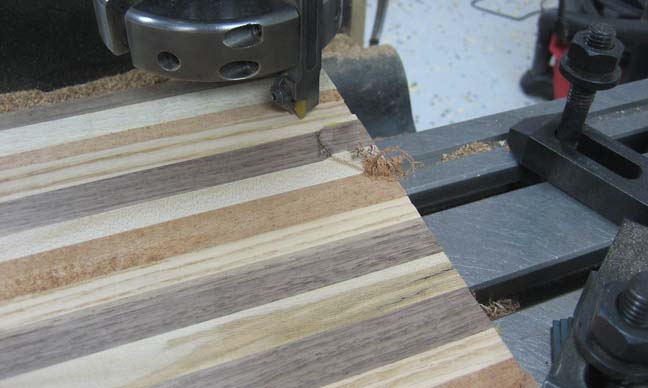
To cut the area around the clamps, I removed one at a time and then
machined that section. Once the area around the clamp had been cut, I
replaced the camp. This is a slow process and once this side is
finished, you repeat this all over again for the opposite side, minus
all the shims so the second side goes a little faster.
I plan on putting a nice large radius on all the corners but that
process is something I plan on doing at my work, along with a personal
touch for the large and medium boards.
|
|
 |
I took all the boards to my work to put a radius on each corner. I put a
1" radius on the large board (below) and a 1/2" radius on the other two.
I created what's called a 'nest' by resting the boards against two pins
along the long side and one pin against the short side. I also placed
blocks under the boards to create clearance for the cutter. I cut one corner
at a time, then turned the board and cut the next corner. This required two
programs, one for the 1.000 radius and one for the .500 radius.
|
|
 |
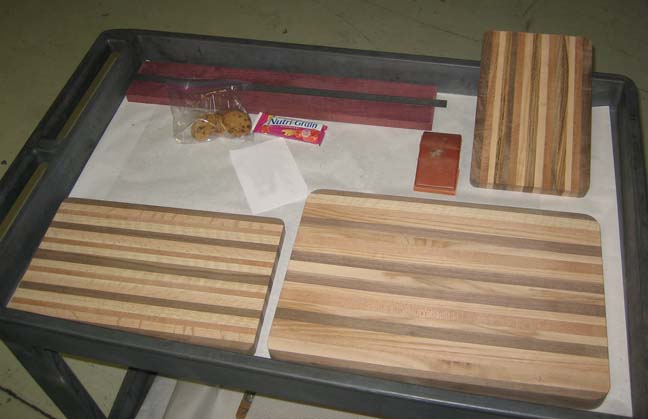
Here is what the boards look like once all the corners were machined.
You can also see the different species of wood used which I'll talk
about later. Now it's time to add that personal touch I mentioned
earlier.
|
|
 |
|
1
2
3
4
5
6 |