|
Making More Tooling
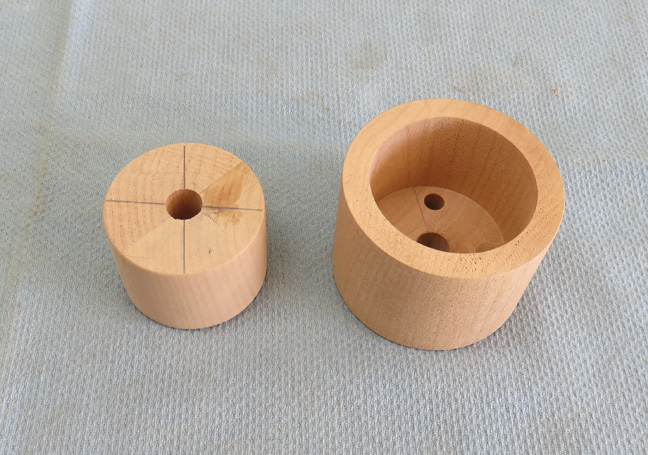
I'm getting ready to machine some windows in the lantern
room. These windows are at the top of all lighthouses and to make
sure I don't get any tear-out, I made a piece that will go inside while
I'm machining.
|
|
 |
|
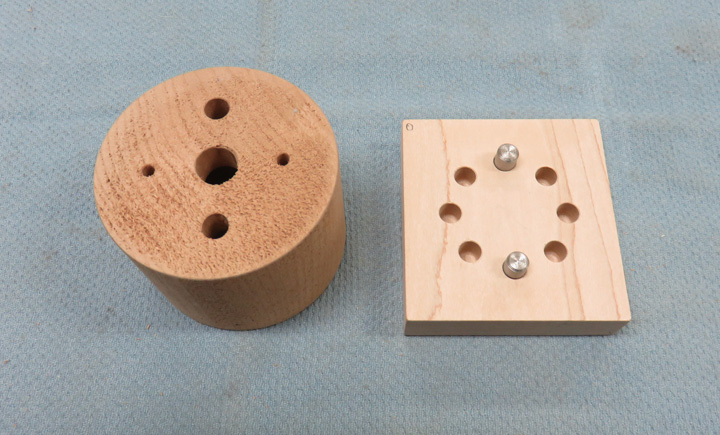
My lighthouse will have eight windows and to make sure I
have them all equally spaced, I made this simple fixture to help me. I
drilled and reamed eight 3/8" dowel pin holes but I'll only use two at a
time. Once I place my work piece on this fixture, I can cut one window,
remove my work piece, turn it 180 degrees, place it back on my fixture
and then cut the opposite window. Once those are machined, I'll move my
dowel pins to the next location and repeat the process. Oh, and I had to
make the dowel pins because I didn't have any that would work for this
application.
|
|
 |
|
Working With Wood Again
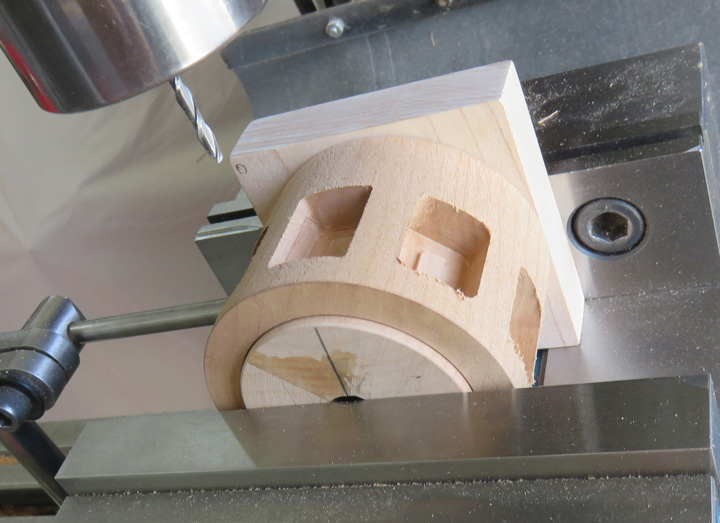
Here you can see how I'm using my fixture. I've got a
work-stop on the left that will locate my work piece in the X axis. The
vise jaw in the back will locate my work piece and fixture in the Y
axis. And my round piece of tooling is made slightly long so my vise
clamps on it applying pressure on my work piece, keeping everything
clamped in place.
|
|
 |
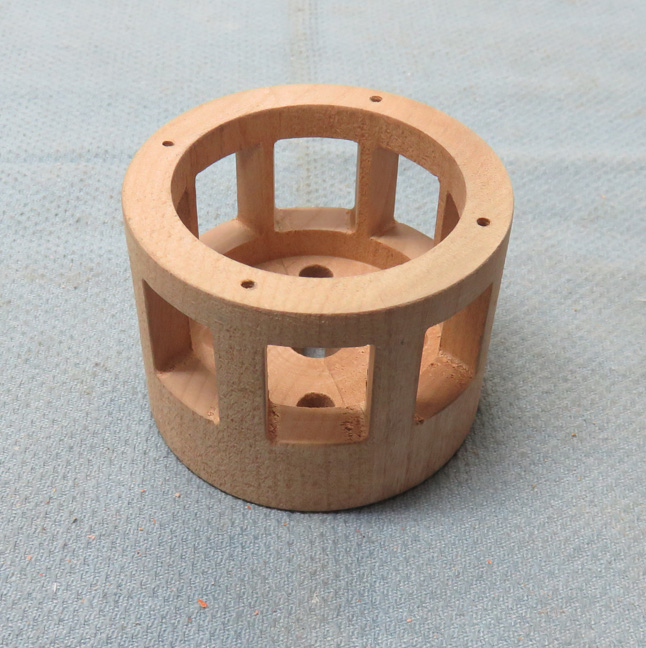
And there we go, I now have eight windows that are 3/4" wide X 1.0"
tall. I've also added four screw holes so that an adapter plate will
fasten to it, which I'll talk about later.
|
|
 |
|
Working With Plastic
I had some leftover plastic from a
previous project that I
thought would work pretty good for my windows. Now I didn't want the
windows to be clear for this project because this won't be used as a
reading lamp, it will just be decorative. With this plastic not being
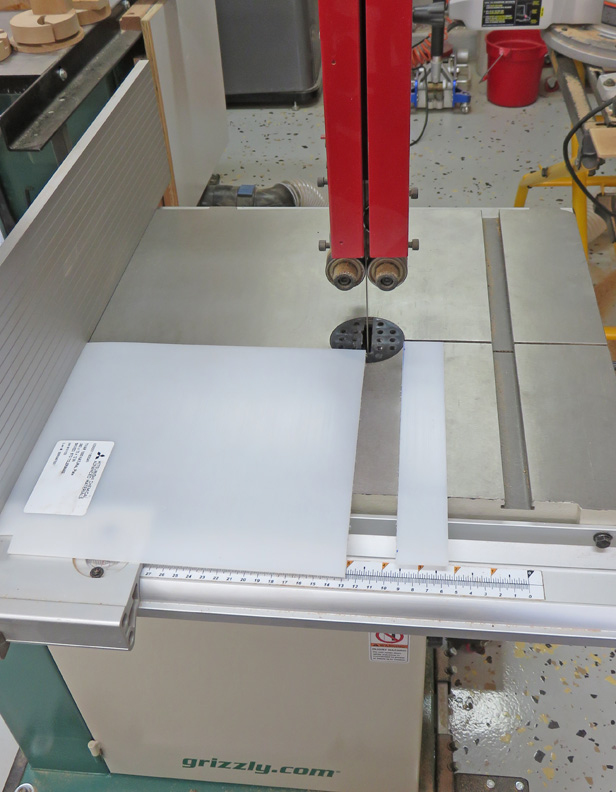
very see-through, this should work well for this. Here I'm cutting a
piece on my bandsaw that I'll be placing inside the lantern room. This stuff is .080" thick (just over 1/16").
|
|
 |
|
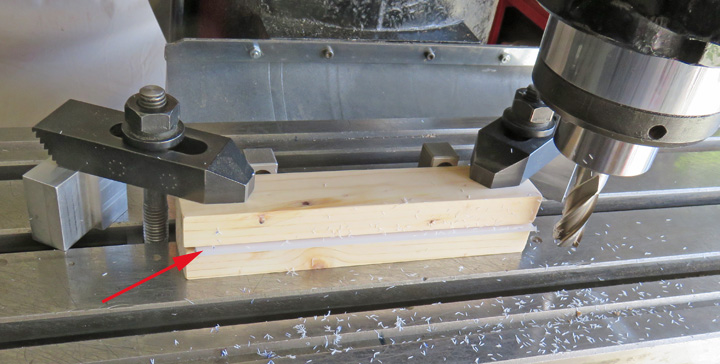
Here I'm machining the sides of my plastic using my milling machine
(arrow). Now this plastic cuts like butter but it leaves a burr that is
very hard to remove. Putting the plastic between two pieces of wood
works well for clamping.
|
|
 |
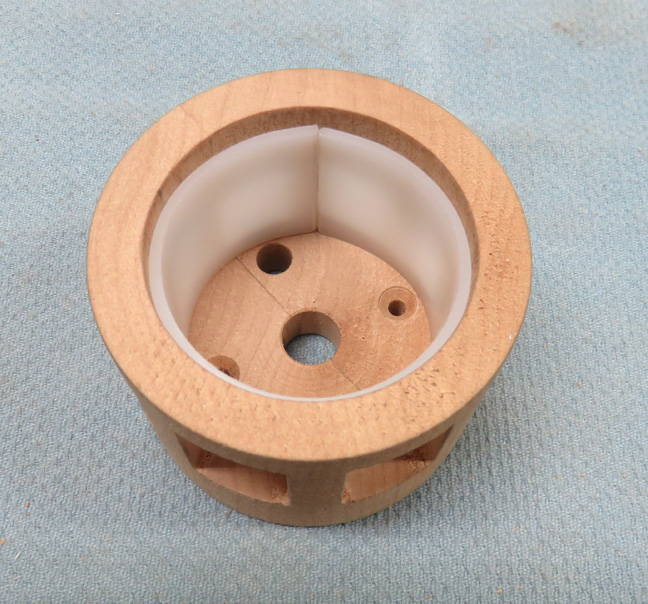
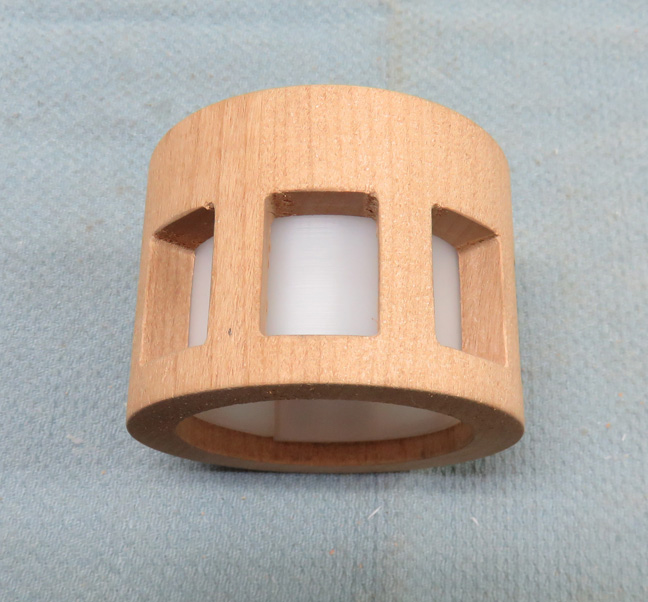
After some finial fitting, this is what I have. The distance from the
top of the plastic to the top of my work piece is about 3/16".
|
|
 |
Now it's time to think about a lighting source.
|
|
 |
|
Working With Lighting
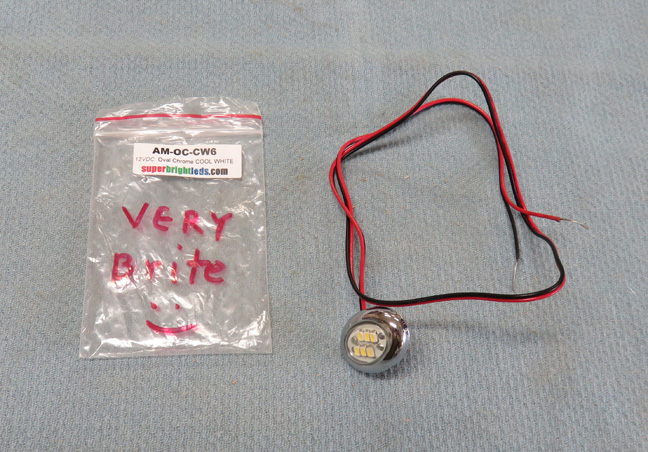
I looked through all my electrical stuff and found this
LED. This has a six-pack of LED's and I labeled the package "Very
Bright" many years ago. After putting 12 volts to it, I marked this bag
accordingly because...yes it's bright!
|
|
 |
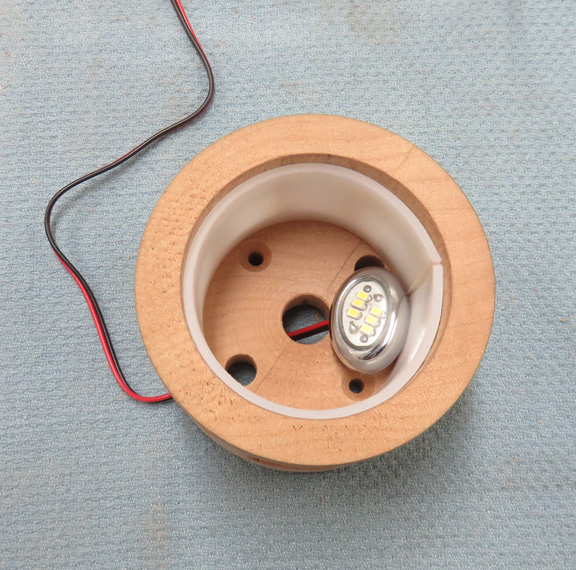
Here is where I'll place this light, which will be in the center. But
the wire on this light is all the way to one side so I'll need to modify
the bottom of the lantern room to keep the light centered.
|
|
 |
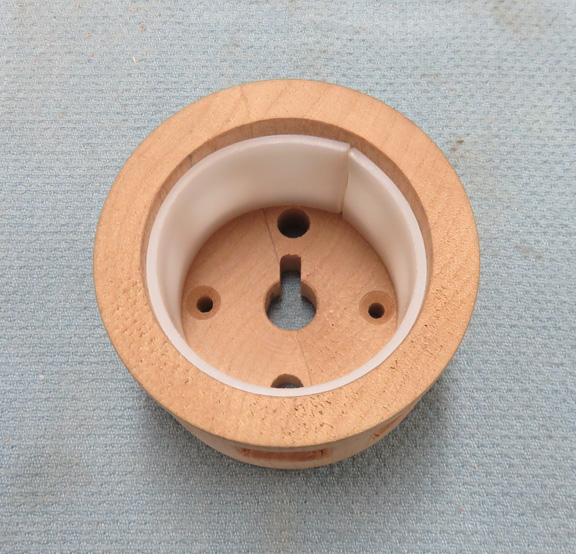
A few minutes on the milling machine and I now have a notch for my wire.
Time to figure out a way to clamp this light in place.
|
|
|
Working With Plastic
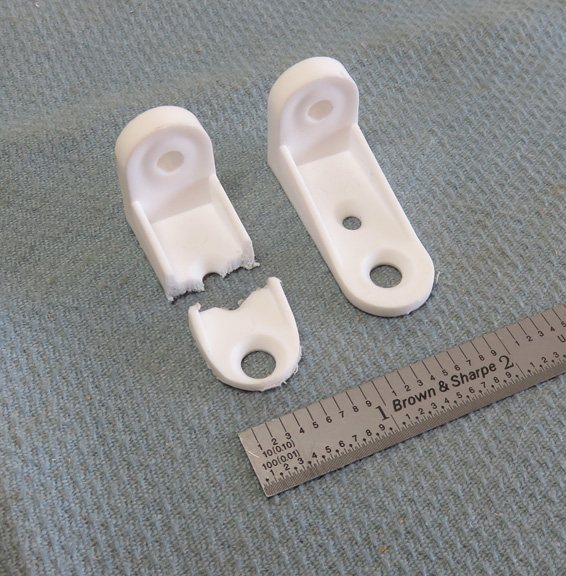
I had some plastic clamps laying around and thought these might work for
holding my light. I cut one in half with my bandsaw to see if it would
work. And it looks like they will so now it's time to
clean them up.
|
 |
|
1
2
3
4
5
6
7
8
9
10
11
12
13
14
15
16 |

