|
Painting And Staining
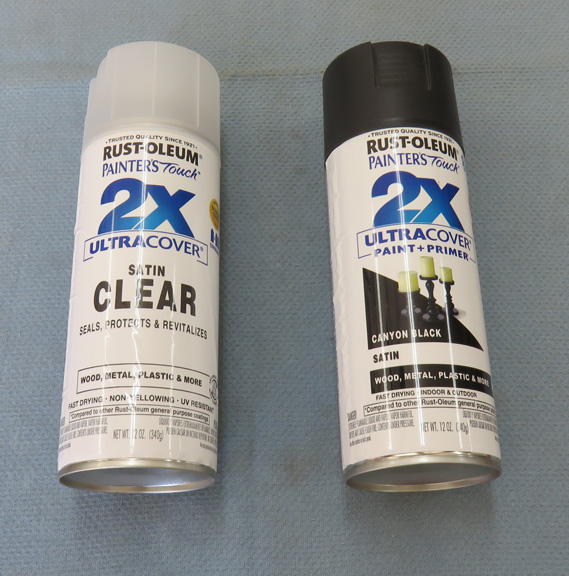
I'm going to paint the adapter plate and roof with some satin black
and satin clear. These are the only pieces that I'll be painting. In
other words the aluminum parts.
|
|
 |
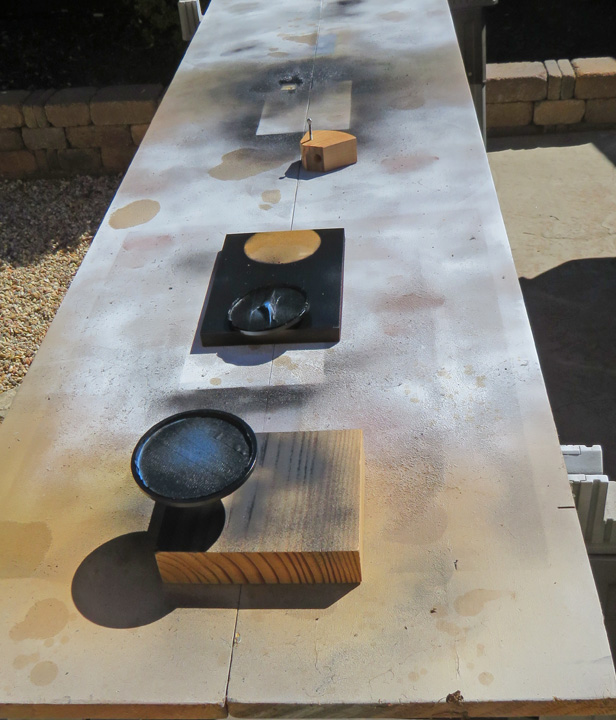
I used blue tape to mask some areas I didn't want
painted. The small wooden block is holding the ball bearing, and I used
clear on it so it wouldn't rust.
|
|
 |
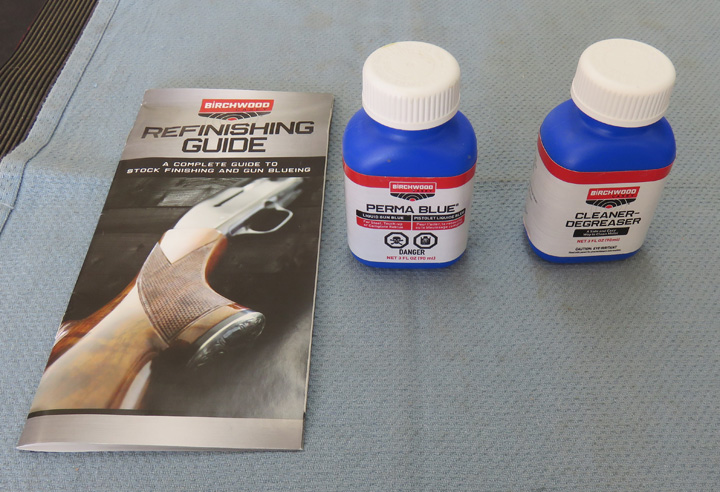
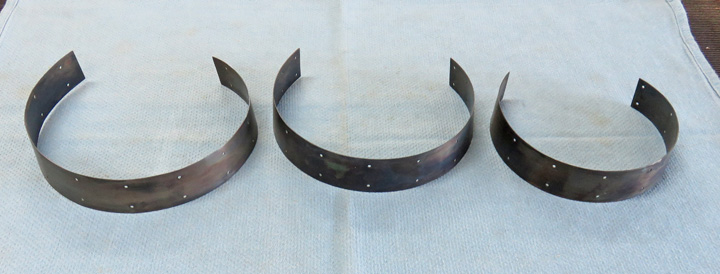
I'm going to use gun bluing on the bands. I've used this stuff a few
times now and it works great...as long as you clean your parts
correctly.
|
|
 |
|
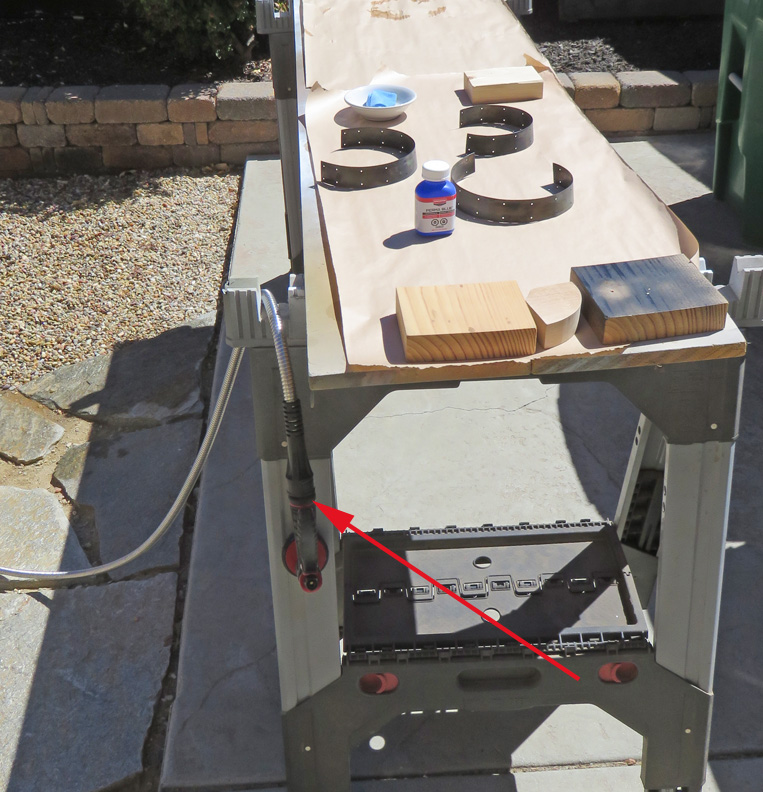
First you use the cleaner, then you wash your parts off with water. After
drying the water, you apply the bluing but you only let it set on your
parts no more than one minute. I usually let it stand for 30 seconds
and then wash it with water which neutralizes the chemical (arrow).
|
|
 |
This makes a really cool looking finish that's not a deep black but varies
throughout the surface.
|
|
 |
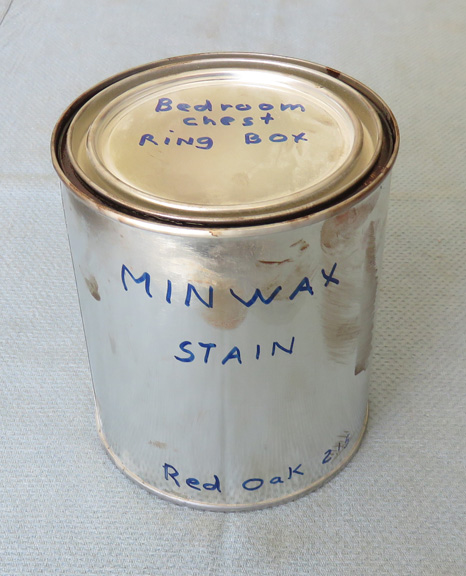
This stain is what I've used on previous projects that I've made for
Tracey.
|
|
 |
|
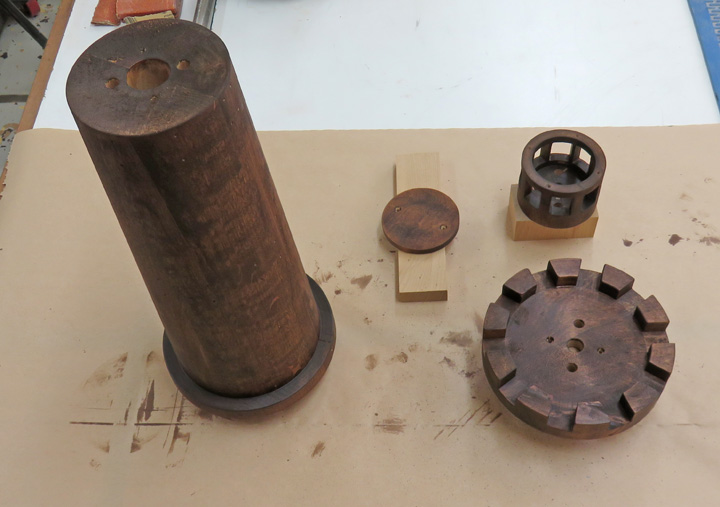
Once I started applying it, I didn't like it because it
was a little too dark. The next day I used some sandpaper and gave each
piece a good scuffing. That did lighten each one a small amount so
that's the good news.
|
|
 |
|
Working With Electrical Stuff
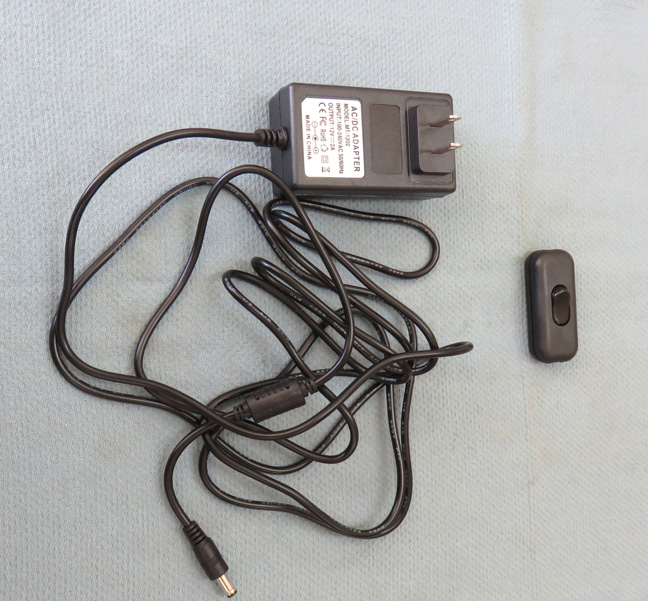
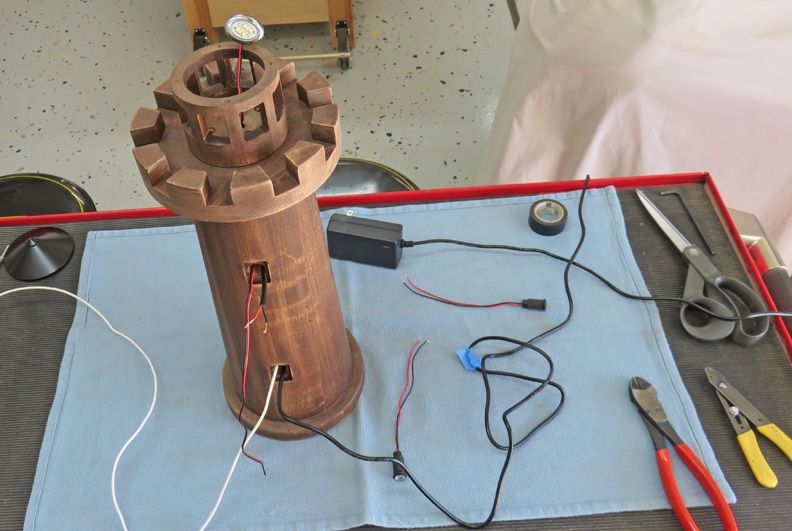
I bought this 12v power supply because it had a 10 foot
cord. This is more than enough but I have plans to shorten it, but only
slightly. The switch that you see to the right is a separate piece
and came in a package of two
pieces. I plan on putting this switch about two feet away from the
lighthouse.
That way the switch can either hang behind or under whatever the lighthouse is
sitting on. Or it can be left out in the open if she wants.
|
|
 |
The white wire is to help me pull the real wires I'll be using through each
opening that I need.
|
|
 |
|
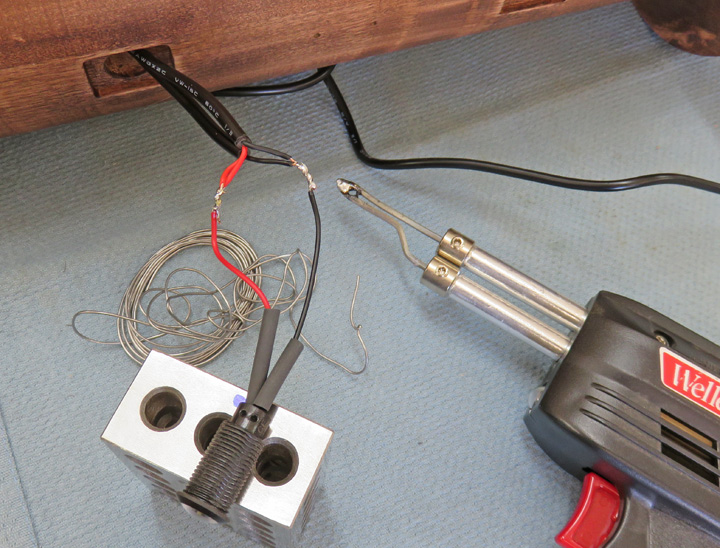
Once I had the wires where I wanted them, I placed some
heat shrink tubing one each one, and then soldered each connection. Also
notice that I used some of the extra wire from the 12v transformer to
use throughout my project. Again, part of the plan.
|
|
 |
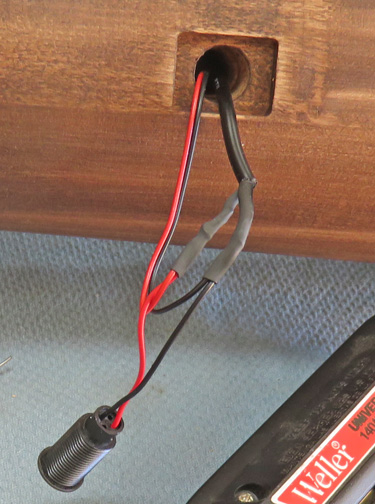
Then I slid the heat shrink tubing in place and put a flame to it. This
worked out great and it should last for years.
|
|
|
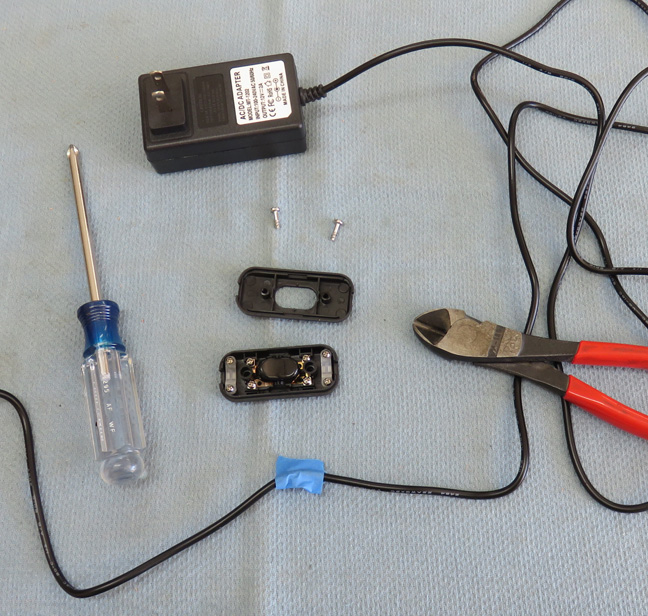
I cut the wire about where the blue tape is to install
my switch. This is a simple installation, you strip the wires a small
amount, place them under two small white clamps which helps keep the wires
from coming out if tugged on. Then you attach the bare wires to the remaining screws
and reinstall the cover.
|
 |
|
1
2
3
4
5
6
7
8
9
10
11
12
13
14
15
16 |

