|
Making Tooling
This is the first of many pieces of tooling that I'll be
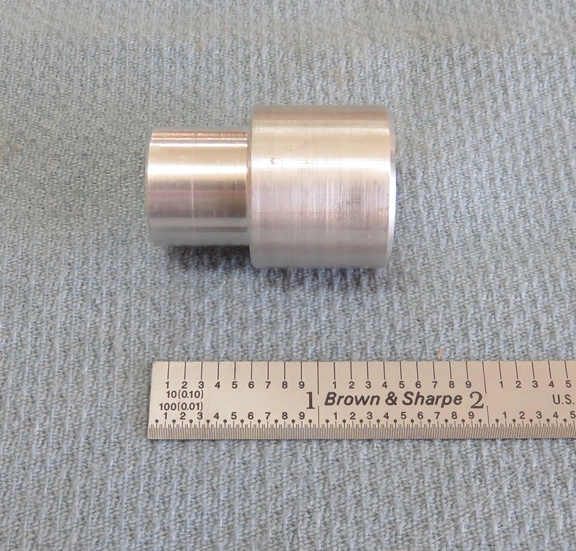
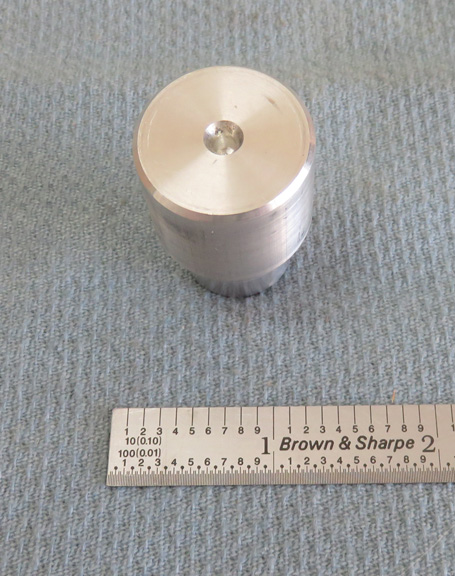
making for this project. I made this aluminum spud that will go into the
end of the wooden block or base, to help me turn it on the lathe. The smaller end
is 3/4" diameter and the larger one is about one inch.
|
|
 |
Once the 3/4" end is inserted into the
base, I'll use a live center on this end to stabilize it.
|
|
 |
|
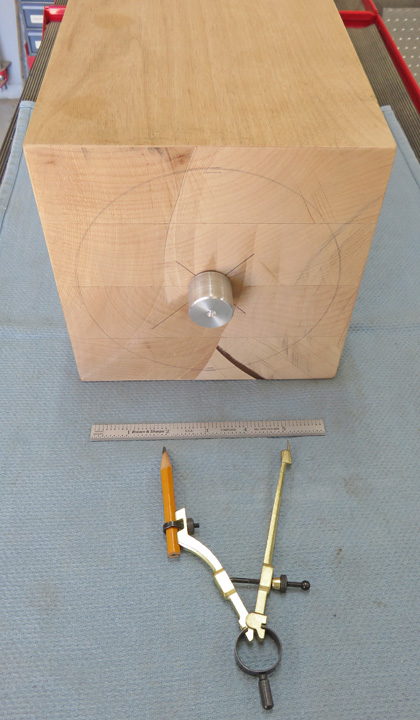
Here is what the spud looks like inside the base. And you can also see I've laid out a six inch circle for
reference. Now it's almost ready to cut on the lathe but first I'm going
to remove those four corners to make it easier to turn.
|
|
 |
|
Working With Wood Again
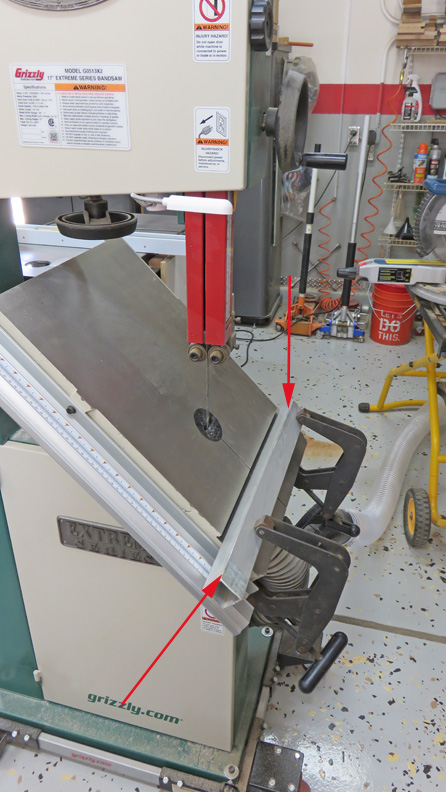
I'm going to use my bandsaw to remove those corners so I
set my table to 45 degrees. But to make sure I cut in a straight line,
I've clamped a piece of square tubing to my table (arrows). This will keep my work
piece from moving while I push the block through the blade.
|
|
 |
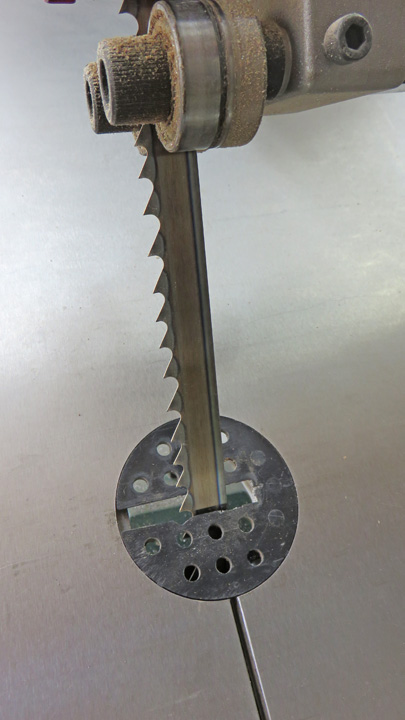
I'll be using a 3/4" wide blade with a variable 2 to 3 tooth per
inch that should
make quick work of these cuts.
|
|
 |
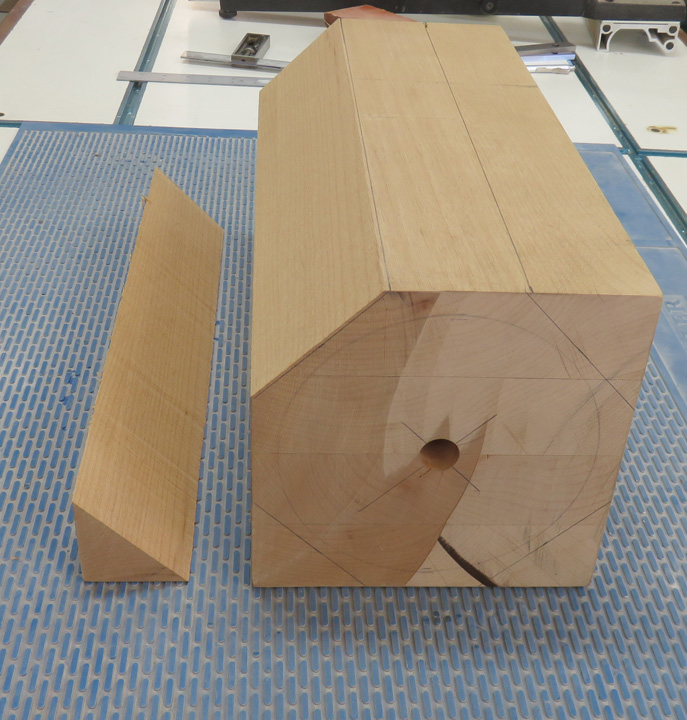
I stayed away from my layout line by about 1/4". I did this three times.
|
|
 |
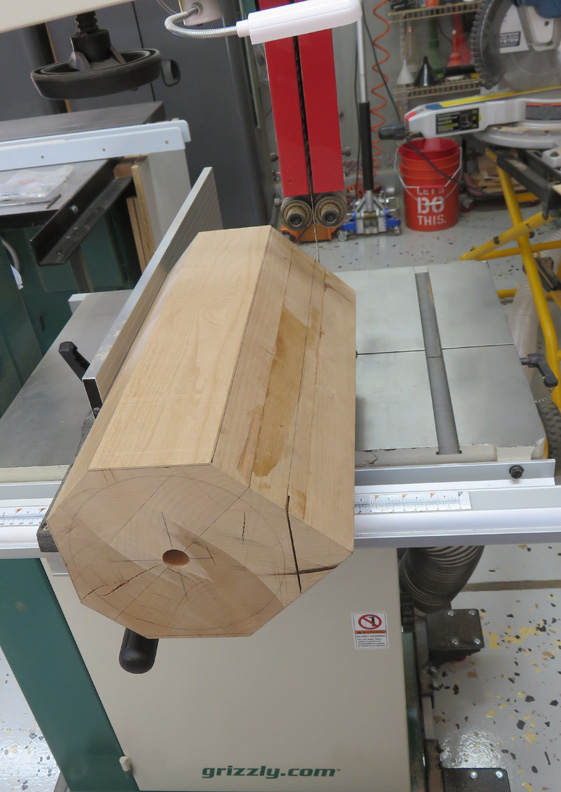
For the last cut I put my table back to zero and then cut my last side.
|
|
 |
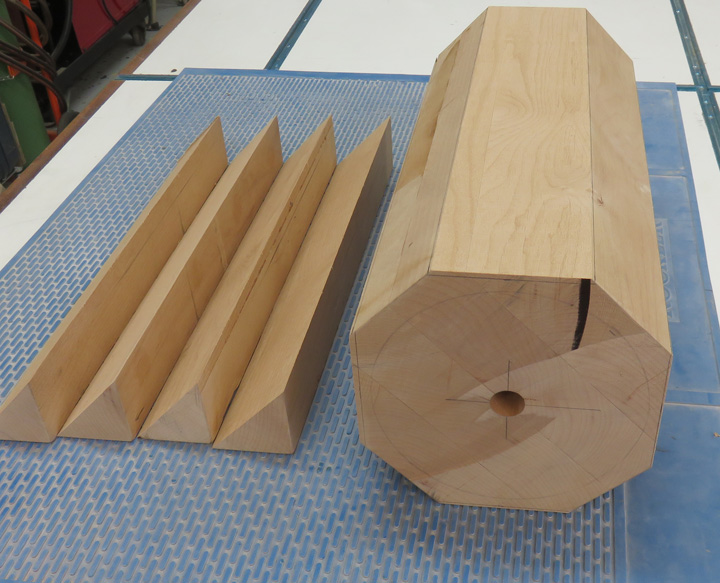
This worked out great and now it's time to work on the lathe.
|
|
 |
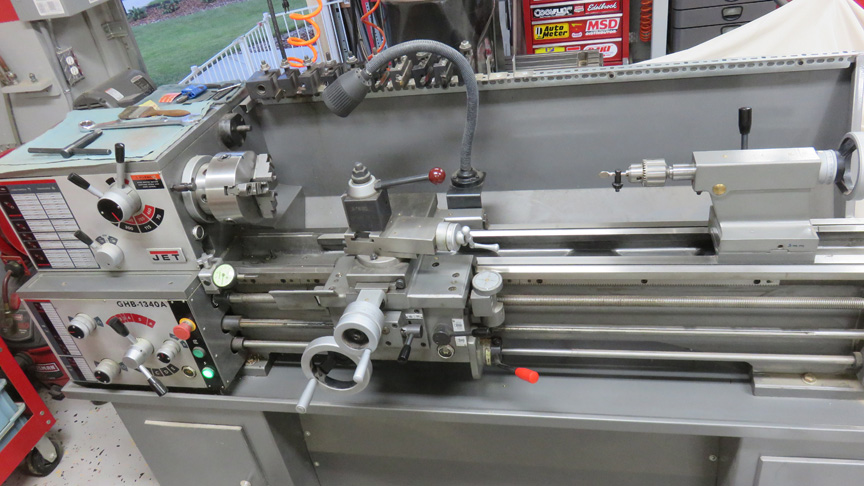
Take a good look because my lathe is nice and clean in this picture, but
it won't be like that for long. And I'll be removing that 3 jaw chuck in
a minute as well.
|
|
 |
|
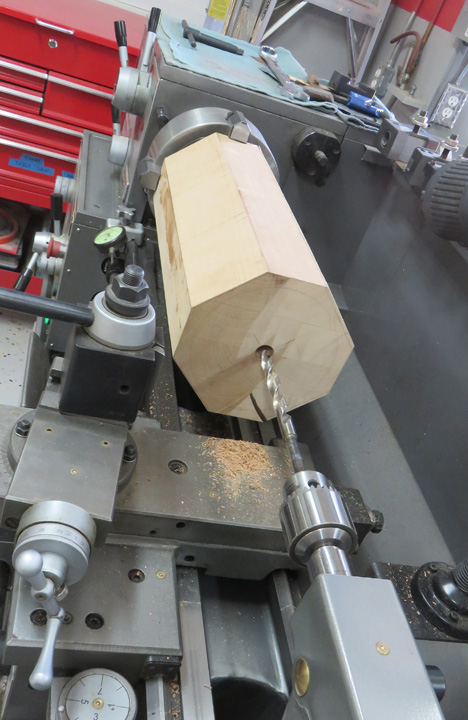
I've installed my 4 jaw chuck to hold my large work
piece, which is working out great so far. What I need to do is drill a
hole that goes all the way through so I can run electrical
wire from the bottom to the top. Here I'm using a 1/2" diameter drill to
go about 1/4 of the way through. I turned my work piece around and did
the same thing on the other end. However, I want to end up with a one
inch hole once I'm finished, but I'll get to that later. Now it's time to
start turning the outside diameter.
|
|
 |
|
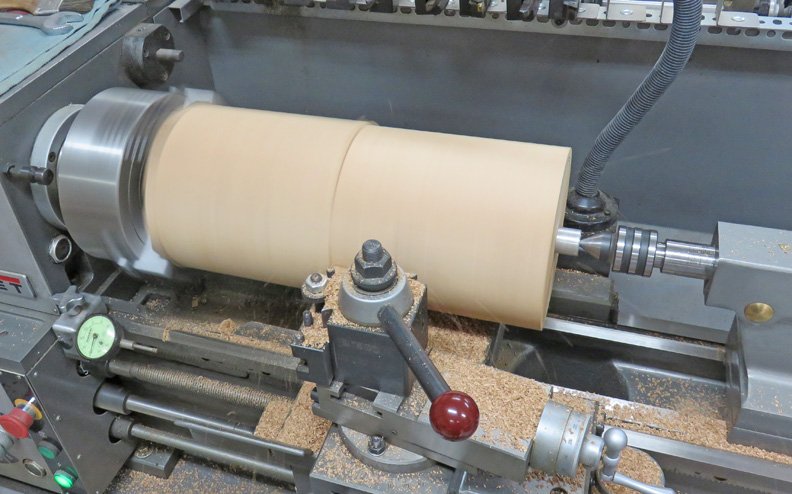
Here you can see I'm using my aluminum spud along with
my live center to support my work piece while I'm turning it. This worked
out really well. If you look close you can see my lathe is running
and taking a cut when I took this picture.
|
|
|
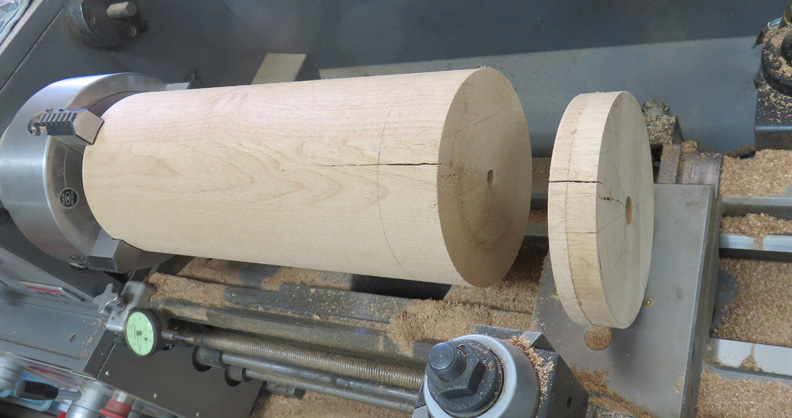
My work piece is still oversize at this point but I
decided to cut off about 1 1/2" to get rid of that cracked area. Now if
you look close you can also see a pencil line near the end of the part. This
line represents the overall length of my work piece so I still have
plenty to work with.
|
 |
|
1
2
3
4
5
6
7
8
9
10
11
12
13
14
15
16 |

