|
Assembly Continued
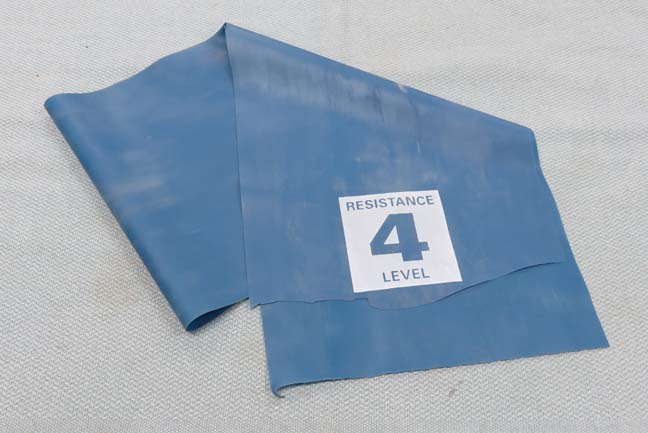
This rubber resistance band came in handy to add a small
amount of press fit to the wire. With the wire and the hole being the same size, it was a little too easy to pull it
loose so I'll be adding a very small piece of this band to the assembly.
|
|
 |
This small piece is all I needed to keep
the wire from moving or coming loose if someone tried to pull on it. I
placed it top of the wire, put the other half on and then screwed them
together. This created a press fit for the wire.
|
|
 |
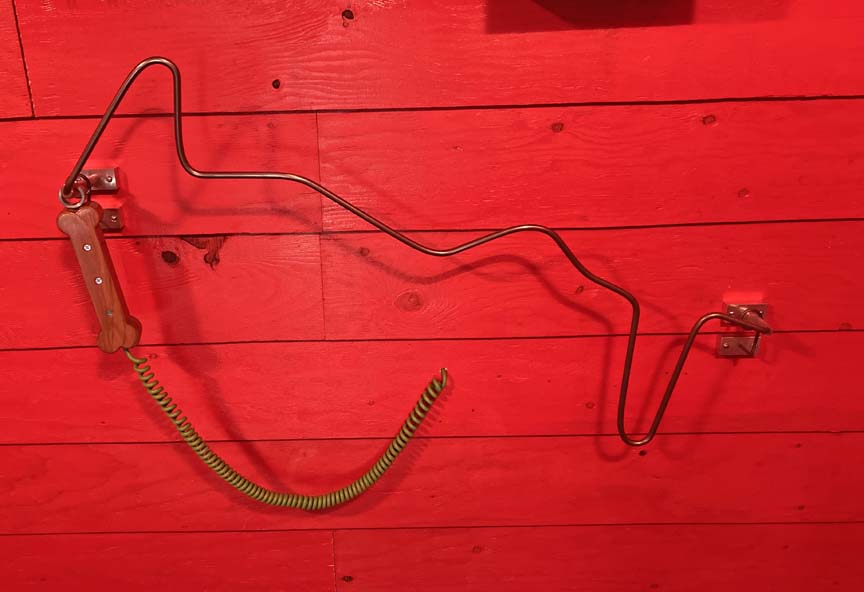
Here it is all finished.
|
|
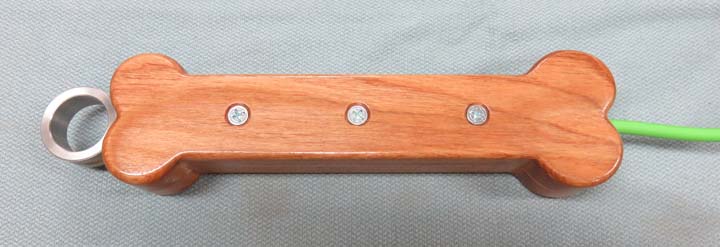 |
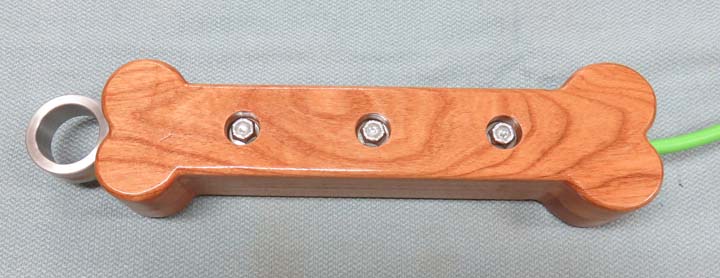
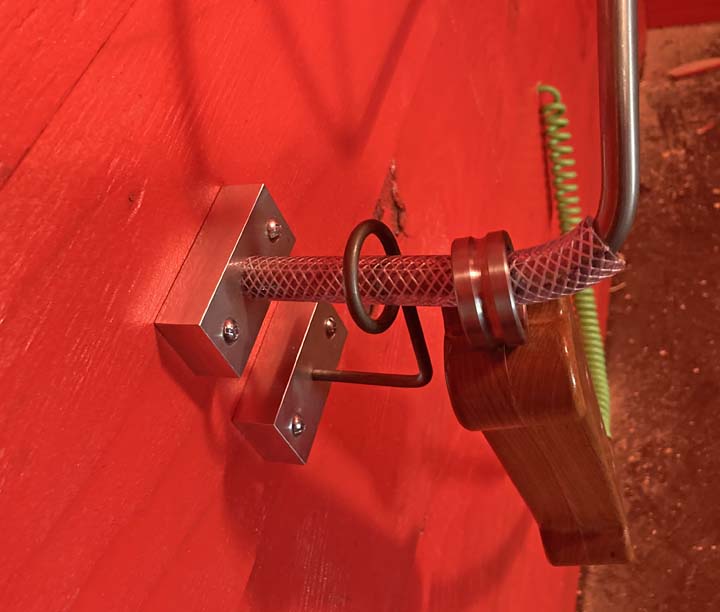
This is the other side to show you the washers and nuts.
|
|
 |
Everything went together like I wanted and I'm happy with how it turned
out. Now it's time to install everything.
|
|
 |
I helped Matt install this at the Escape Room that he was contracted to
work at in Forest Falls, CA.
|
|
 |
|
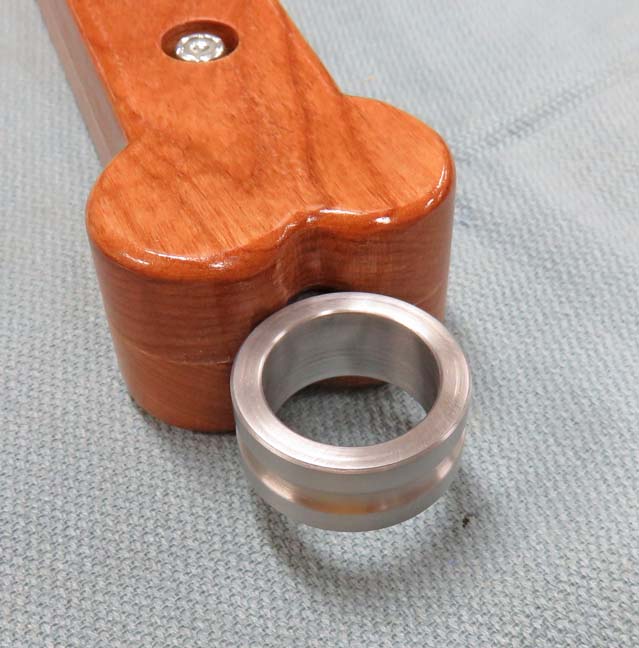
Here you can see the end point. Once someone works their
way across the buzz wire to this point, they need to touch the dog bone
ring to the small black ring. And once the customer does that, something
big happens to
let them know they solved this puzzle. The clear hose with the
reinforcement is used as an insulator in case someone inadvertently moves
that thin ring against the buzz wire because that would short-out some
electronics. It's not pretty, but it works.
|
|
 |
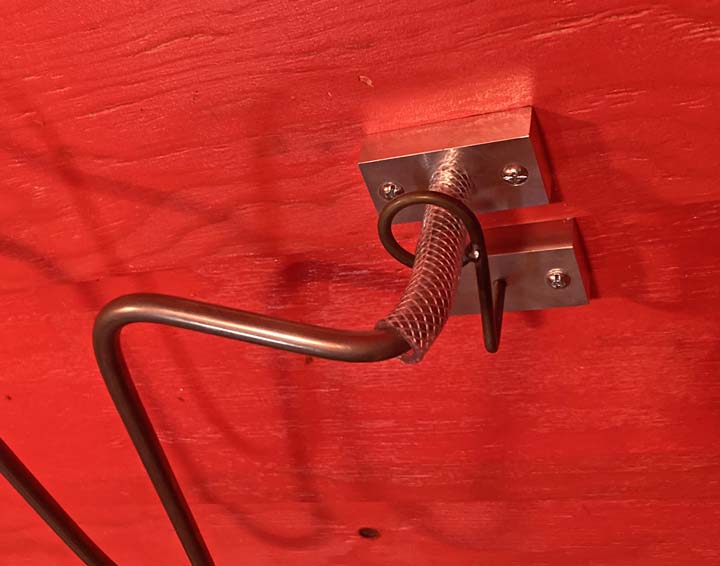
Here is the start point which is just like the end point.
|
|
 |
|
1
2
3
4
5
6 |