|
Working With Wood Continued
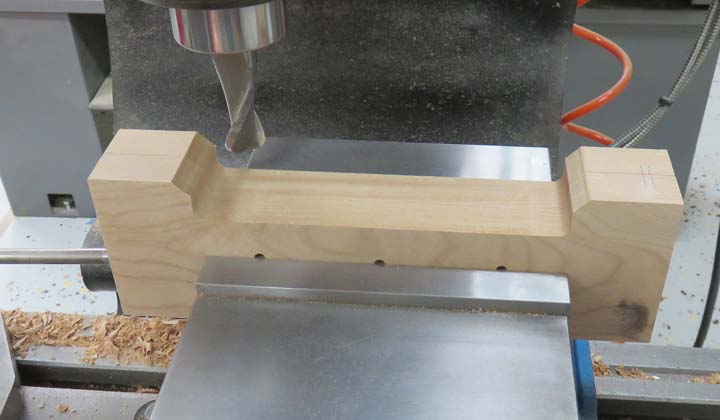
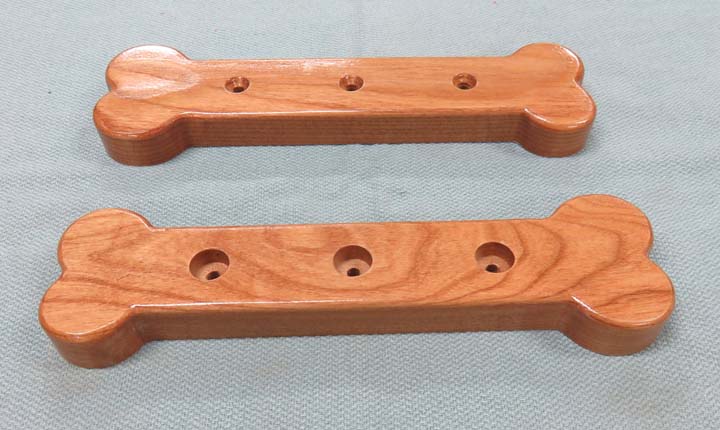
Here I'm machining the thickness and the radius at both ends which
worked out pretty good. After I cut each piece, I then went back to my
band saw and cut the rounded ends.
|
|
 |
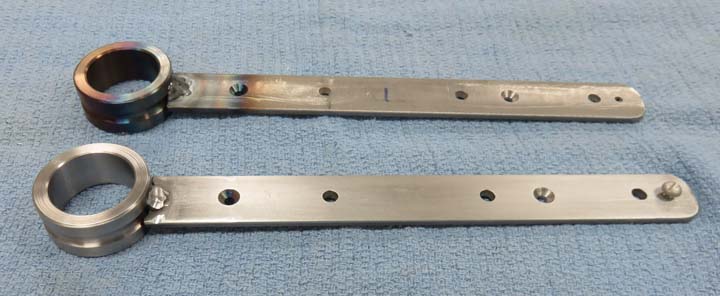
| Working With Metal Again
I'm using a file to produce a radius so I
can weld on the rings to this piece of steel. This piece of steel
measures 3/4" wide by 1/8" thick.
|
|
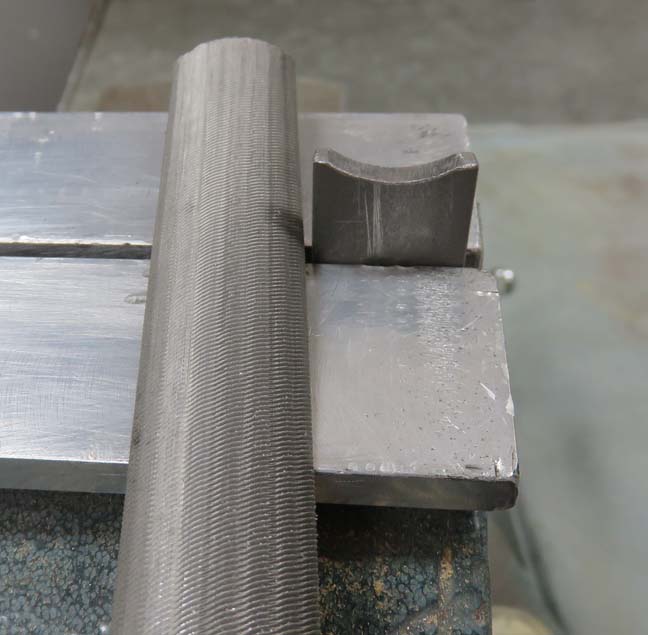 |
Using a hand file wasn't my first choice but I only had to do three
pieces so no big deal.
|
|
 |
|
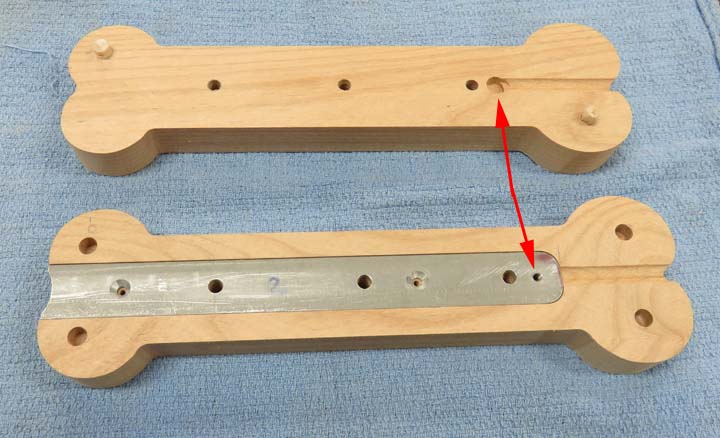
Assembly I mentioned earlier that the wire will be held to the
steel piece with a #8 screw. The arrows are pointing to the threaded
area in the steel and the other side is clearance for the head of the
screw.
|
|
 |
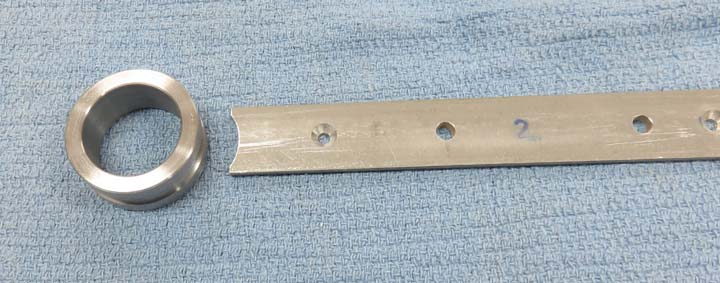
After welding the ring to the flat piece, I used a sanding disc along
with a round file, and some Scotch-Brite to clean up my work piece.
|
|
 |
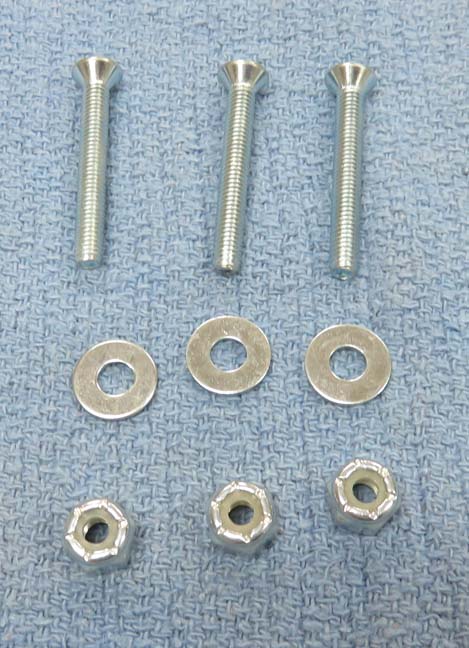
Here is the hardware that will be used to hold the dog bones together.
These are 10-32 flathead screws and lock nuts with washers under the the
nuts.
|
|
 |
I did some sanding and the put three coats of gloss clear on them, which
makes cleaning them easy.
|
|
 |
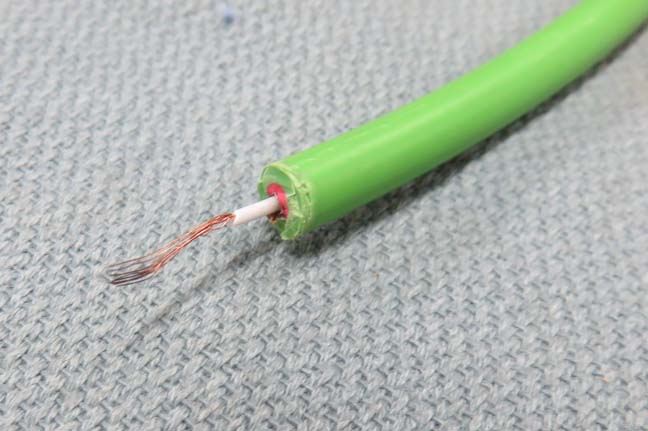
This instrument cable will be used to connect the dog bone to the
electronics that make this buzz wire operate.
|
|
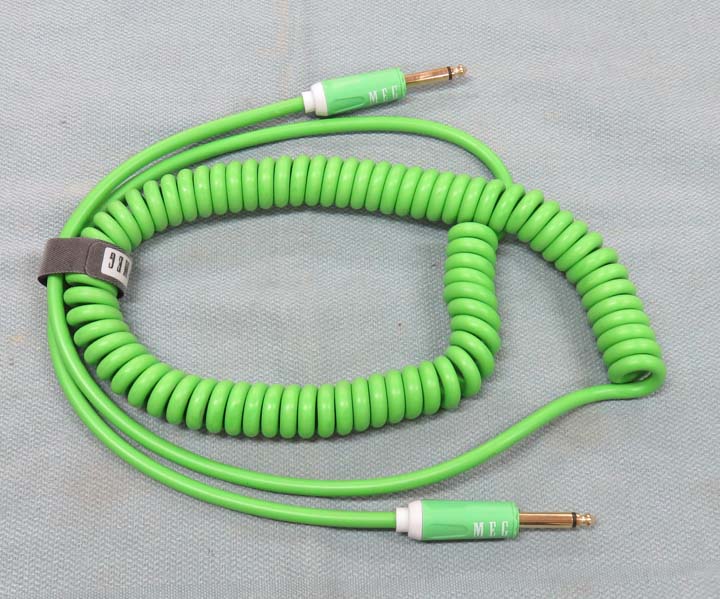 |
This cable has two wires and I used the one in the center.
|
|
 |
Here you can see how this is connected to that screw you saw earlier.
|
|
 |
|
1
2
3
4
5
6 |