|
Making A Trim Plate Continued
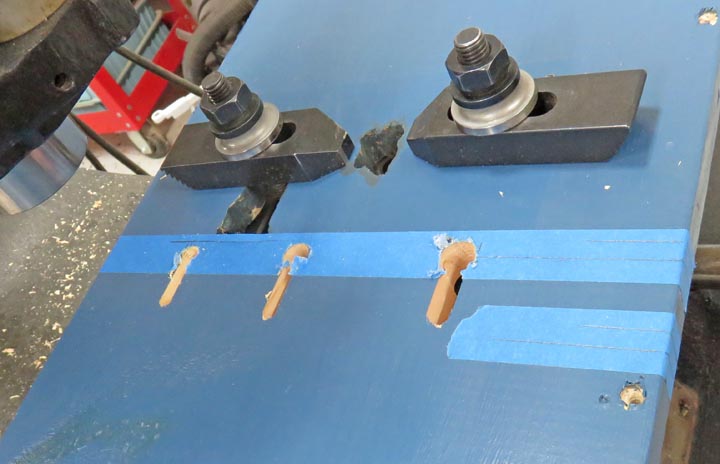
Here is a close-up of the cutouts. The blue tape that you see was for
laying out my locations.
|
|
 |
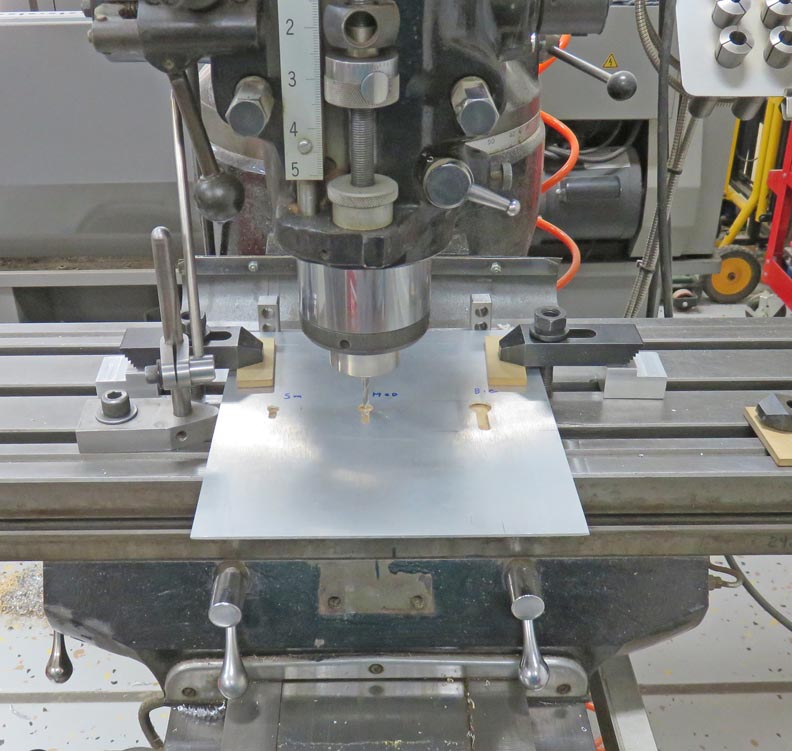
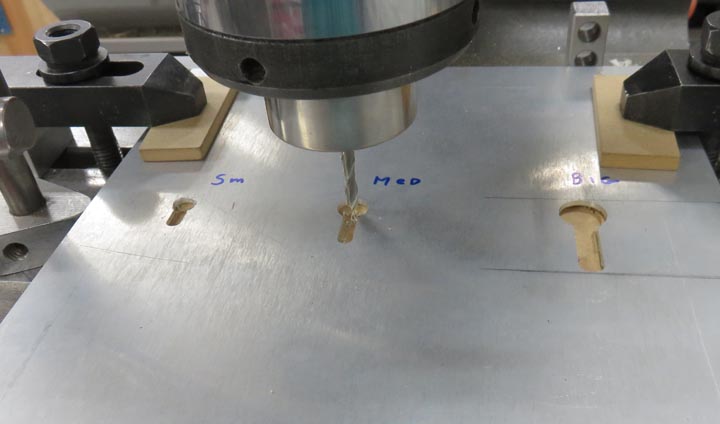
Here I'm making the cutouts for the keys
in my trim plate.
|
|
 |
The distance between them was the same as the wood cutouts.
|
|
 |
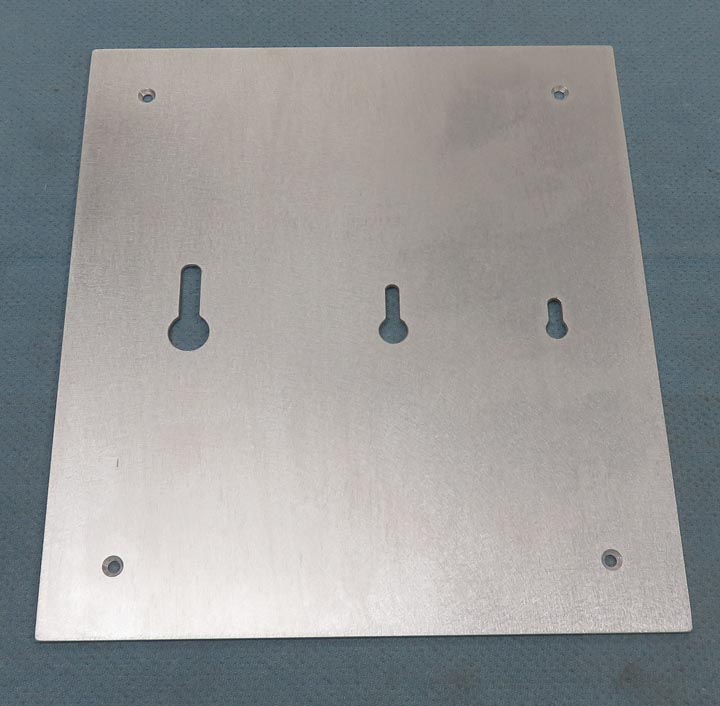
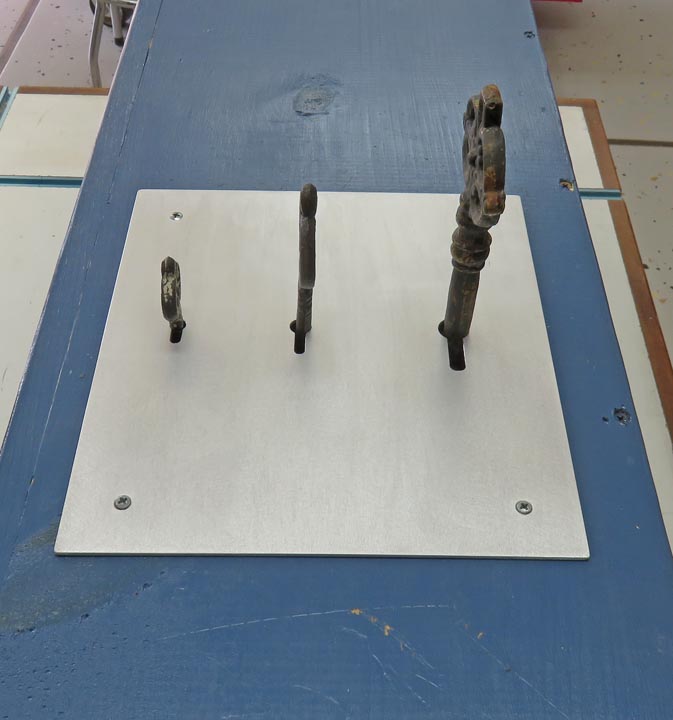
I added four screw holes to mount the trim plate.
|
|
 |
Those weird shaped holes were existing but now I need to paint the bare
wood.
|
|
 |
|
Matt didn't want anyone to be able to see anything under
the trim plate so I'll be using some black paint here and there. I
sprayed some paint into a small cup and then used a brush to apply it.
|
|
 |
I didn't have to worry about being careful with the paint because the
trim plate will cover all this.
|
|
 |
I also painted the tops and the inside of the blocks. The paint didn't cover
that well but it's enough that you can't see anything from the
outside.
|
|
 |
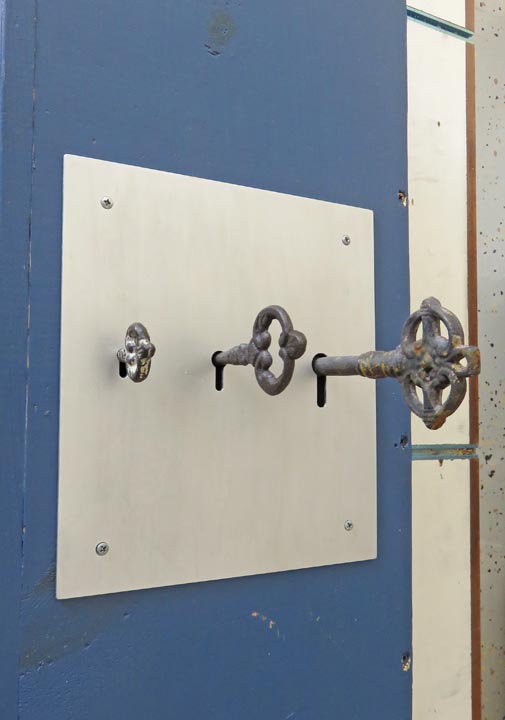
Here is what it looks like all finished. Each key turns like there is a
real lock inside and the keys stay in the blocks once you turn them.
|
|
 |
This was a really fun project and hope that it works good for everyone
that plays the game.
|
|
 |
|
1
2
3
4 |