|
Working With Reed Switches Continued
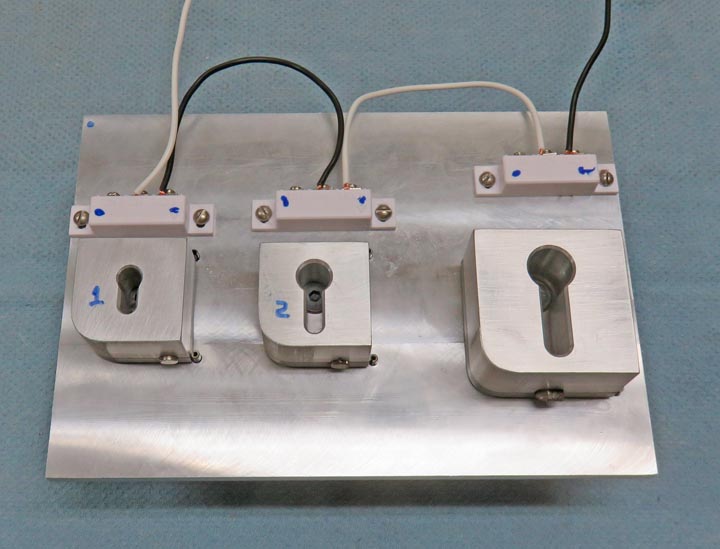
With all the switches fastened down and wired, it's time
to see if everything works. I put small pockets in each block and then
inserted a magnet in each one. I placed a 12 volt test light and power
supply to each wire and everything worked great.
|
|
 |
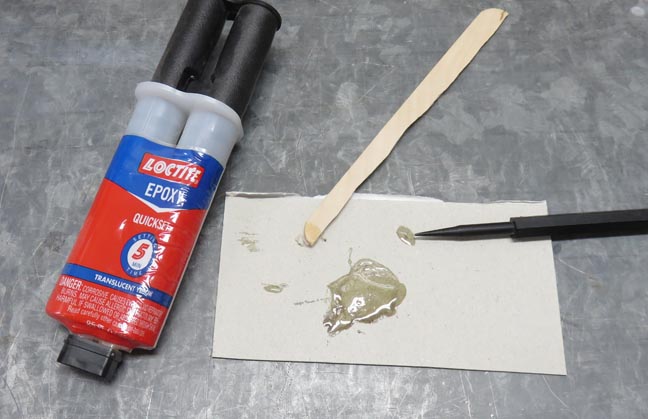
Once I verified everything worked, I
used some 5 minute epoxy on the back of each magnet to make sure it
stays in place.
|
|
 |
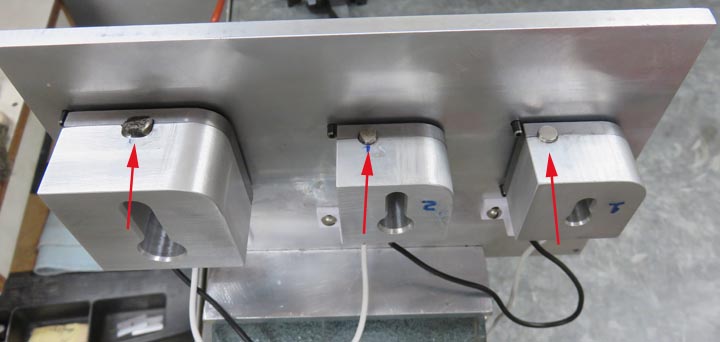
Here you can see each magnet glued in place. Now it's time to mount this
assembly into the large wooden box.
|
|
 |
|
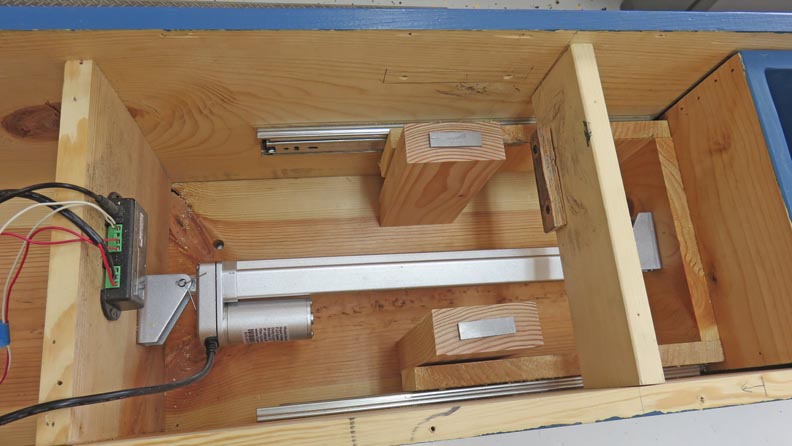
Assembly
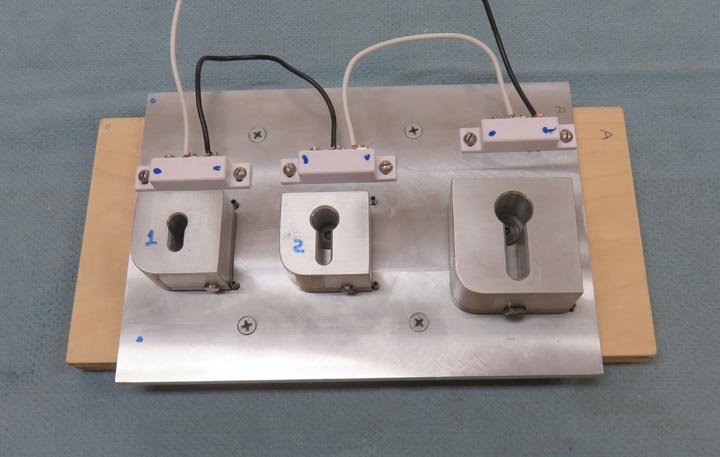
I mounted the aluminum plate to a piece of wood using four flathead
screws.
|
|
 |
|
Then I placed some 2 X 4's vertically along with two small metal shims
inside the wooden box. Next I sat the assembly in the box, used a pencil
and drew around the wood base I made for my assembly.
|
|
 |
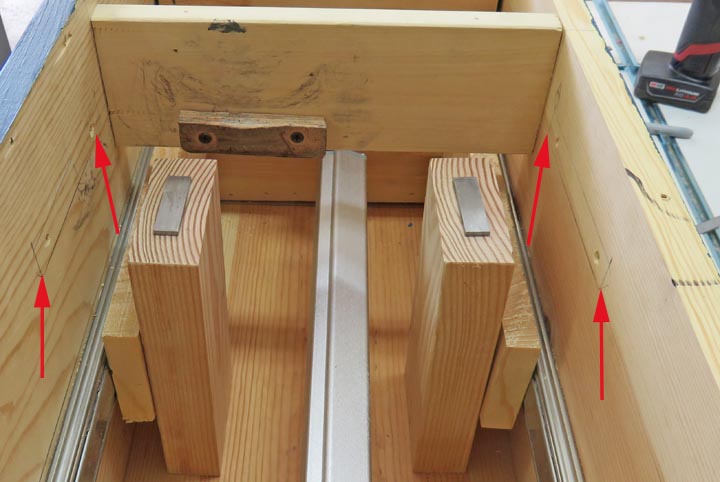
Here you can see the pencil lines a little better. I've also drilled
four mounting holes (arrows) for some screws.
|
|
 |
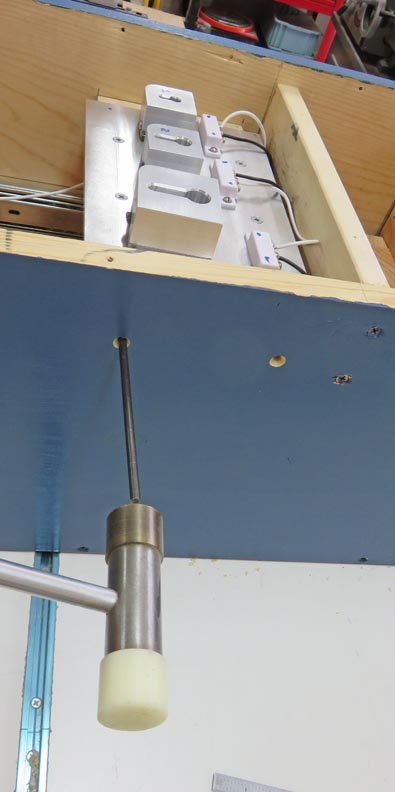
Next I used a transfer punch in each screw hole, hit the punch with a
small hammer to produce a small dent in my wooden base.
|
|
 |
|
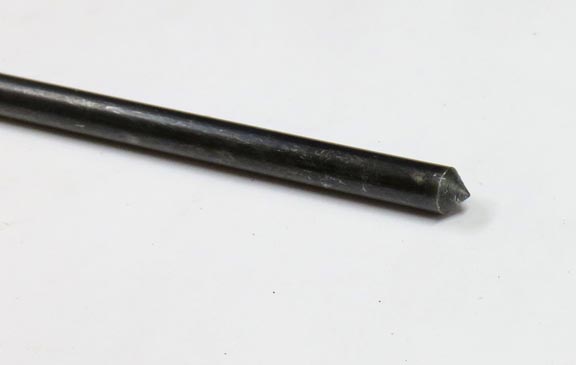
Here is what the end of a transfer punch looks like. A small tap on the
other end results in a small dent in your work piece. This makes it easy
to drill at the exact spot that you need. And in my case it's for a
pilot hole for my mounting screws.
|
|
 |
|
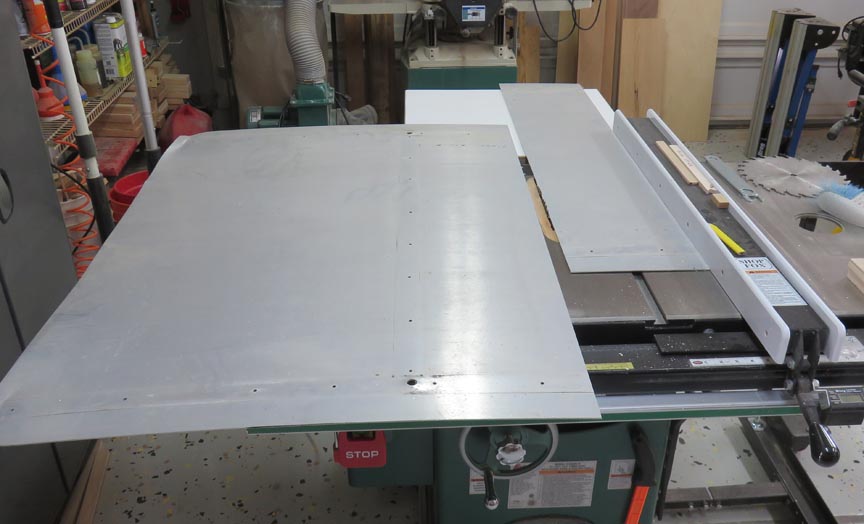
Making A Trim Plate
I'm using my table saw to make a trim plate for the front of the
wooden box. I've done this on my saw many times before and it works great. This
aluminum is 3/32" thick and use to be a street sign.
|
|
 |
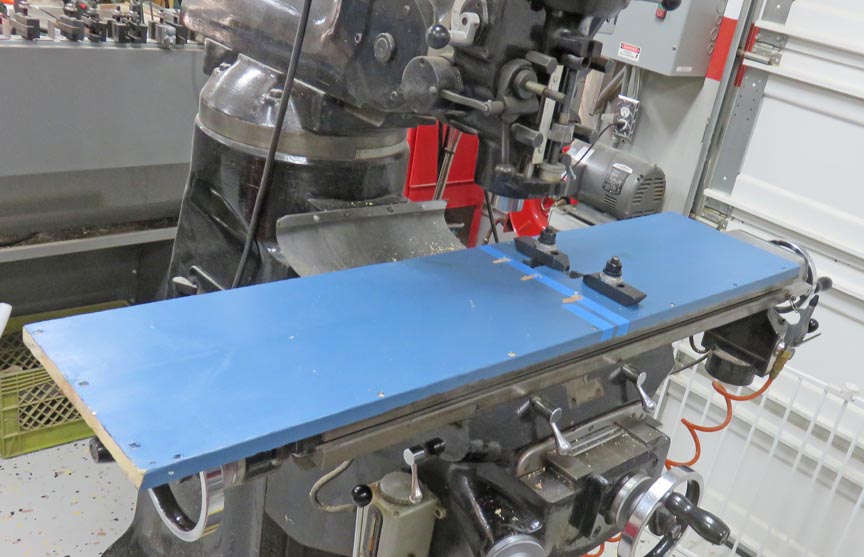
Here I'm using my milling machine to make cutouts in the front of the
box that match the three aluminum blocks I made earlier. This was easy
to do and it was fast.
|
|
 |
|
1
2
3
4 |