|
Working With Metal
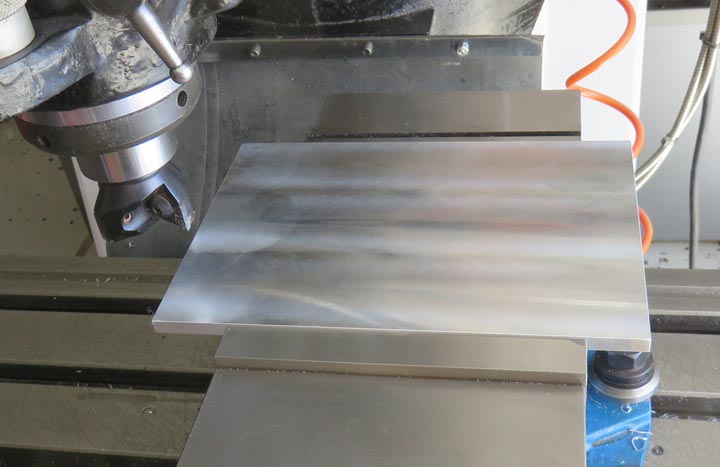
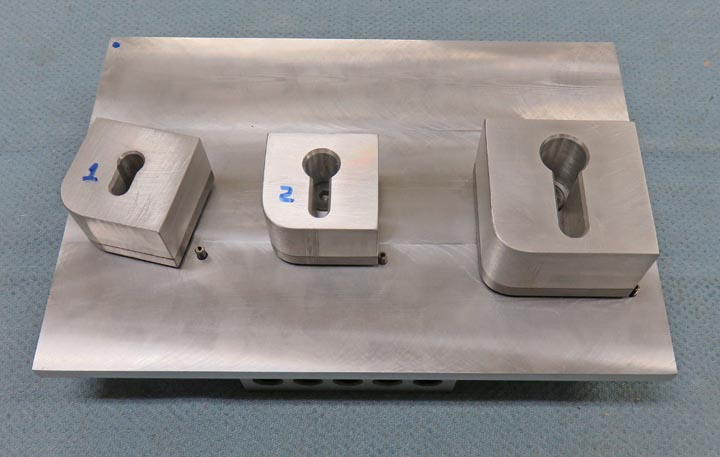
I'll need a plate to mount those three pieces to so I'm going to use
more aluminum for this. I machined this
piece down to 1/4" thick, and the size of the plate is 9" X 6".
|
|
 |
|
Now you can see how this will work because If you look
close you'll see the top of the flathead screws. This is so each block
can turn once the key is inserted.
|
|
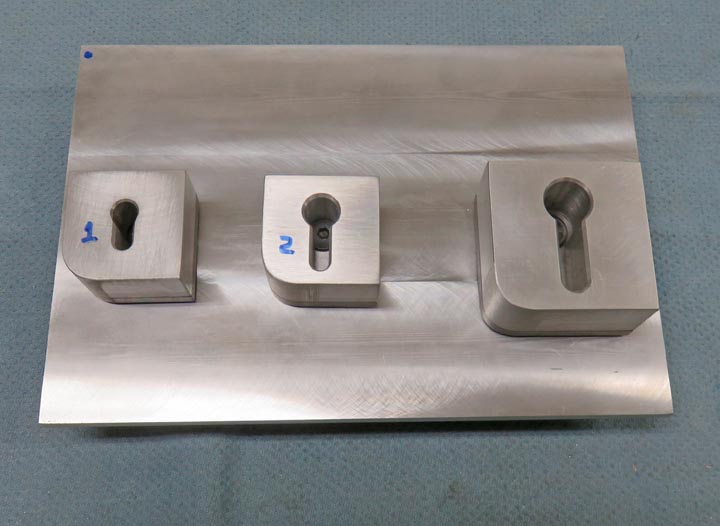 |
Also notice each block has a large radius on one corner. I'll show you
why soon.
|
|
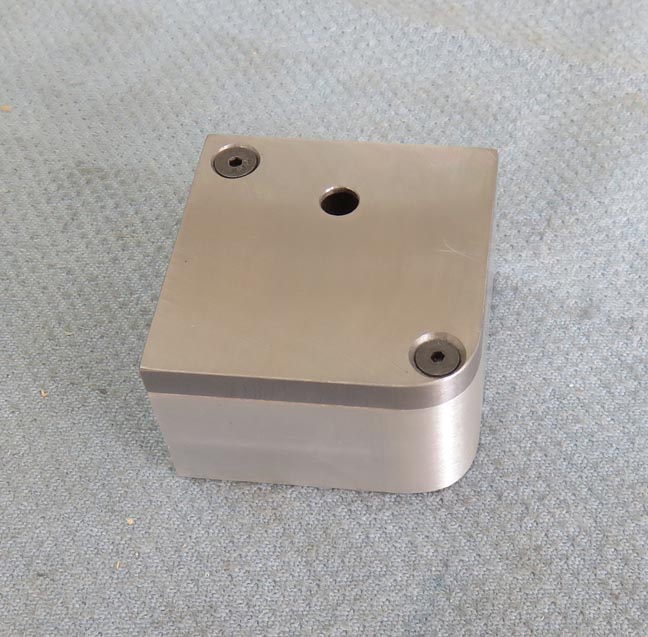 |
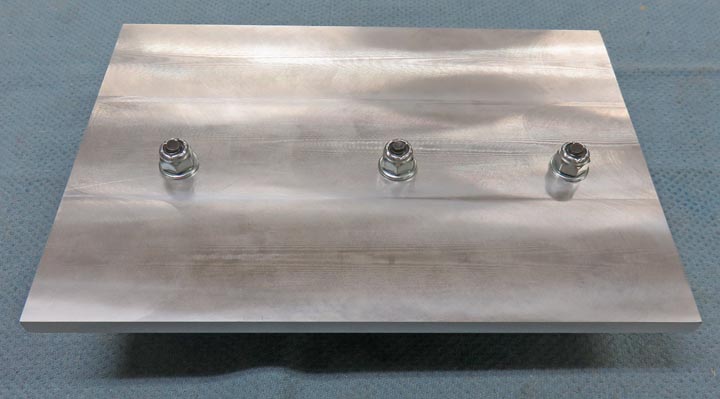
To adjust each piece so it turns with a small amount of friction, I used
lock-nuts. This way I can tighten them down to the exact tension that I
want and they won't come lose.
|
|
 |
|
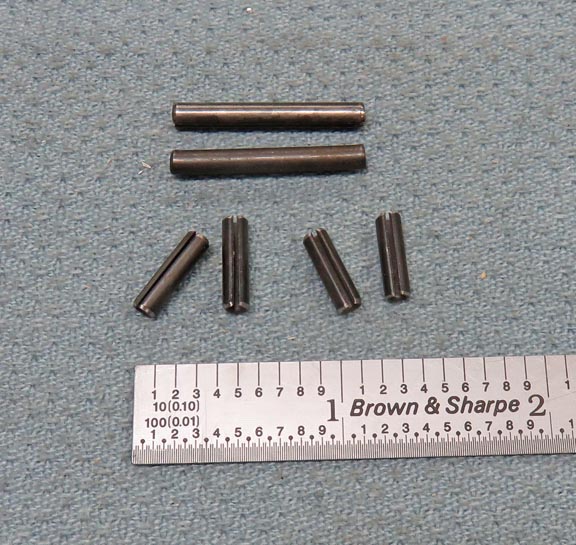
These are 1/8" diameter roll pins that I'll be using as
'stops' for each
block. I used my Dremel to cut each long one in half. Now these pins are
slightly larger than 1/8" diameter, meaning they are a press fit if
you use a 1/8" diameter drill. As you
insert the pin into your hole, the pin squeezes down a small amount
which keeps it from going anywhere. Each pin that I cut is about 1/2"
long.
|
|
 |
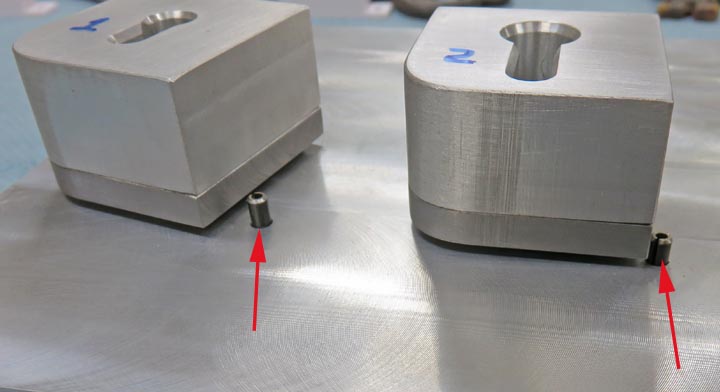
I drilled a 1/8" diameter hole next to each block so they orient
the starting position for each key.
|
|
 |
|
Here you can see how the pins look a little better. I also added one on the
other side of each block so the blocks stop once they've been turned 180
degrees. These roll pins are heat treated and should last for many years
without any problems.
I mentioned earlier that once all three keys were
inserted and turned that it would activate an electrical circuit. Well
now it's time to make that connection happen.
|
|
 |
|
Working With Reed Switches
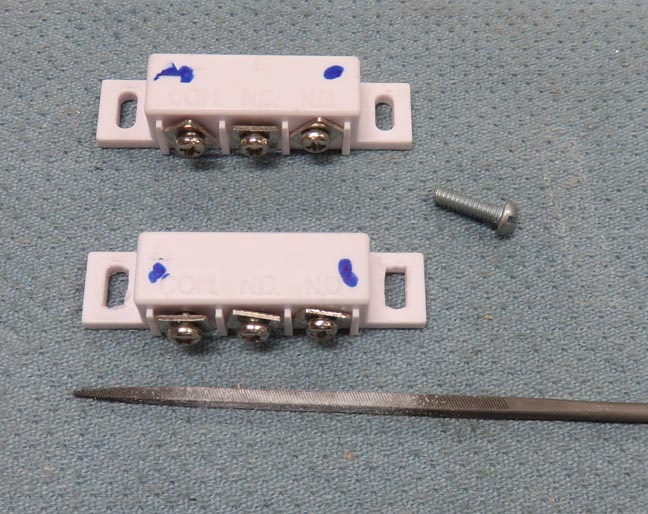
What you see here are Reed switches. A Reed switch is an
normally open (NO) or normally closed (NC) type of switch, (similar to
how a light switch in your house works). And these Reed switches can be
setup to be either NO or NC, but I'll be setting them so they are
normally open for this project.
To activate a Reed switch to open or close, you use a
magnet. Once the magnet gets close to the switch, it changes from its
current position to the other. Example: if the switch is setup to be
normally open and then you pass a magnet next to it, the switch will
close. It's a very simple type of switch that I've used many times
because they work really well. In fact, these get used in burglar alarm
systems, like on windows and doors.
I'm going to use some 6-32 screws to mount these
switches to the aluminum plate but my screws are too large to fit
through the mounting slots. So I used a small square file to open the
slots a small amount. If you look close you can see the bottom one has
slightly larger slots than the top one. I did this on all three
switches.
|
|
 |
|
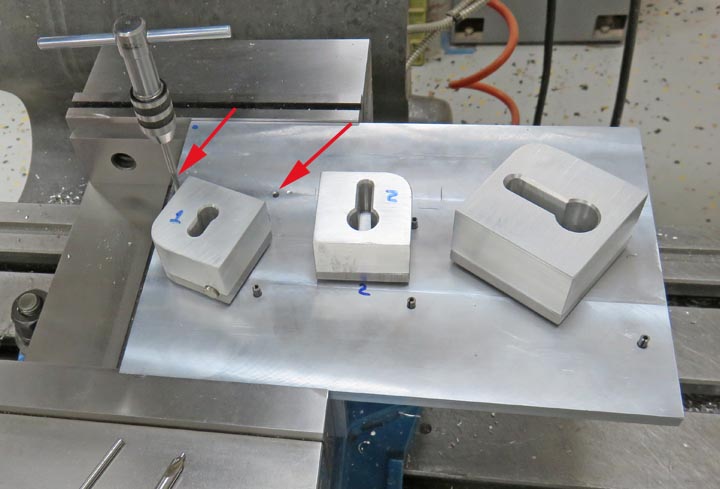
What I'm going to do is mount these Reed switches next
to each block. I've drilled and tapped two holes next to each block
(arrows). Once the blocks turn 180 degrees, a magnet inserted in the
blocks will come close enough to activate the Reed switch.
|
|
 |
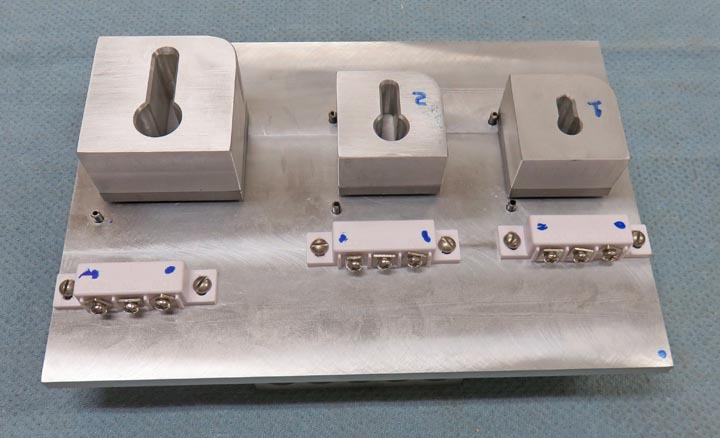
Here you can see all the Reed switches have been mounted and now it's
time to do some testing.
|
|
 |
|
1
2
3
4 |