|
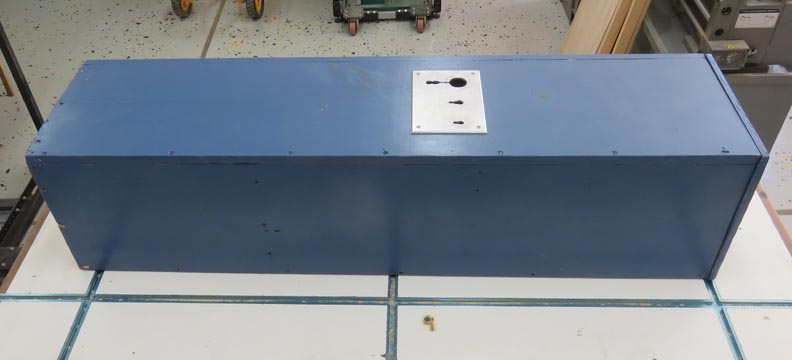
My daughter and son-in-law wanted me to help them on
another Escape Room project, and I gladly excepted. What you see below
is something my son-in-lay Matt made a long time ago. It has a linear
actuator inside that lifts the top off exposing a hidden compartment
(right side).
But he wanted to add something different to this puzzle so this is where
I come in.
|
|
 |
|
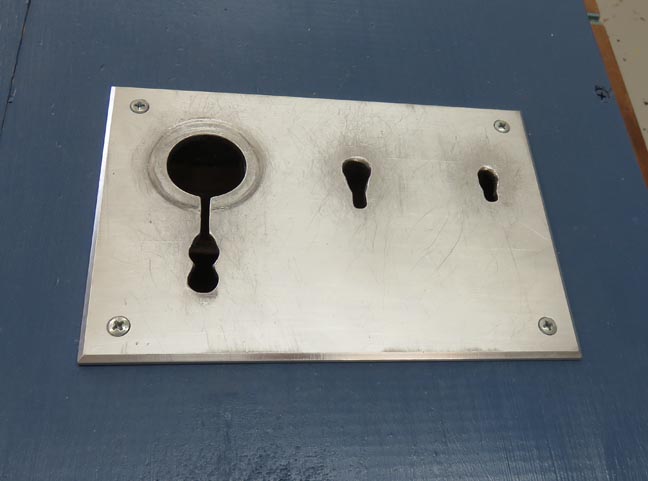
I made this trim plate for this puzzle about eight years
ago and as you can tell it's been used a bunch. But under that trim
plate is just a hollow void making it look like there was more to it,
but there's not. What the employees did was push a button in the control room
when the people playing the game found and inserted all three keys in
the the corresponding slots.
Well all that's about to change because Matt wants me
to build something that is functional. That means when someone inserts a
key it will have resistance (like a real lock has}, needs to turn 180
degrees and the key needs to stay in place once its turned. Once all
three keys have been inserted and turned, an electrical circuit makes a connection
and this will open the hidden top.
|
|
 |
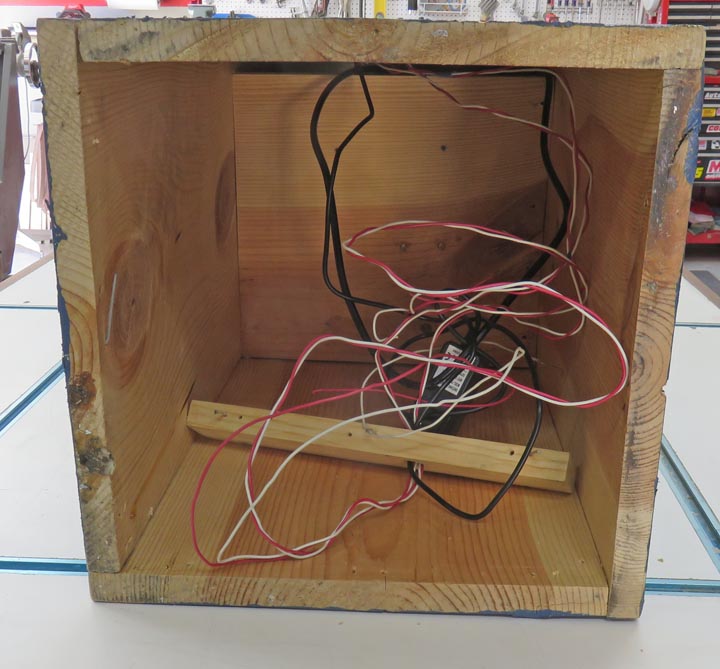
Here is some of the wiring that goes to the linear actuator. I'll be
adding two more wires to this once I'm finished.
|
|
 |
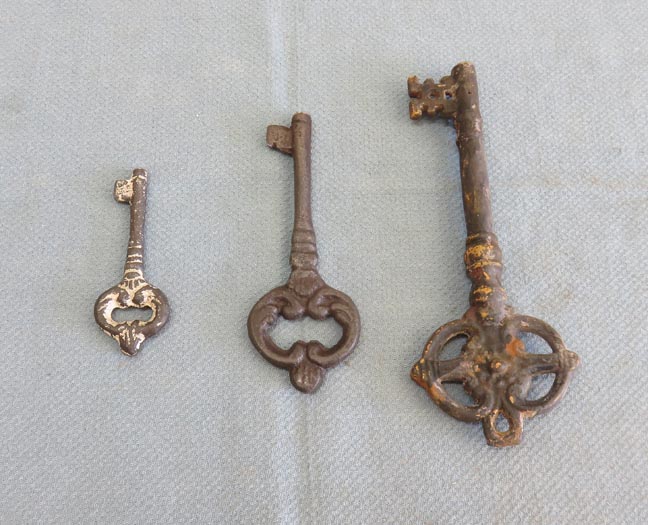
And here are the three new keys that will be used on this puzzle. Now
it's time to come up with a plan to make this puzzle work.
|
|
 |
|
Working With Metal
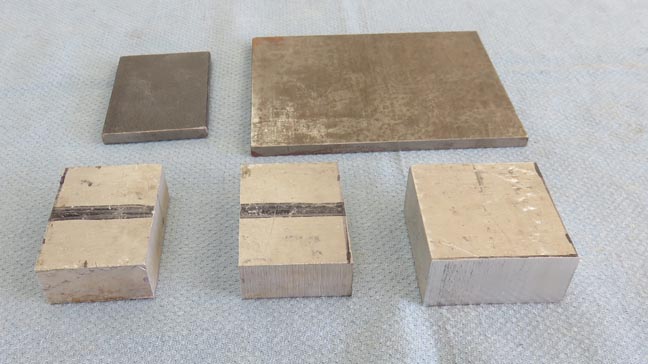
What I'm going to do is use steel and aluminum for this
project. The aluminum will have a slot for the key to fit into and go
all the way through it. Then I'll fasten a piece of steel to the back of
the aluminum
so the key will bottom out on the steel piece.
|
|
 |
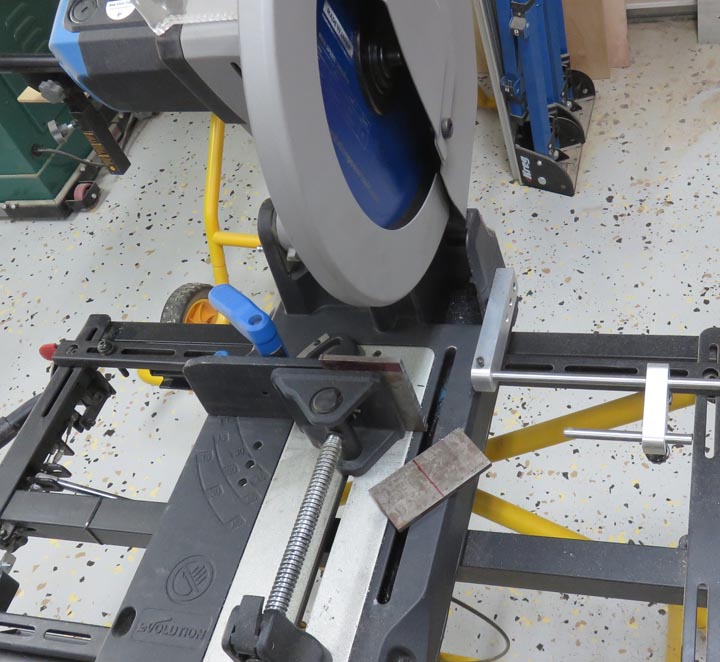
I used my metal cutting miter saw to rough cut all my pieces.
|
|
 |
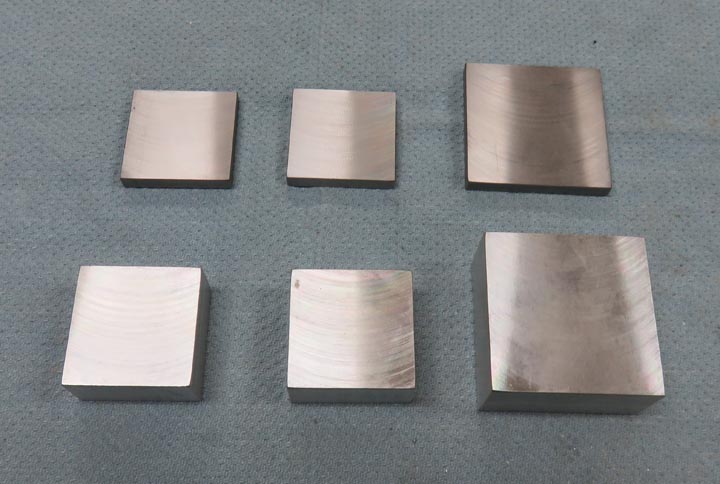
Then I machined all six sides of each piece.
|
|
 |
|
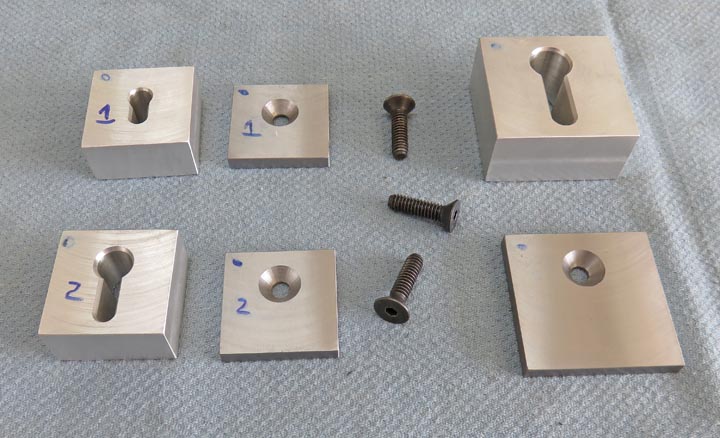
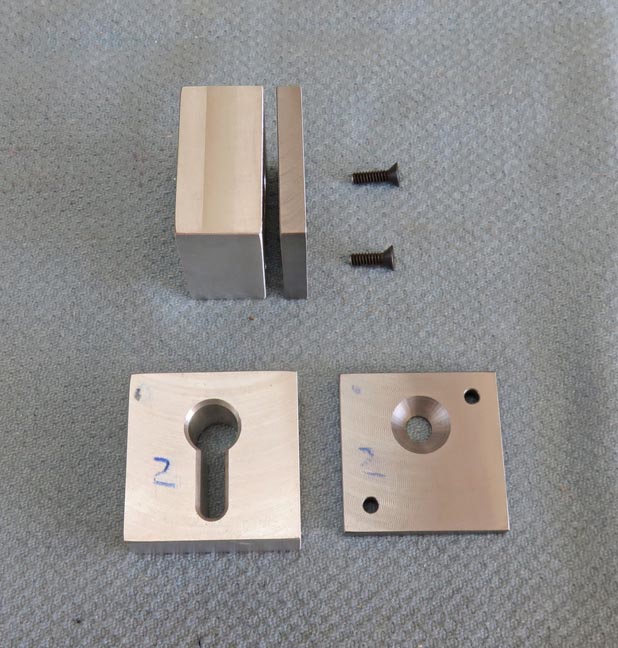
Next I machined some slots for the keys in the aluminum
pieces. I also drilled and chamfered the steel pieces for a 1/4" flat
head screw. The screw will be the pivot point so the block can turn. And
each block has the screw hole in a different place which is why I
numbered them.
|
|
 |
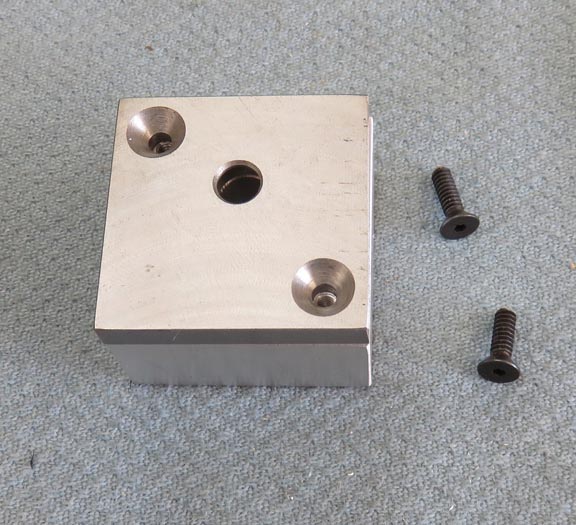
Next I drilled and tapped for some 6-32 screws to hold the steel pieces
to the aluminum.
|
|
 |
Just a close-up of the screw holes.
|
|
 |
|
1
2
3
4 |