|
Working With Steel Continued
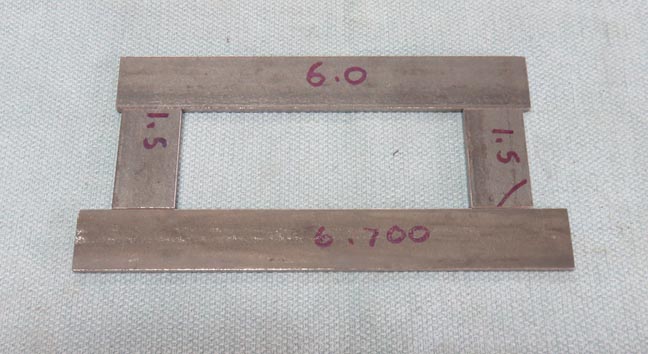
After cutting and machining this is what I've
come up with. The reason I didn't use a single piece here is because it
would have added too much weight. So I decided to make this extension
out of separate pieces.
The six inch piece will get welded to the smaller blocks on
the headrest and the longer piece at the bottom will have those two long
pins welded to it. Now it's time to weld this together, grind the welds
flat and then weld it to the headrest.
|
|
 |
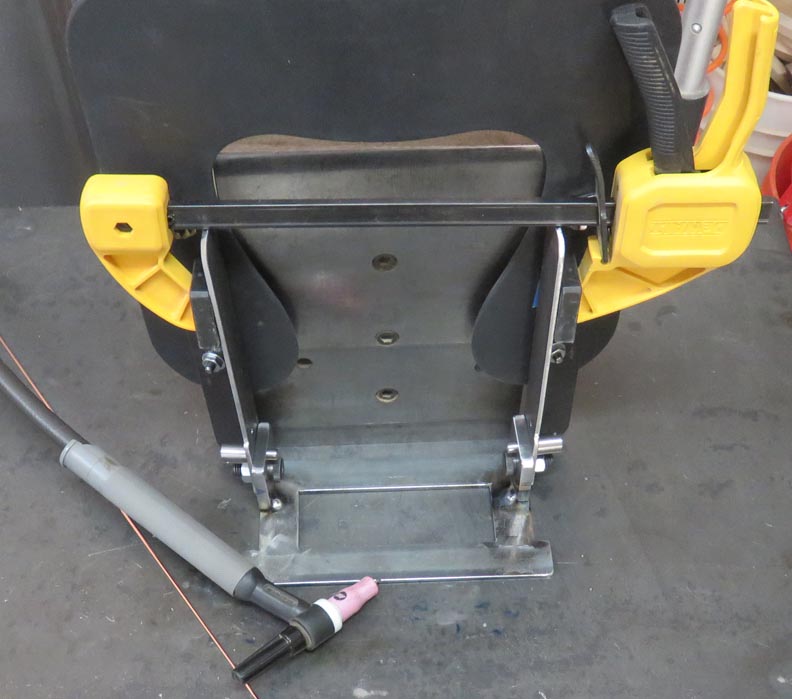
Here I'm tack welding the extension into
place. This was a tricky setup and I had to mess with it many times
before I was happy with the position. I know it looks simple, but it
wasn't.
|
|
 |
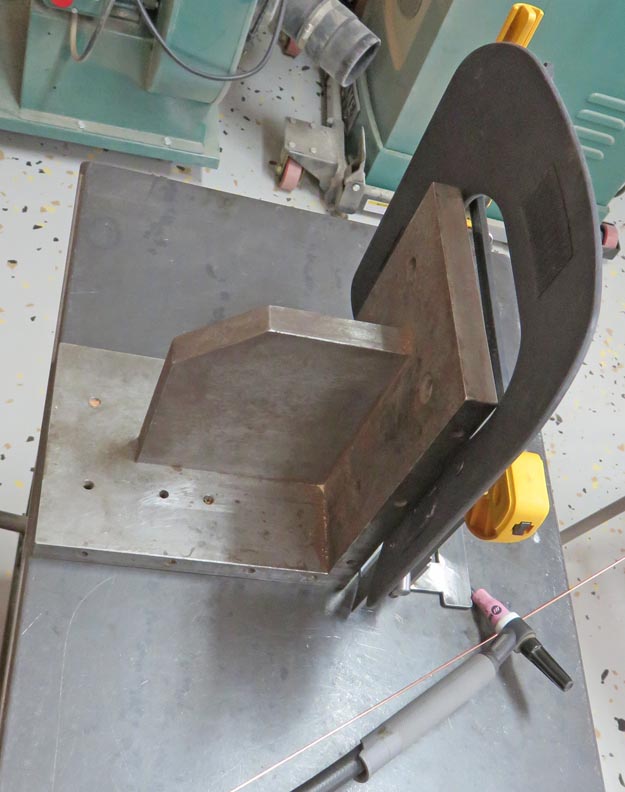
Here you can see I used my angle plate to help with the welding setup.
Whatever works....
|
|
 |
|
Working With Wood I'm getting ready to cut off the pins from the old
headrest but before I do that, I am going to make some tooling to help
make sure the pins are in the exact position they should be once I'm
finished.
|
|
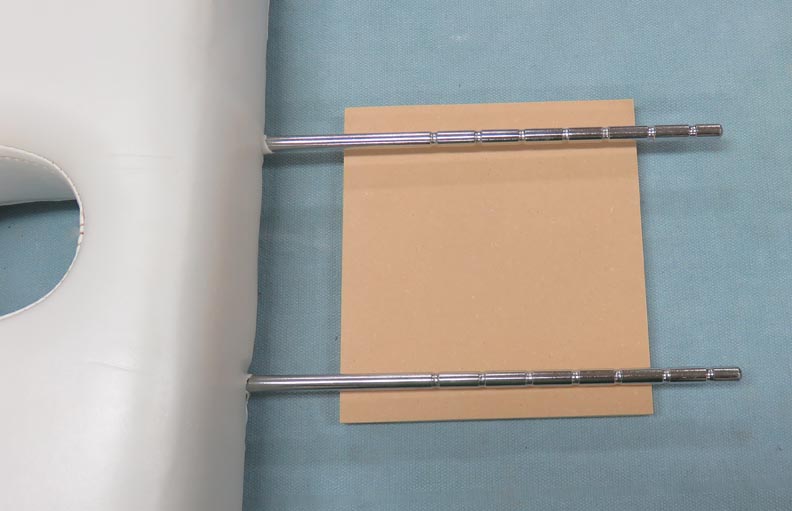 |
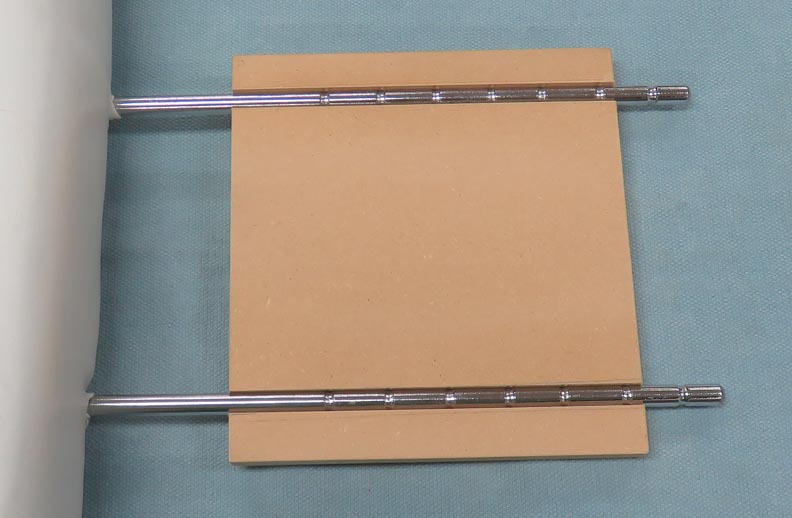
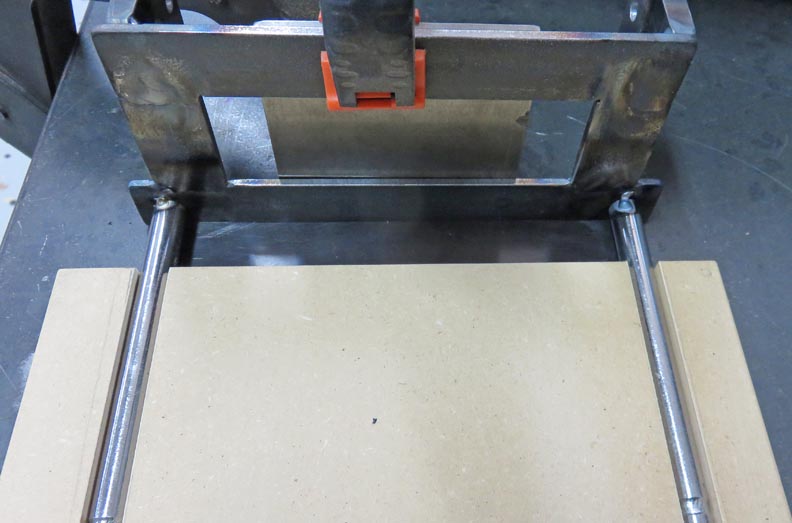
I took some measurements of how far apart the pins were, along with
their diameter and then cut some slots into some MDF tooling.
|
|
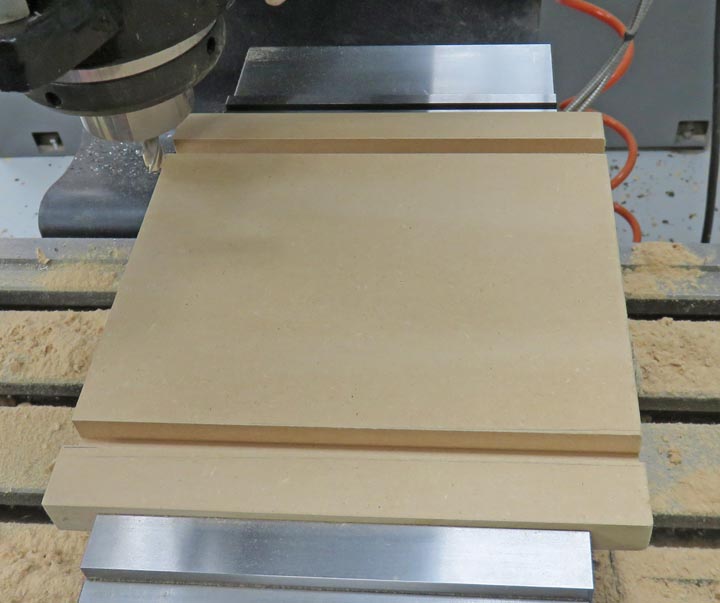 |
I also made sure the depth of the slots would put the long pins in the middle of
the extensions bottom piece. Now it's time to remove those pins from the
old headrest.
|
|
 |
|
Working With Steel Again
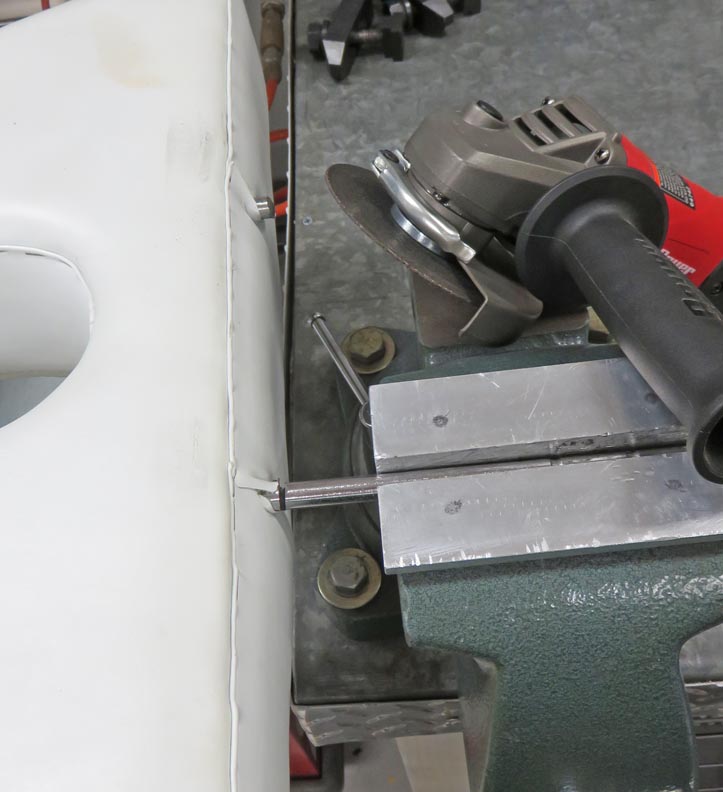
I used my grinder with a cutoff wheel to cut the pins off with. This
made quick work of them.
|
|
 |
After cutting off the pins, I machined the ends on my lathe to make sure
they were square again. Now it's time to weld the pins on.
|
|
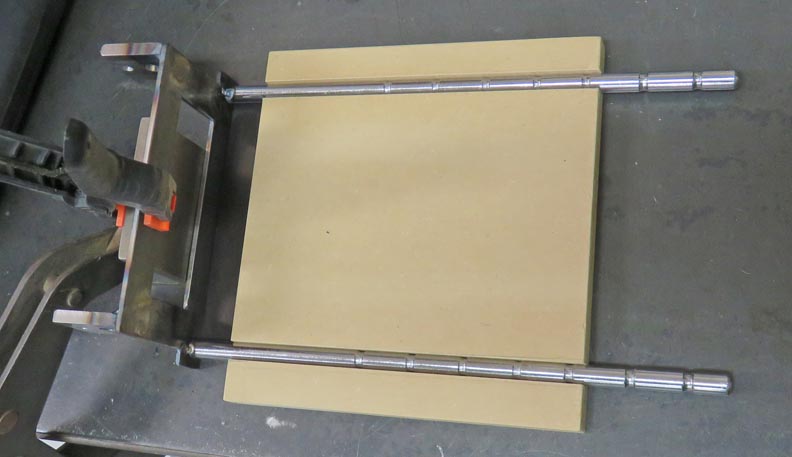 |
This fixture was easy to make and it worked out great. And now I'm sure
the pins are where they need to be.
|
|
 |
|
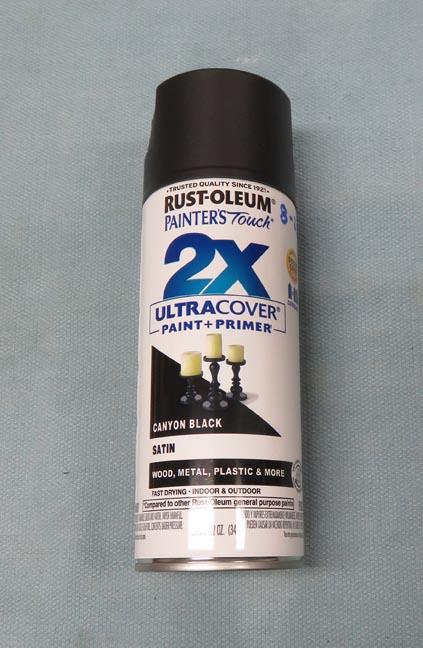
Finishing Touches
I'm going to paint all the steel pieces satin black, except for the
long pins.
|
|
 |
|
1
2
3
4
5
6 |