|
Working With Steel
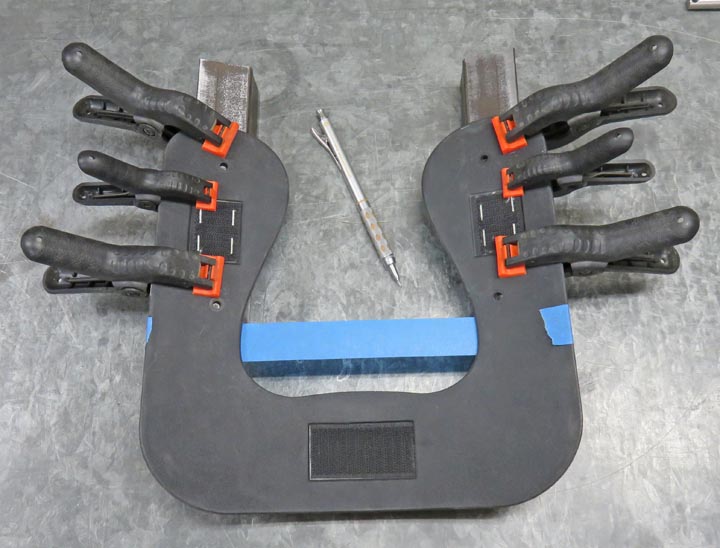
Here I'm transferring the hole location from the plastic
to the angle iron. On the bottom side I marked some lines on the blue
tape to aid me in lining things up. Then with the angle iron clamped in
place, I marked my hole location with a pencil because a Sharpie
wouldn't work for this.
|
|
 |
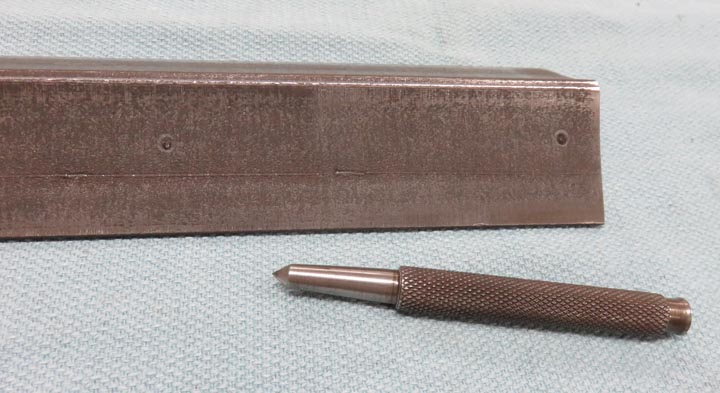
Then I used my center punch to make a dent
in the center of each pencil mark. I used my hand drill to put holes in
this material which wasn't that easy because of how tough it was.
|
|
 |
Once the holes were in, I used some 3/16" diameter rivets to keep things
in place while I worked with everything. However, I didn't set the
rivets, I just used them temporarily for now.
|
|
 |
|
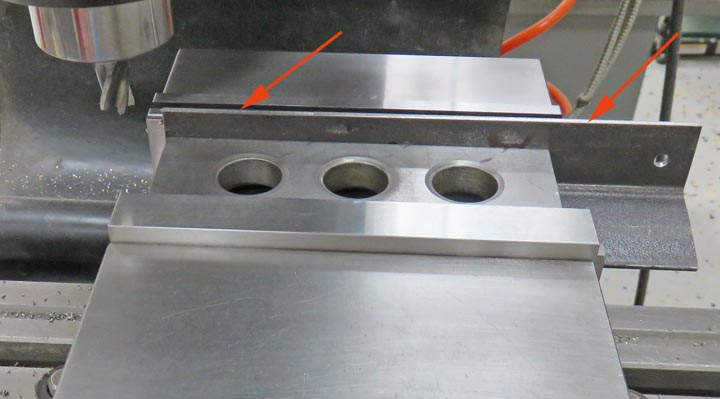
Here I'm removing the height from one side of the angle
iron (arrows). The first reason
was for weight, and second is because this side is mostly unused, so why
not. After machining I deburred all the edges and was ready to make
another piece that will be welded to this one.
|
|
 |
|
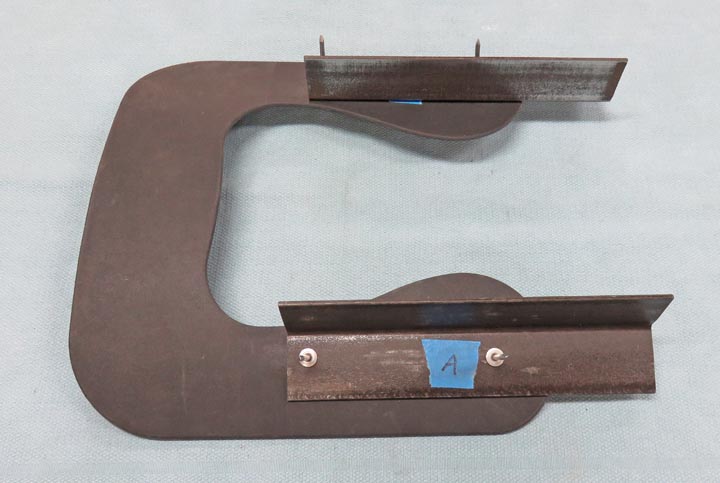
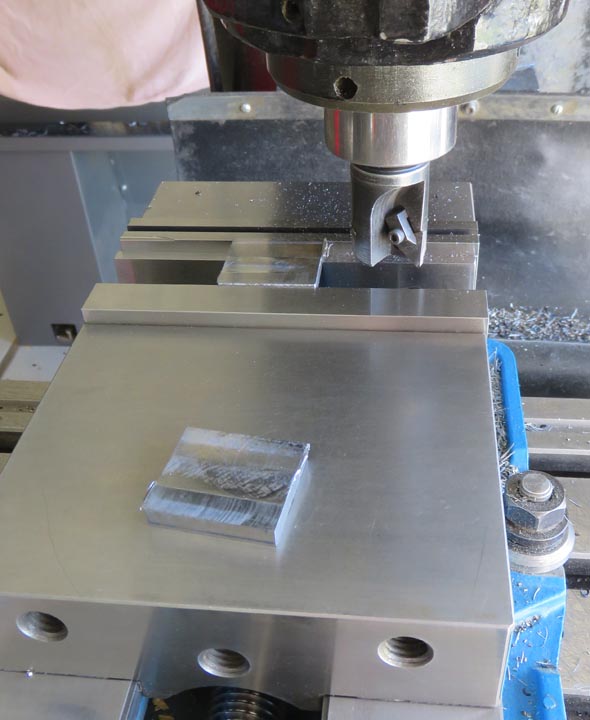
I had these two pieces laying around and thought they
would work for this project. these pieces will end up with a 3/8" hole
(about where the layout mark is) and another 1/4" hole that will be used for
some pins. The blue line is where I'll be cutting them off at.
|
|
 |
Once I had my pieces cut off, I used my milling machine to reduce
the thickness. I also machined all the other sides as well.
|
|
 |
|
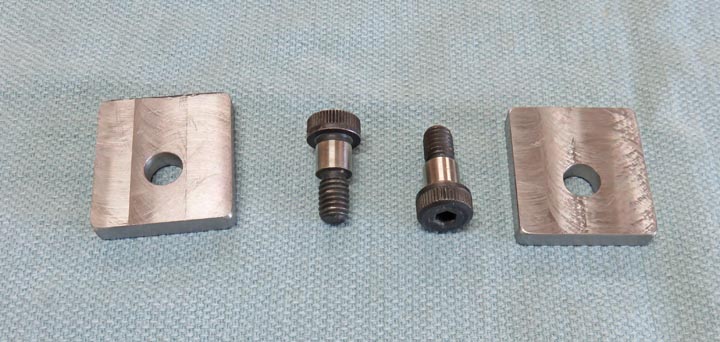
I'm using some shoulder bolts that will be used as the
pivot points for this headrest. This is the area that will fold down when
the headrest is not in use. If you're not familiar with this type of
bolt, these are used in the mold making and die making industry (machinist world). Normally
the ground diameter (shinny area) would go through a very stiff spring
and would be used to retract some kind of plate so the part doesn't
stick to the punch (this would be in a die making scenario). Anyways, I
won't be using any springs but this will be perfect for my application. I'll
talk a little more about shoulder bolts soon.
|
|
 |
|
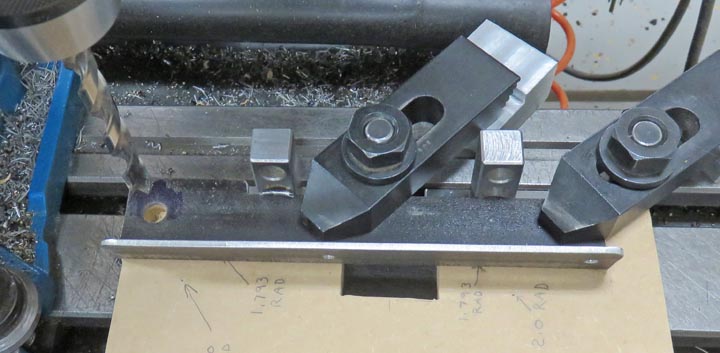
After finding the exact spot I needed for the shoulder
bolt, I drilled my 3/8" hole. Now normally I'd put something like this
in my vise to hold it, but with the angle iron not 90 degrees any longer, I just
clamped it to my mill table with some wood under it and drilled my work
pieces. This was a little more work doing it like this but it's really no
big deal.
|
|
 |
|
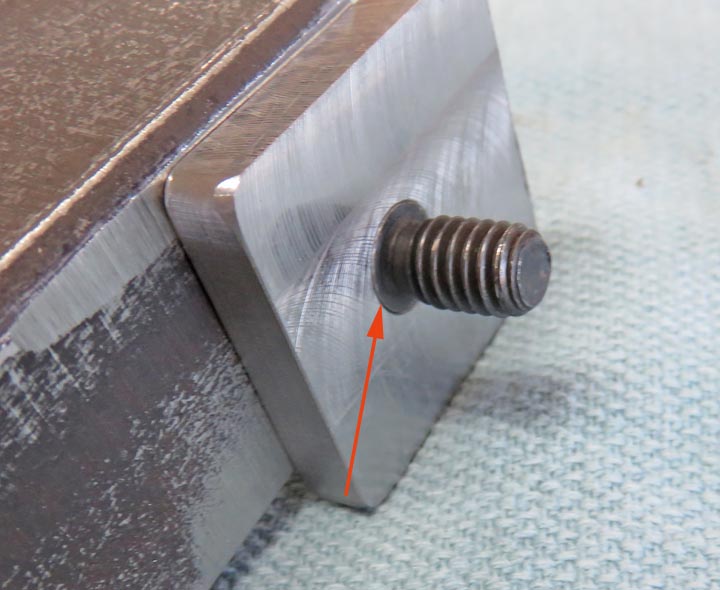
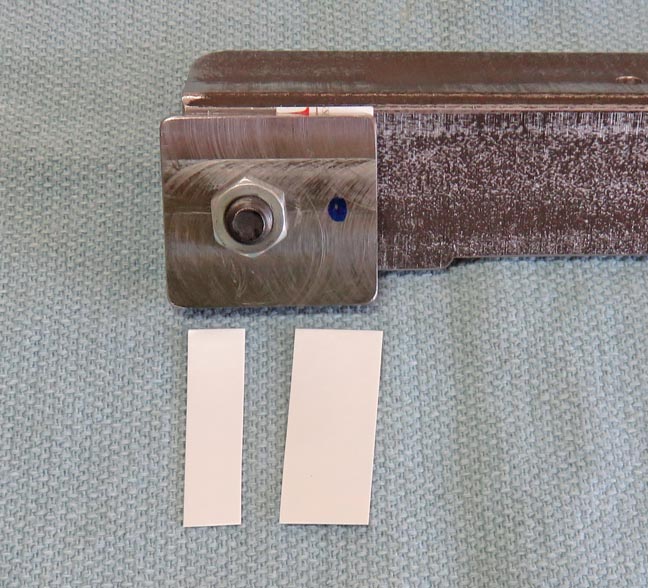
Notice the end of the shoulder bolt is just above the
surface (arrow). With this design, you can tighten the bolt and nut down
but it will still allow those pieces to move. With that being said, this
will give the headrest the
ability to move 90 degrees, or fold down out of the way.
|
|
 |
|
Now it's time to drill the 1/4" hole for the
locking pins. And to be able to drill though both pieces and still have both holes
line up correctly, I'm using some paper shims that will go between the
movable pieces. The paper will act as spacers so when the nut and bolt
are now tightened, the two pieces won't move while I'm machining.
|
|
 |
|
1
2
3
4
5
6 |