|
More Angels Continued
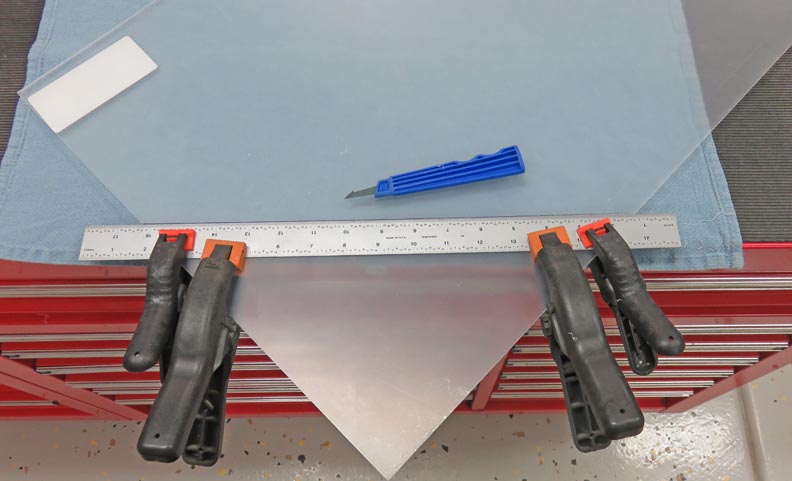
All you do is score the plastic a few times with this
special knife and then break it on the score line. Here I'm using a straight edge to help
guide my knife. Then I clamped the plastic between two pieces of wood
and broke it. This method works good.
|
|
 |
| Clamping and Gluing
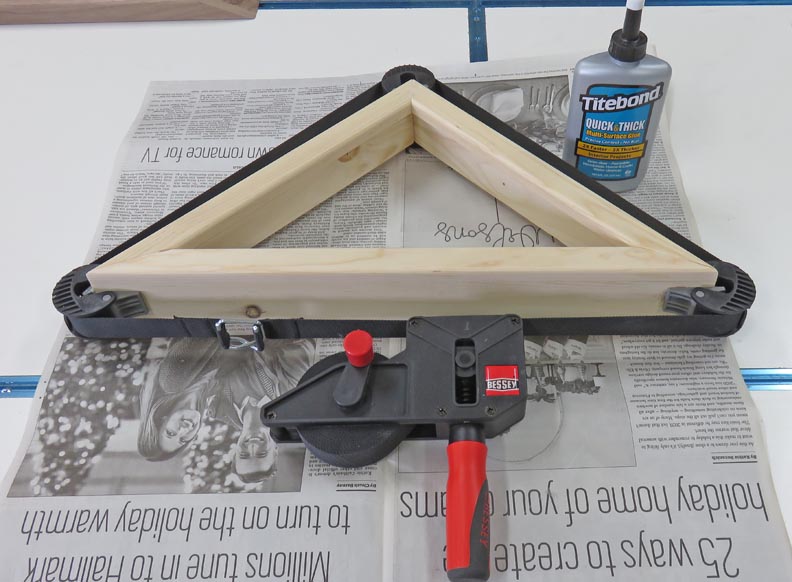
Here I'm gluing the frame together using my new strap
clamp made be
Bessey. This type of
clamp comes in very handy for gluing four sided boxes or just about
anything that has sides. And even round stuff. The strap is 23 feet long
and comes with four 'clamp-corners' that help hold each corner of your
project. And Bessey claims this clamp will exert 2300 pounds of
force.
|
|
 |
|
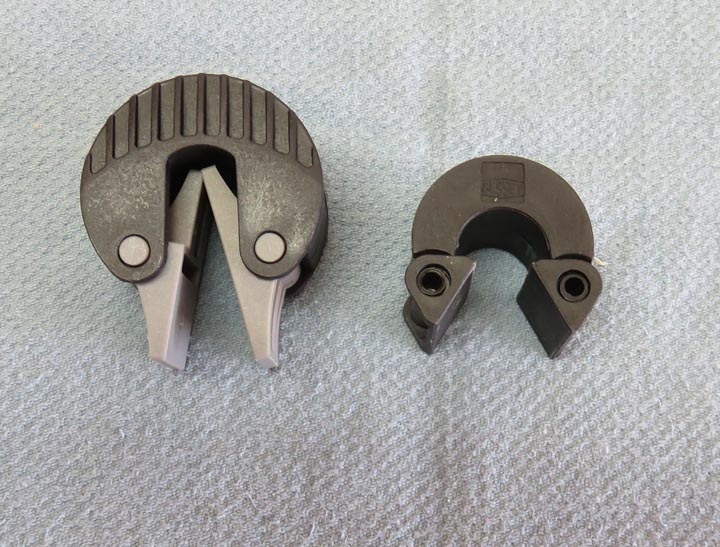
The clip corners (right) with twin-tilting pressure pads
auto-adjust from 60° to 180° for easy assembly of most multi-angle
projects, and came with the strap clamp. However, I also bought a
different style that works even better, which are made by
Lee Valley (left).
|
|
 |
|
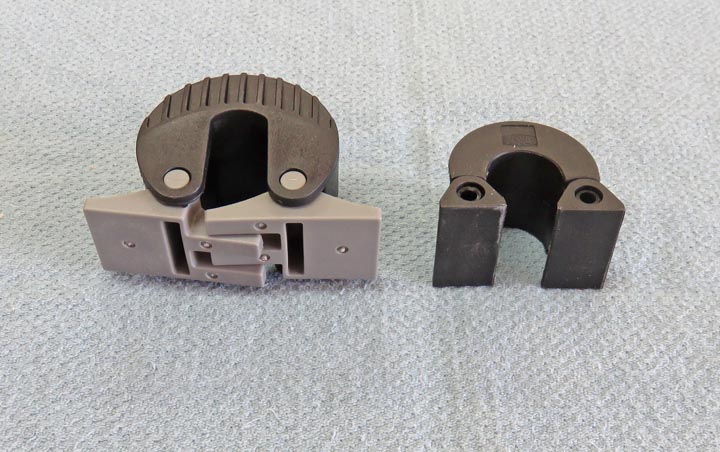
These Lee Valley variable-angle corners will clamp
joints ranging from 30° to almost 180°, such as polygon frames or
triangular bases, like I'm working with. And with the 45 degree angle
that my flag display case has, the smaller Bessey pieces won't conform
to the angle I needed. The backs of both clamps have notchs that holds
the band strap in place while clamping. Or you can just use the band
only if your project doesn't need the corners.
|
|
 |
|
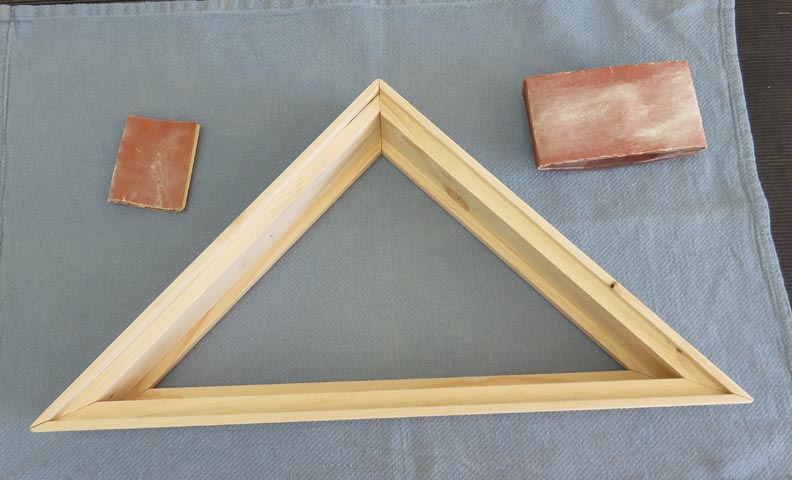
Getting Close
I'm sanding everything with 150 grit paper, including the three
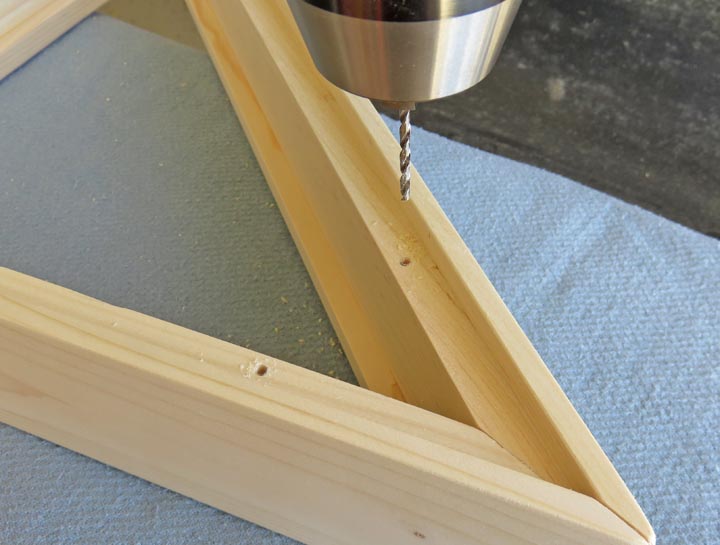
angles to soften the edges. This process goes fast and now it's time to drill some holes.
|
|
 |
I drilled a few holes to hold the back on first.
|
|
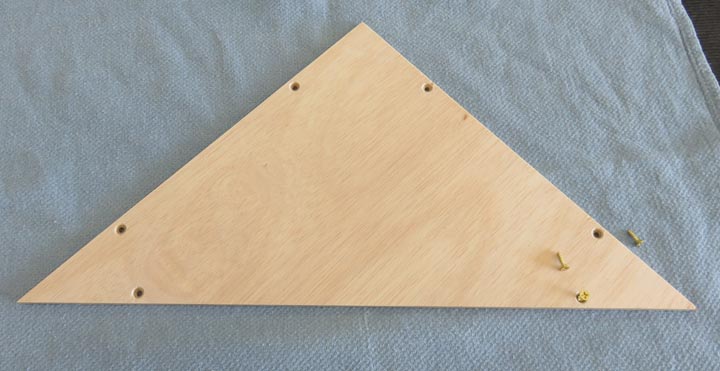 |
I countersunk for some #6 flathead screws and then transferred these
holes to the back piece with a pencil.
|
|
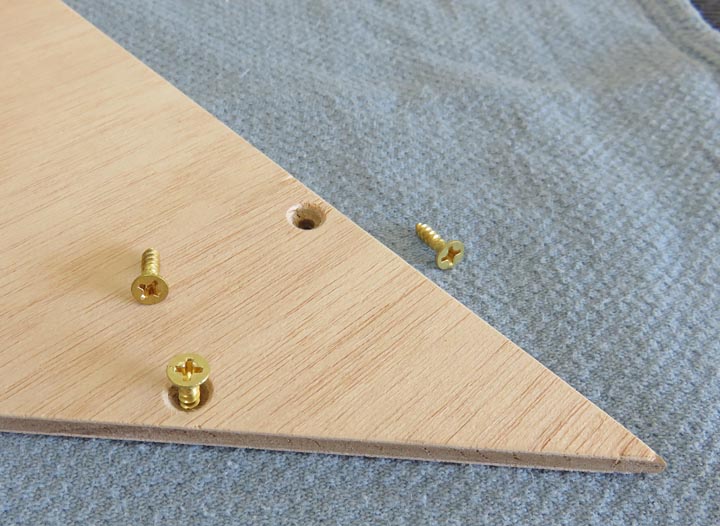 |
Once I had all my spots laid out, I drilled pilot holes for my screws.
|
|
 |
|
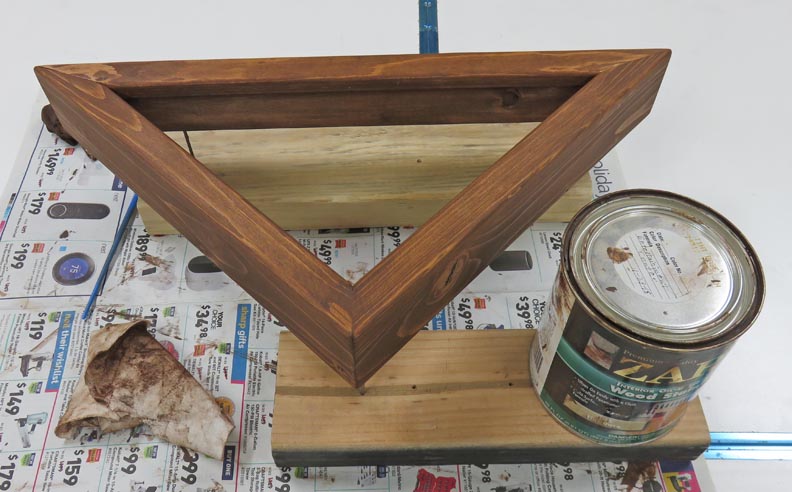
Staining and Oiling
I used some dark stain on the pine case but not the black walnut.
|
|
 |
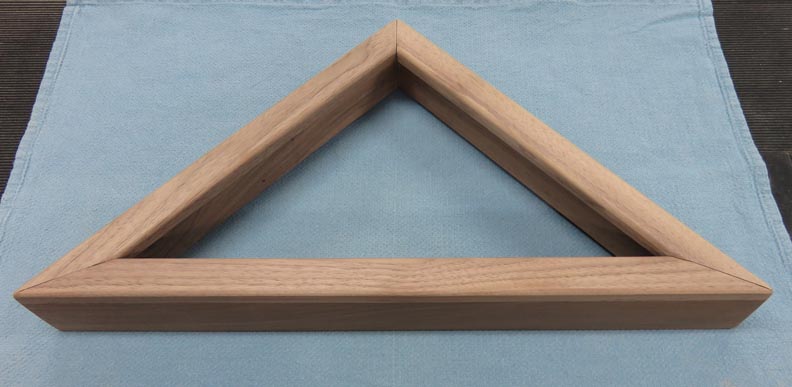
Here is the black walnut all sanded and ready to be
assembled.
|
|
 |
|
1
2
3
4 |