|
Cutting Angels Continued
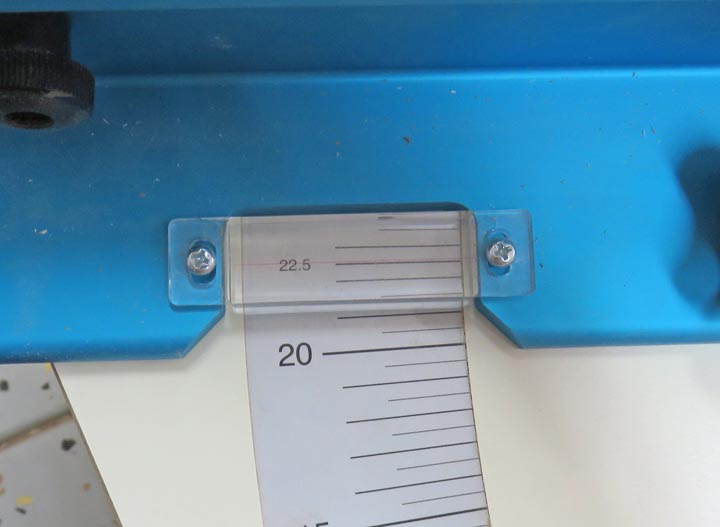
This cross-cut sled is made by
Rockler and it works
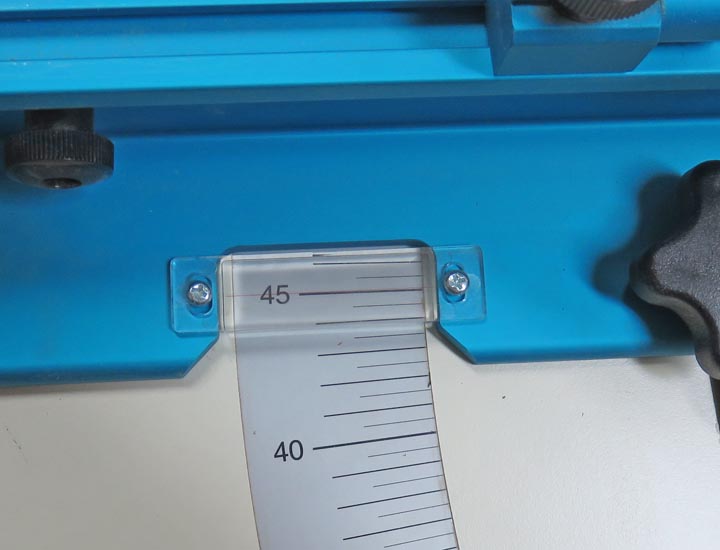
pretty good for most things. Notice I'm setting the angle to 22 1/2
degrees, which will be the first of the two angles. However, if you
remember earlier I was cutting my pieces to length when my sled was set
to zero. With that being said, that gave me a 90 degree cut, like a chop
saw would do. But in my case setting my sled to 22 1/2 degrees is the
wrong angle that I need because that angle comes from the wrong side.
And with my cross-cut sled only capable of going up to 50 degrees, this
isn't going to work.
Here's why: 90 degrees minus 22.5 (22 1/2) equals 67.5
degrees. Now if my cross-cut sled went to my desired 67.5 degrees, I'd
be in good shape. So now what?
|
|
 |
|
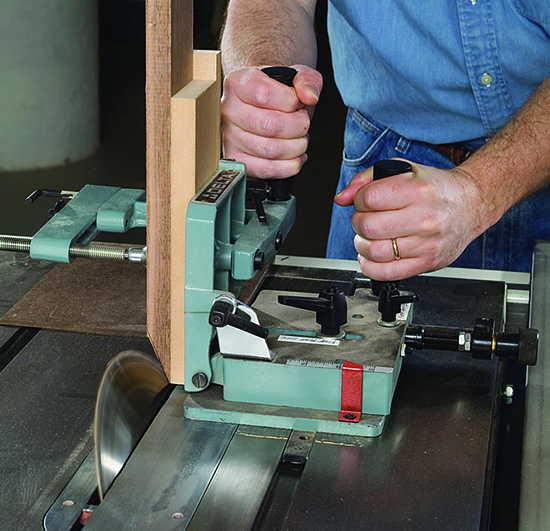
Here is the correct way of producing a 22 1/2 degree
angle on a table saw with a work piece like I have. The tool this guy is using is called a
'tenoning
jig' and as you can see the blade is tipped to the angle that is needed
(22.5),
your work is clamped to the jig and then run through the saw blade. If
you look close you can see the jig is locating on the miter slot keeping
everything moving in a straight line, just like my cross-cut sled does.
And this is a safe method of cutting a piece like this.
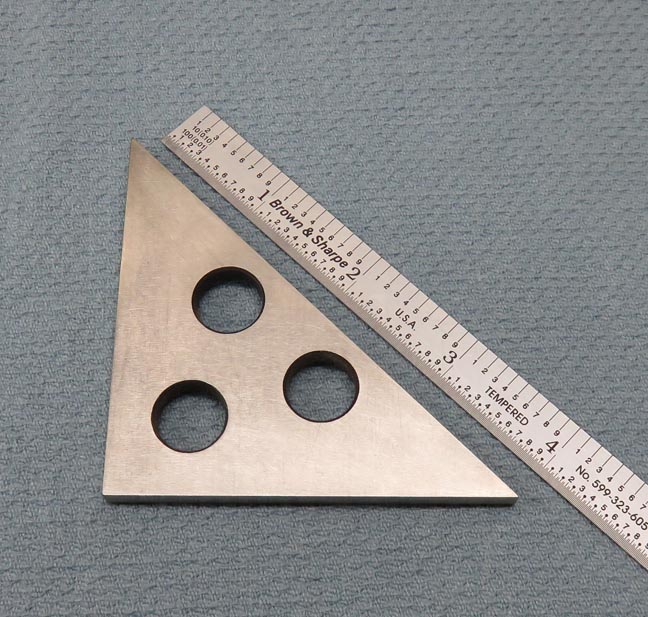
Well that got me thinking, what if I added something that
had a 45 degree angle into the mix? For example, if this 45 degree angle
was placed against my cross-cut fence and then my
work piece against this 45 degree angle?
|
|
|
I made this 45 degree angle block back in
the mid 1970's and decided to see if it would work on my setup. It's
1/4" thick and about four inches long as you can see. It's heat
treated and then I used a surface grinder to finish with and it's
exactly 45 degrees.
|
|
 |
|
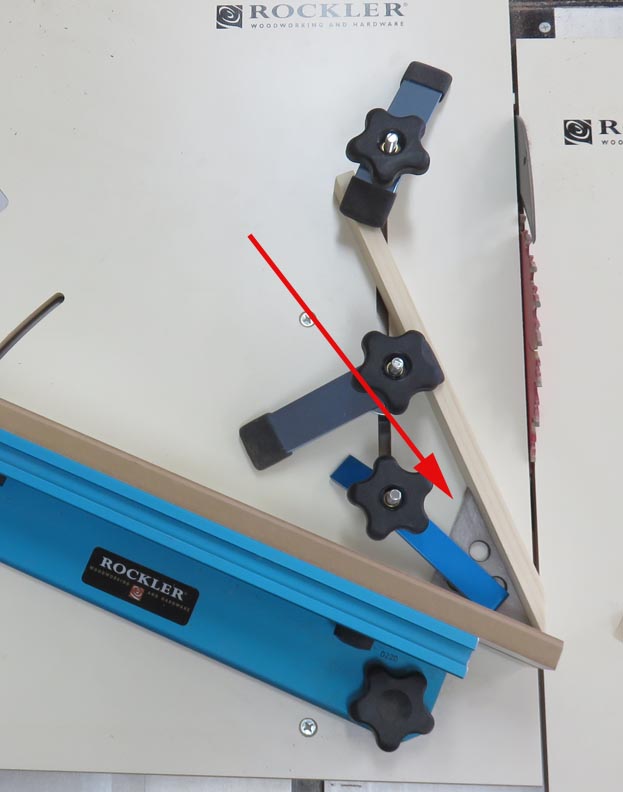
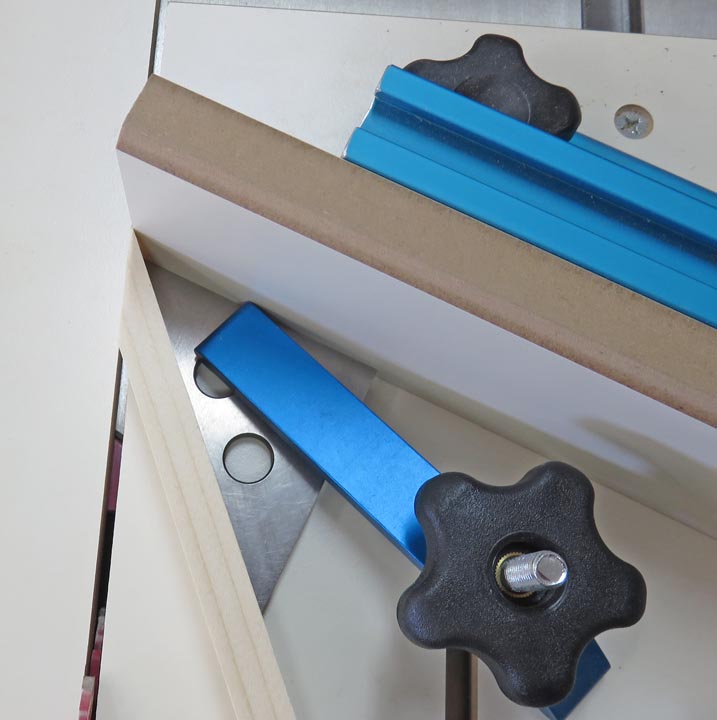
Here you can see my cross-cut sled is set at 22 1/2
degrees and I've clamped my 45 degree angle block against the fence
(arrow). All this gives me the 22.5 degree (from the blade) which is
what I need. Next I clamped a
test piece to the sled and tried it. Well it worked great and now it's
time to put some good pieces through it.
|
|
 |
Here you can see I've cut a good piece and things went really well.
|
|
 |
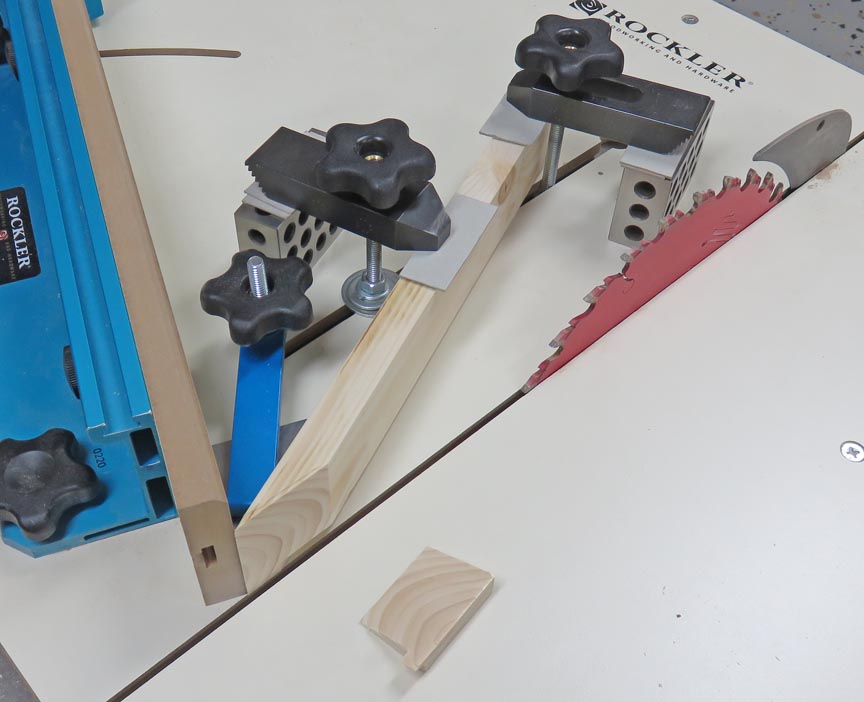
I changed my clamps to hold the taller pieces and I've also placed some
cardboard between the clamps and my work piece. Again, it worked out
great. Looks like there's more then one way to skin a cat.
|
|
 |
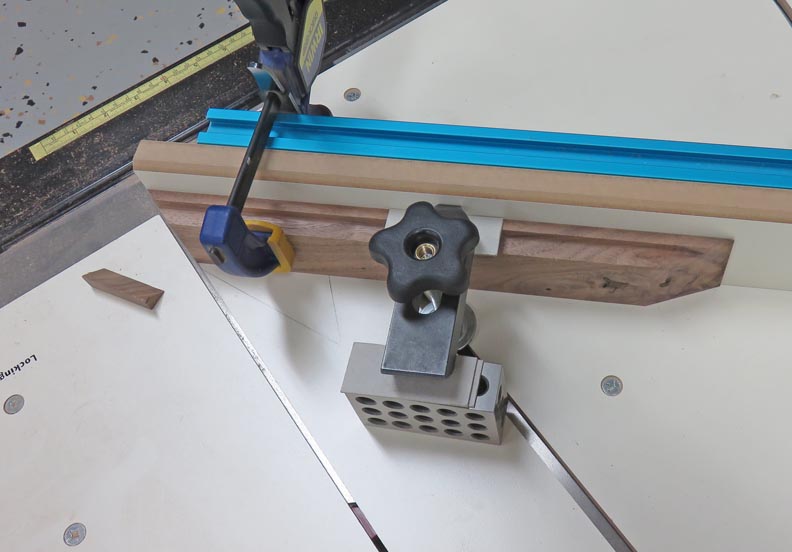
Now that all the 22 1/2 degree angles are finished, it's time to cut
some at 45.
|
|
 |
I used a little different clamp arrangement for some of the tall pieces
and again it this worked good.
|
|
 |
|
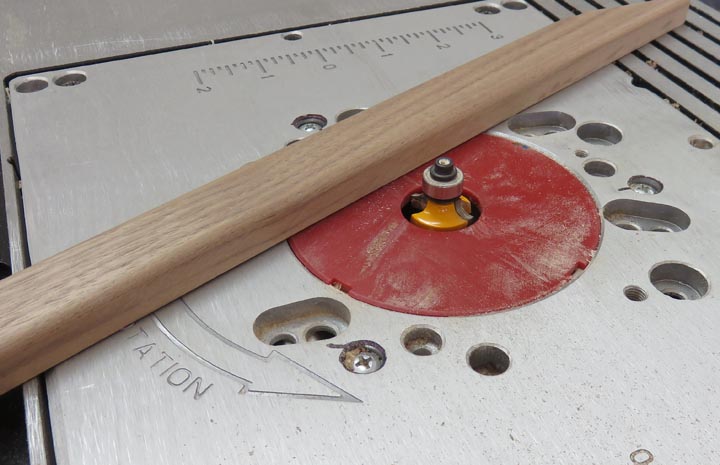
Router
Once all the angle pieces were cut, I put a 3/16" radius on some of the
front facing edges.
|
|
 |
|
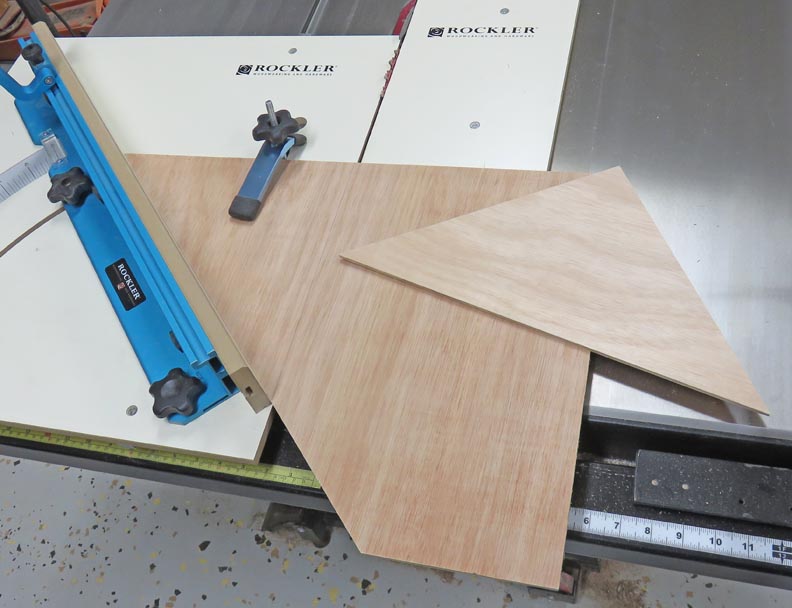
More Angels
Here I'm cutting some 3/16" hardboard for the back of the case. I
also cut a template for the front too.
|
|
 |
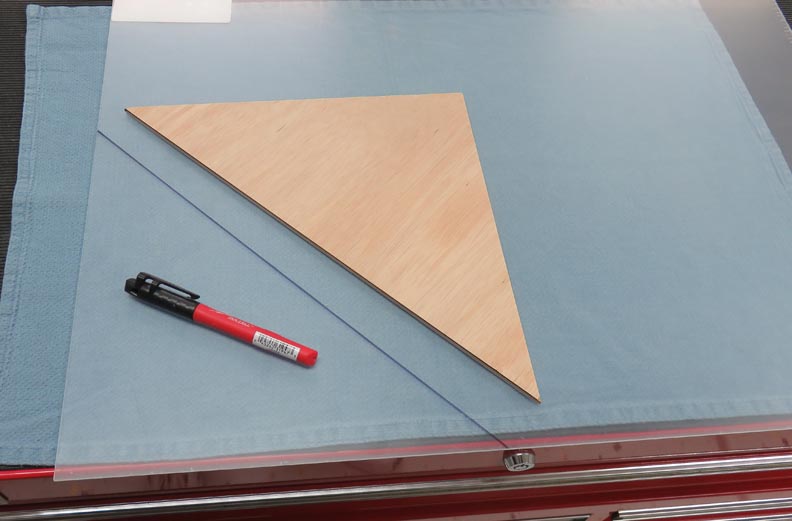
I'm using 3/32" thick plastic in place of glass here. I've used this
acrylic
for other projects and it works pretty good. I used my template to
layout the piece being cut.
|
|
 |
|
1
2
3
4 |