|
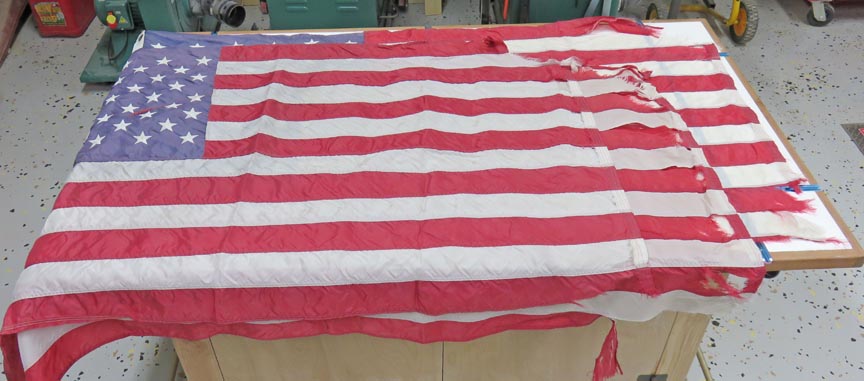
I had an idea to make a flag display case after looking
at some of my older flags I had sitting on my shelf. Now I go though one flag
per year because they get torn really bad with all the wind we get here
in So. Ca. To be specific, it's mostly 'Santa Anna winds'. These winds
blow from late September thru March, depending on certain conditions.
However, these winds don't blow steady all those months, just two or
three days every other week (or so) during this time of year.
With that being said, the
only part that will show in this display case will be the Canton or star
area. Now
that area is still in pretty good shape other than being a little faded
by the sun.
|
|
 |
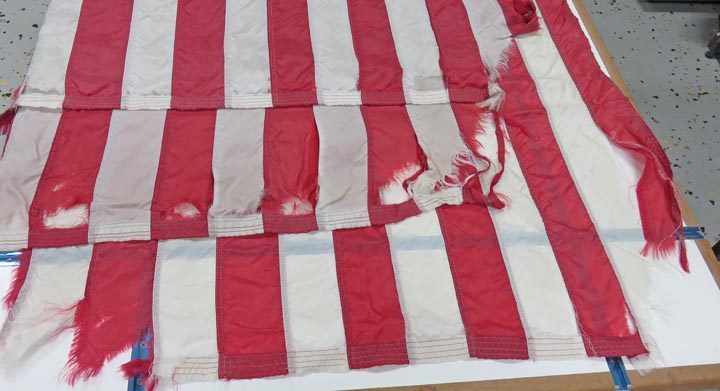
Here are three of the many flags that I
have and they are all ripped and torn
in a similar way. But like I said, this shouldn't be a problem once they're folded.
|
|
 |
|
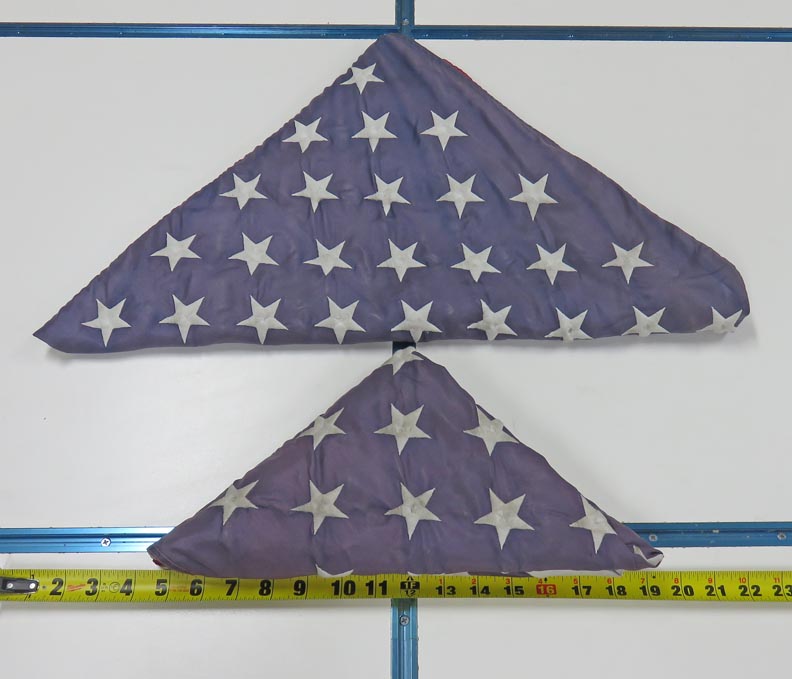
I folded these flags two different ways to get an idea
of what I'll be making. And after looking at them, I'll be using the
small one. It just makes sense because of how it was folded, I
just like it better. As you can see the smaller one is about 14 1/2" long so
now it's time to make a drawing and start cutting some wood.
|
|
 |
|
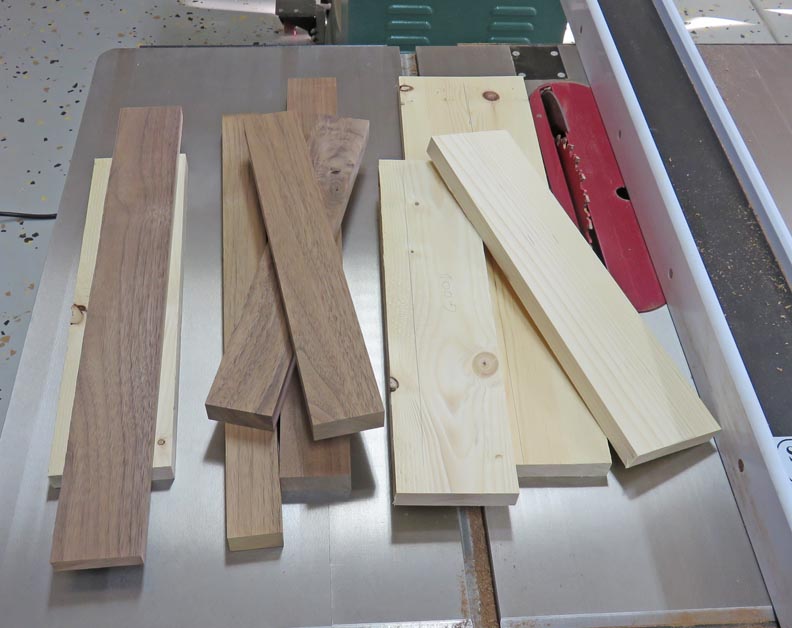
Let's Start Cutting
The plan is to make two display cases, one out of pine
and the other using black walnut. I want to use the black walnut for a present for my father-in-law, as a Father's Day
gift because he was
in the Korean war. As for the other one made out of pine, this will be
my 'set-up' piece. If anything goes wrong with that one, no big deal
because that wood is cheap.
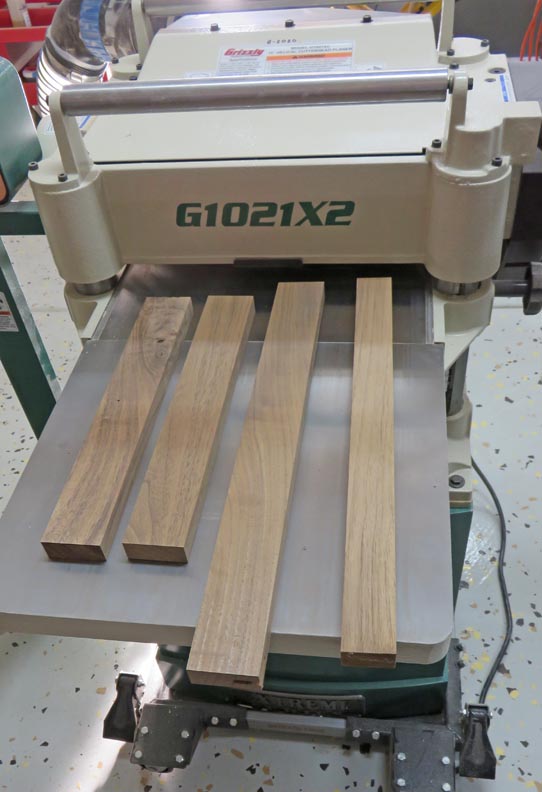
I'm skimming the edges on one side
to end up with a good edge to work with. Then I'll use that good edge
against my table saw fence to cut the exact size I'll need.
|
|
 |
Next I ran everything though my thickness planer. The thicker pieces I
only did a minimum clean-up on, but the trim pieces needed to be 1/2"
thick.
|
|
 |
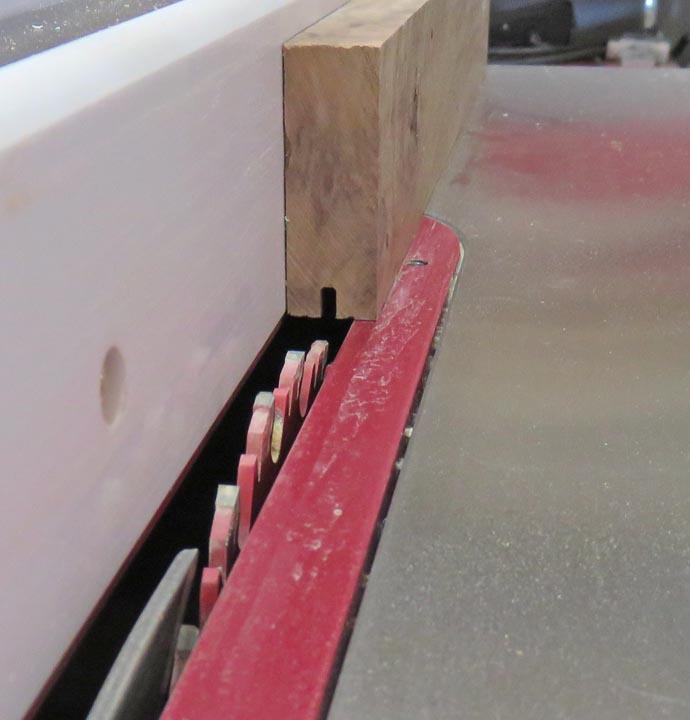
Here I'm making a rabbit for the back to sit in. This is the first of
two cuts.
|
|
 |
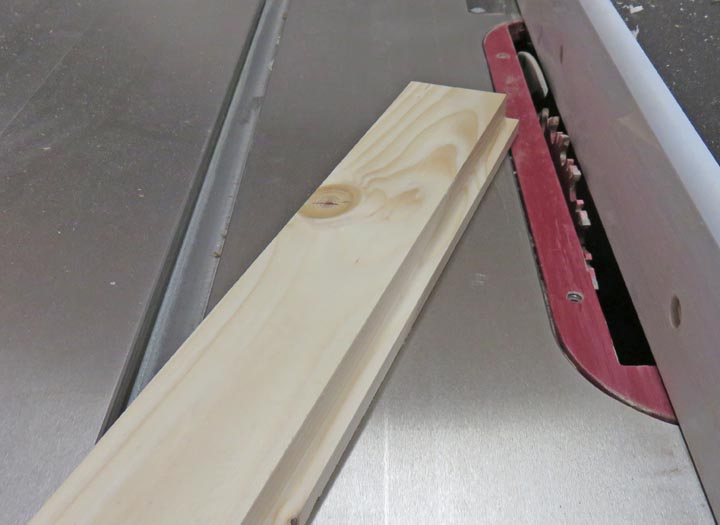
Here is the finished rabbit, which is 1/4" X 3/8". I plan on using
screws to hold the back onto the 3/8" dimension.
|
|
 |
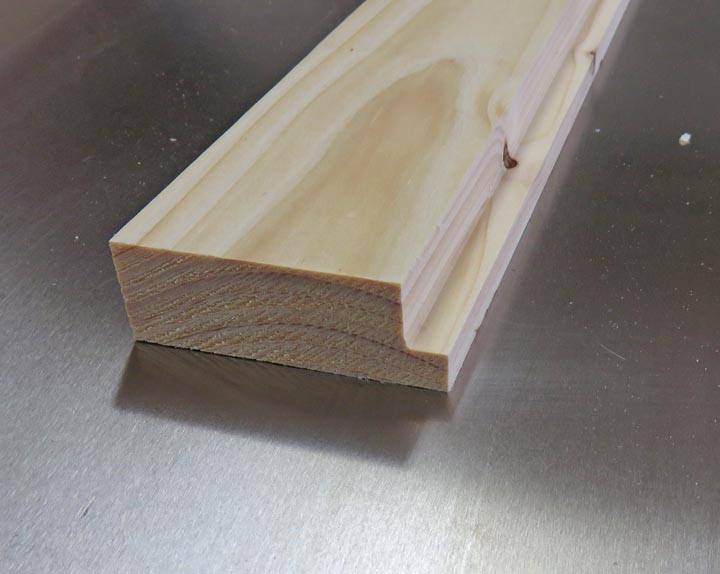
Here is a close-up of my finished piece.
|
|
 |
I'm using my cross-cut sled on my table saw to cut my pieces to length. With the use of
an adjustable work stop, which makes this operation very easy.
|
|
 |
|
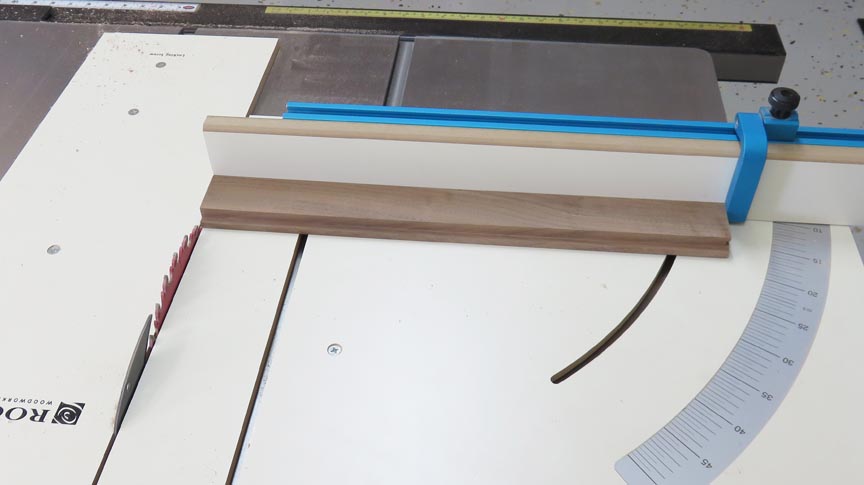
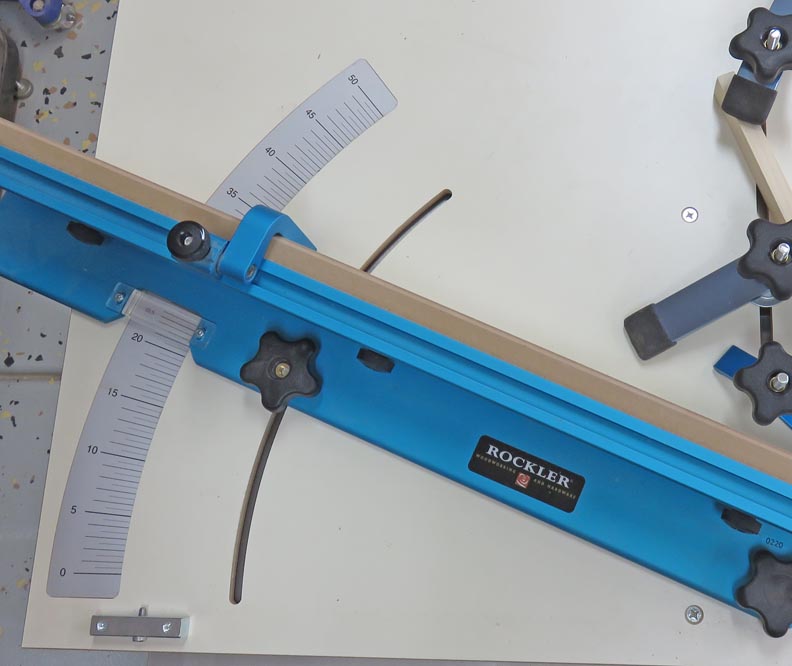
Cutting Angles
Now it's time to cut the angles of the three sided box.
The angles on the box are 45 and 90 degrees, which means I need to cut half of
those two angles. That means I need to cut 22 1/2 and 45 degree angles
on my work pieces.
|
|
 |
|
1
2
3
4 |