|
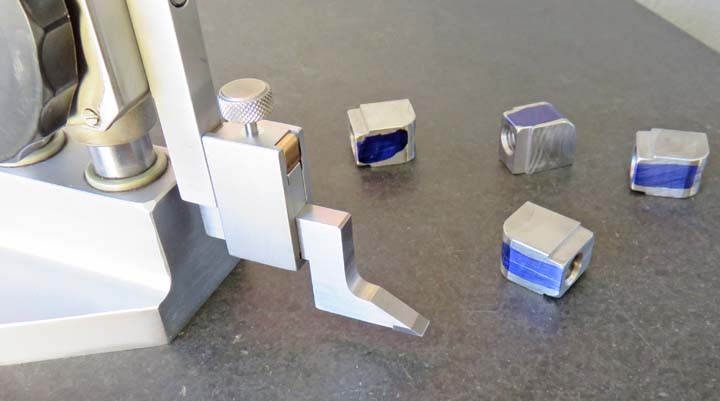
I used my height gage to the find center on the steel pads and scribed a
line on each one. Then I clamped each pad to the gear making sure I
lined up both lines with each other.
|
|
 |
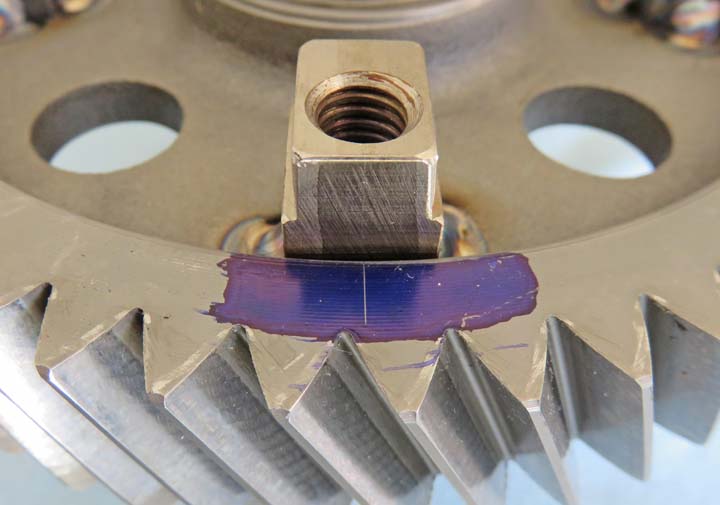
I forgot to take a picture of the clamped
pads in place but here is one I just welded on. It's hard to see the
line now that heat was applied but if you
look close you can still see it.
|
|
 |
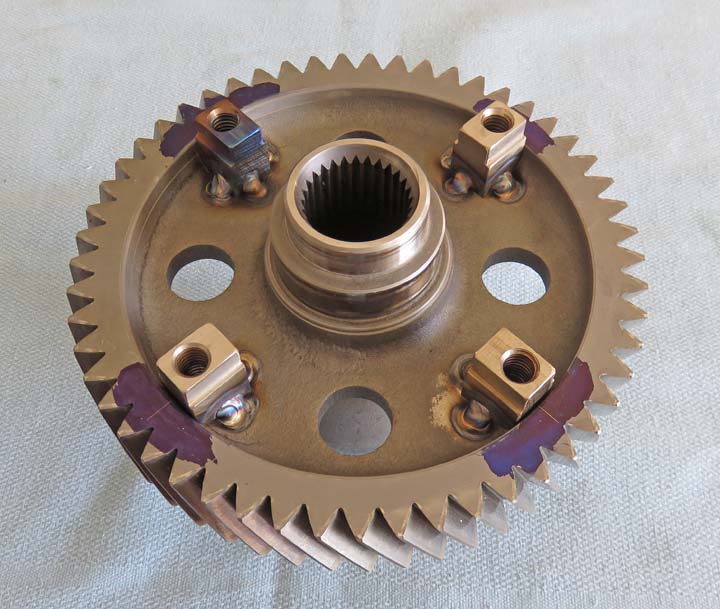
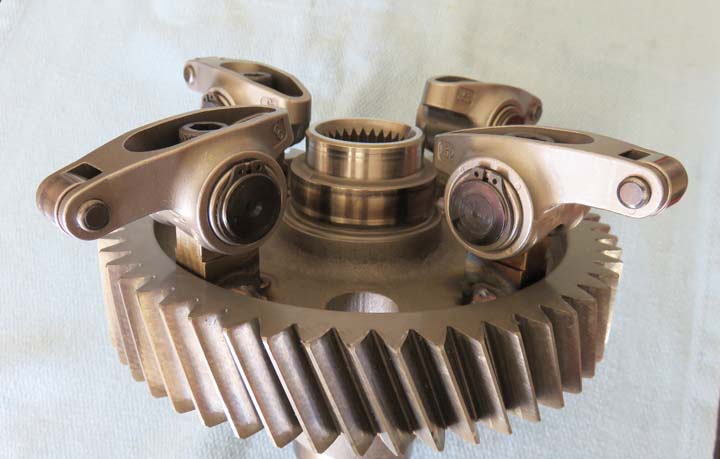
And there we go, all the pads are in place. This was an easy way of
aligning something and now I know they're in the right place. All this
for something you won't see because it's on the bottom.
|
|
 |
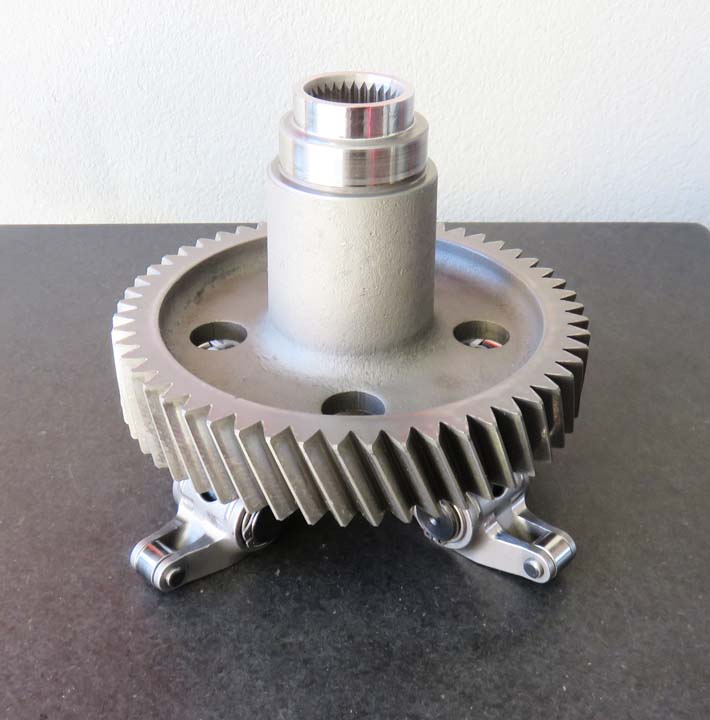
Here is what it looks like with all the feet bolted on. This should give
the lamp base a unique look.
|
|
 |
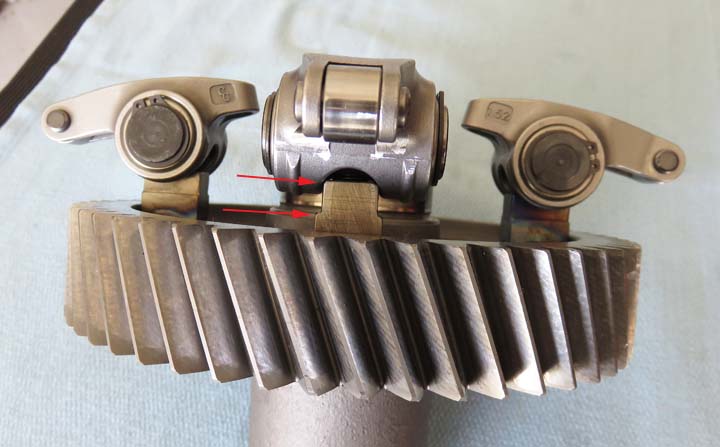
The distance between the two arrows shows you the amount of clearance I
have to play with in case the base doesn't sit flat. If it doesn't sit
flat, I can machine off a small amount so it does.
|
|
 |
So far I'm liking these feet because they move enabling them to sit
better on an uneven surface.
|
|
 |
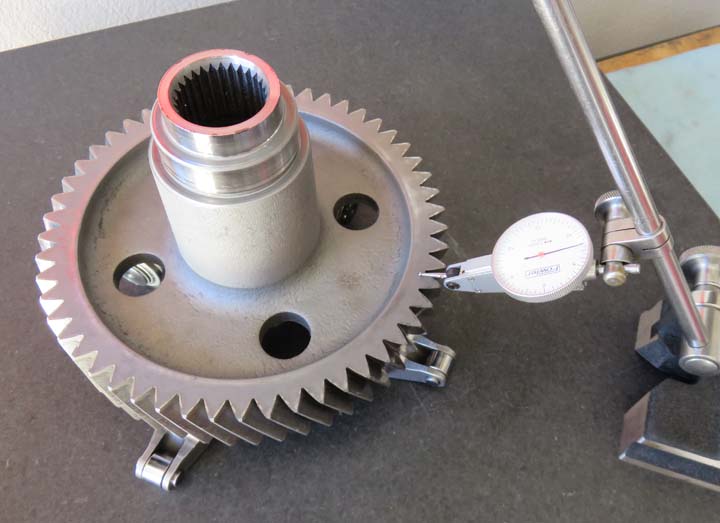
Speaking of sitting flat, I set the base on my surface plate to do some
checking.
|
|
 |
|
I was pleasantly surprised with what I found, I only had
.007 TIR (total indicator runout) while checking with my indicator
around the gears surface. That's not to bad without any machining!
This got me thinking, what angle would lamp be at once the cam was fastened to it? I mean, the camshaft
plus the base and light are going to be close to 35" tall when complete.
And being that tall would make it easy to see if it were at an angle or
not. After doing some quick trigonometry, the angle was much
less than I thought (less than a 1/2" degree) so I'm good.
|
|
 |
|
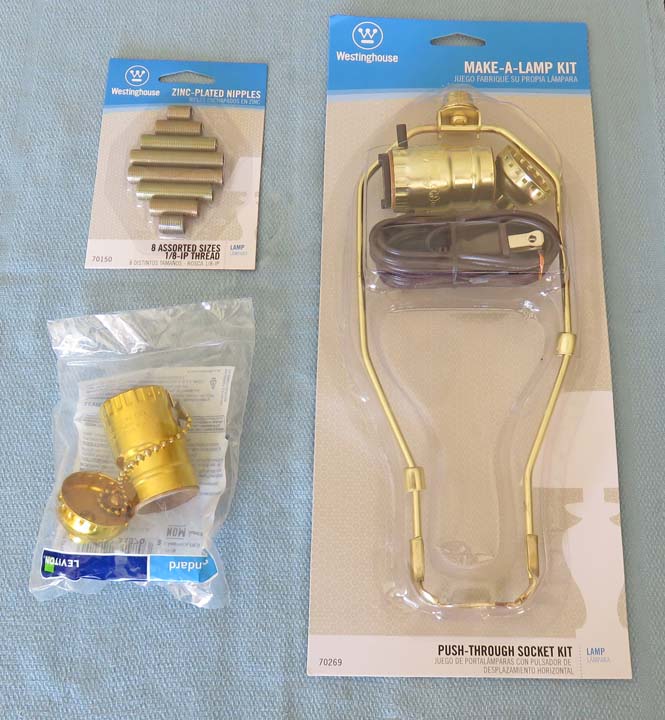
Electrical and Final Assembly I bought some lamp hardware not knowing exactly what
I'll need but one thing I did want was a pull chain. As you can see the
make-a-lamp kit didn't come with one so I added that. Once I started
looking at all the lamp parts I came up with a plan to attach it to my
camshaft.
|
|
 |
|
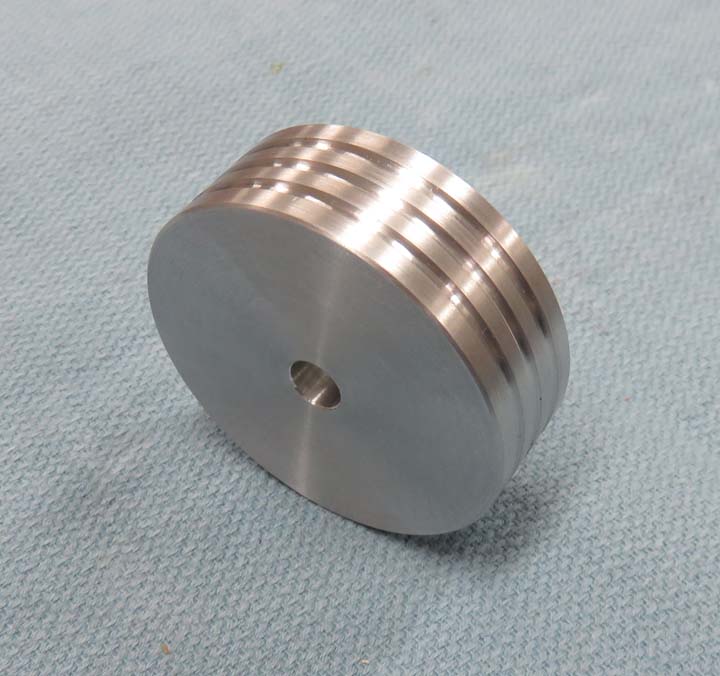
I made an adapter out of aluminum that is 2" diameter X 3/4" thick. I
put some grooves in it just to be fancy. I also drilled and tapped 1/8-27
tapered pipe threads in the center for the lamp hardware. Why not
straight pipe threads? Because this was the only tap I had and after
trying it on a scrap price, it worked great.
|
|
 |
|
1
2
3
4
5
6 |