|
Car Parts Lamp 2
03-2018
|
So far things are going pretty good. The first thing I
did was use a 5/16" carbide end mill to remove the existing center drill
that was on both ends of the cam. Now that left me with a flat bottom so
the next thing I did was use a #3 center drill to give me a starting
point for my drill. The reason I didn't use the existing center drilled
spot is because 'all of the exterior' of the cam is hardened. The last
thing I wanted or needed was my drill to break trying to get through
this hardened area.
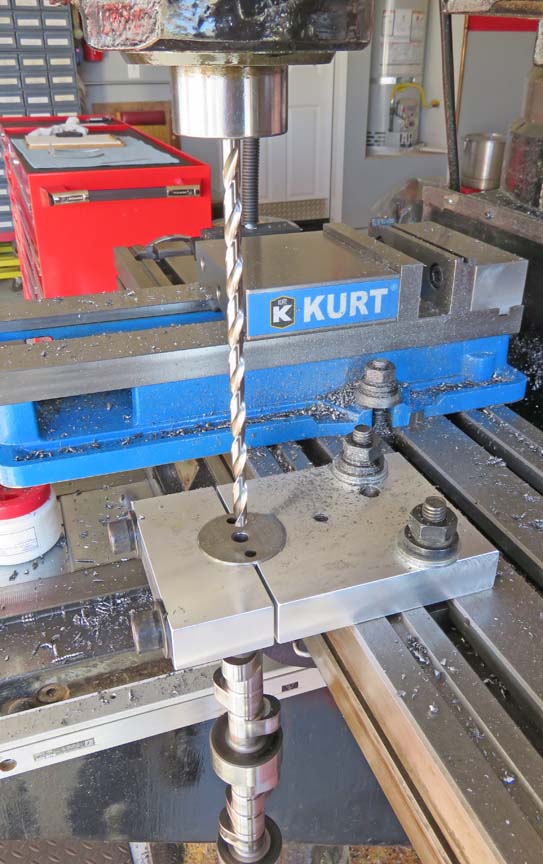
I drilled as far as I could with my first drill and now
I'm getting ready to use the 10" one. And as expected, I had to keep
some pressure on the drill as I went. This was the easy part because I
was able to use the quill on my machine the way it was designed, pull
the handle down and drill a small amount, push the handle up and clear
the chips, dab some cutting oil on the drill and repeat. But from this
point forward things are going to change because I'm out of travel on my
quill. So how am I going to drill through?
|
|
 |
|
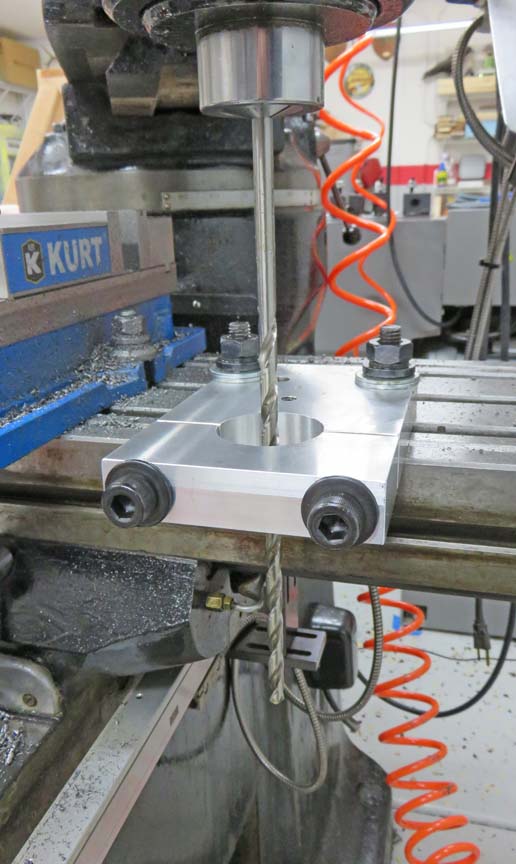
As you can see, the drill is well below the surface of
my tooling and the quill is at the top. This is what it looked like just
before I started drilling because I had to hold the cam in one hand,
insert the longer drill into the hole that I previously drilled, placed
the camshaft just above the surface of my tooling, tightened down the
two bolts, and then drilled for about 10 to 15 seconds.
|
|
 |
|
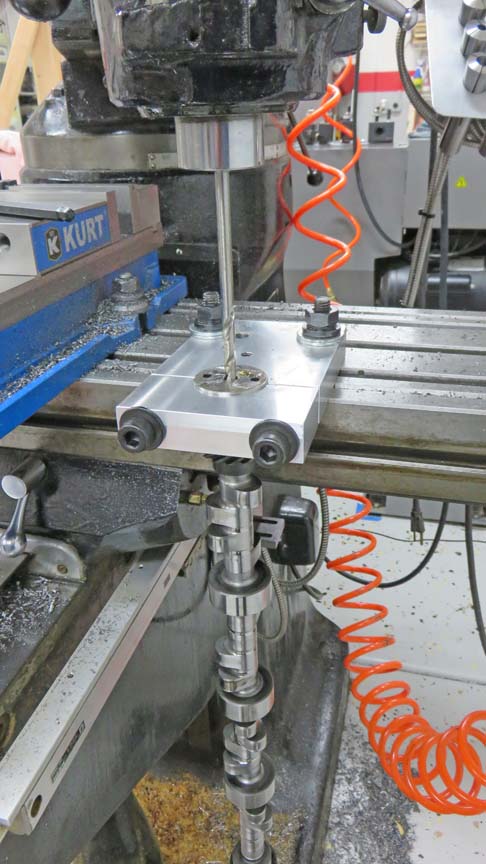
At that point I stopped the machine, loosened the two
clamp bolts, slid the cam down over the drill by twisting and turning,
along with pulling downward until the drill came out. Then I would turn
the cam over, use my air hose to blow out any chips from the hole and
from the drill, tap the cam on the rubber floor mat to make sure
everything came out, dab a little cutting oil on the drill, and repeat
the process that you just read from above to drill for another 10 to 15
seconds.
Along the way I ran into some hard spots that I thought
I'd never get through because I did have some work hardening happen to
me or there were just hard areas. And this happened twice! Now when a
drill makes all these crunching and screeching noises, it's those
moments that you wonder if you'll be able to save it or not, because
this is never what you want to hear.
The way you get through a hard spot like this is to pull
down on the quill handle, with both hands, hoping that the drill doesn't
brake as it makes it way past the hard spot. You can use a jerking
motion as you pull to help you, which is what I did. However, doing this
can cause another problem because as you break through the hard spot,
you suddenly get into the softer area again and with that much down
pressure, the drill wants to take a huge bite of material, which is when
drills break.
It's a catch 22 deal but it's your only option.
|
|
 |
|
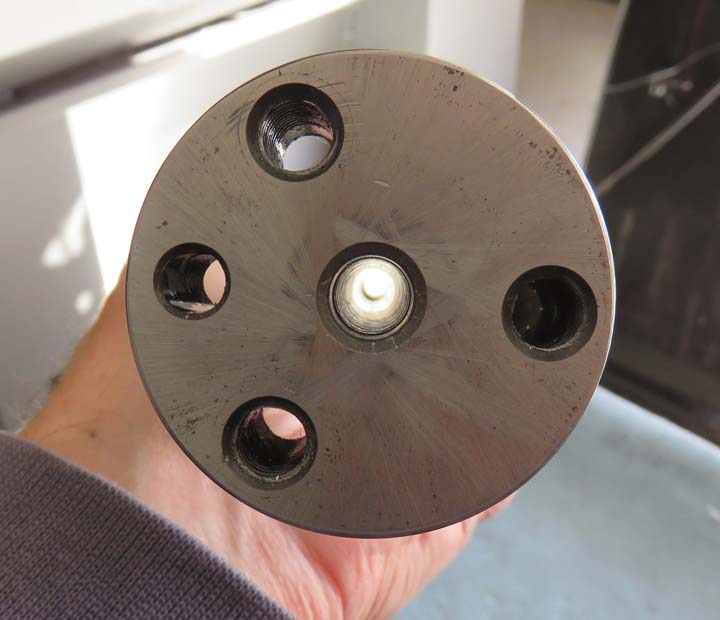
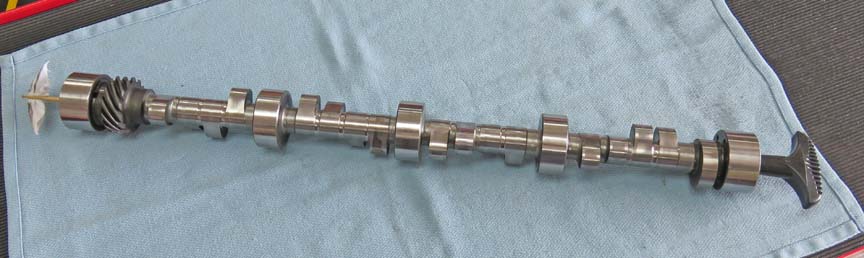
After hours of drilling, sweating and resharping the
drill many times, I was able to drill through my camshaft. This was far
from easy but I made it. And it drilled very straight as you can see. I
had a small step of about .015" where the two drilled holes met in the
center. This worked out really well and I'm happy with the results.
|
|
 |
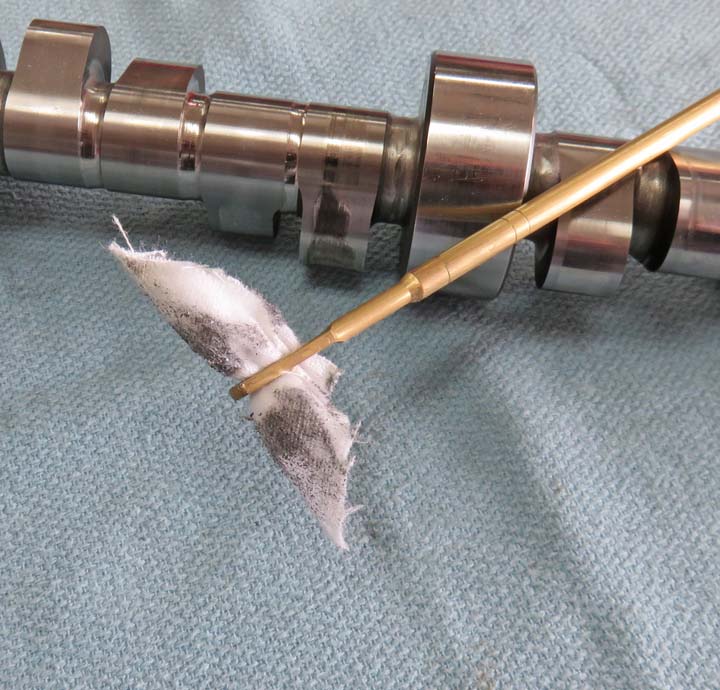
I used my gun cleaning kit to clean the long hole with, which worked out
great.
|
|
 |
Here you can see some of the crud that came out of the hole. I used
three or four patches until they came out clean. Now the cam is
ready for a wire to pass through it.
|
|
|
|
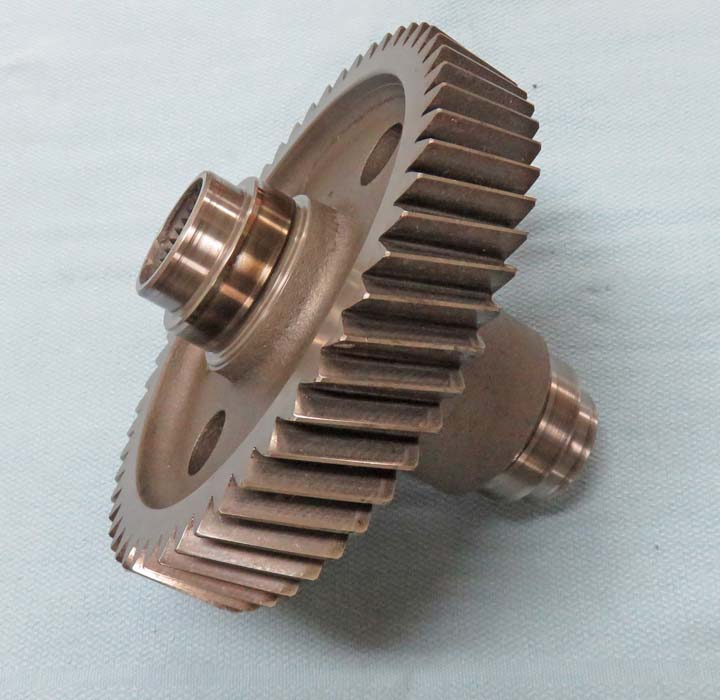
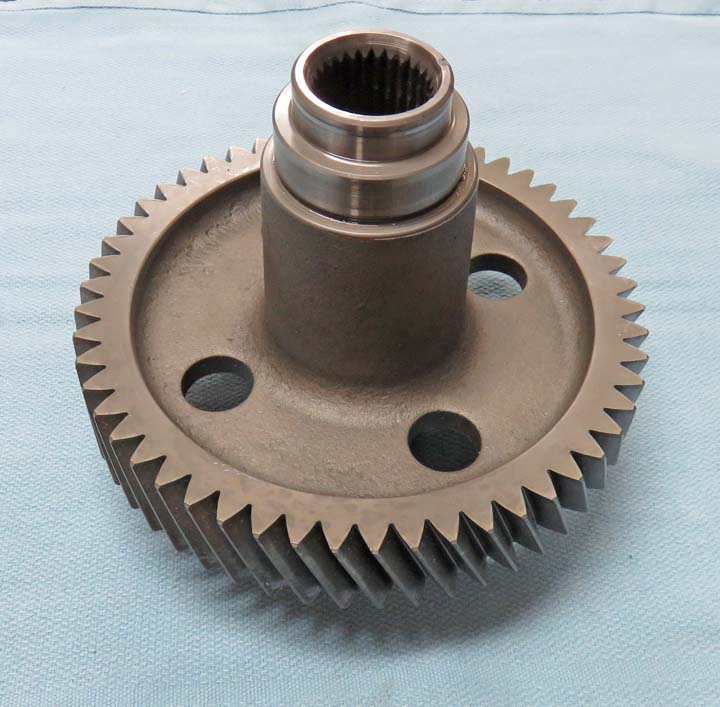
The Base This is what I'll be using for the base. I acquired this
gear from my daughter Tracey, who works at a motorcycle shop. She told
me that it came out of a Polaris Razor 1000 Turbo transmission and is
the main output gear. And it's perfect for what I'm doing. Little
does my daughter know, but this lamp will be for her.
|
|
|
I thought about machining away this short end
altogether so I'd have a nice flat surface to set it on, but this gear
happens to be just as hard as my camshaft. And I'm pretty sure it's made
out of the same material and is case hardened.
|
|
|
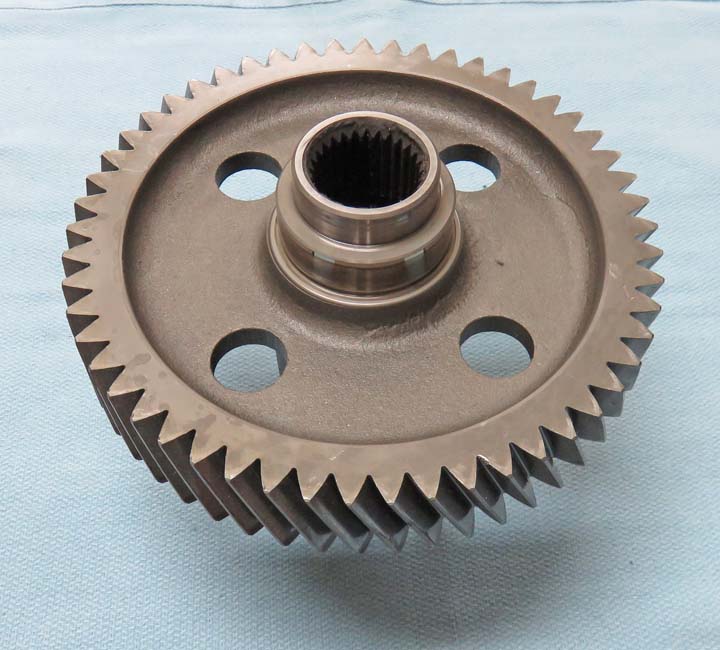
This is the longer end and I plan on attaching the came
here somehow. And as you can see, it would look great if the bottom
portion were gone so I guess I'll have to figure out something else.
|
 |
|
1
2
3
4
5
6 |
|