|
The arms that hold the lower step/chair back in place will need to
pivot. I plan to use 1/4" screws to have them pivot on, but I don't want
the pivot point to be on the wood. My plan is to use some plastic bushings so
they can wear out in place of the wood.
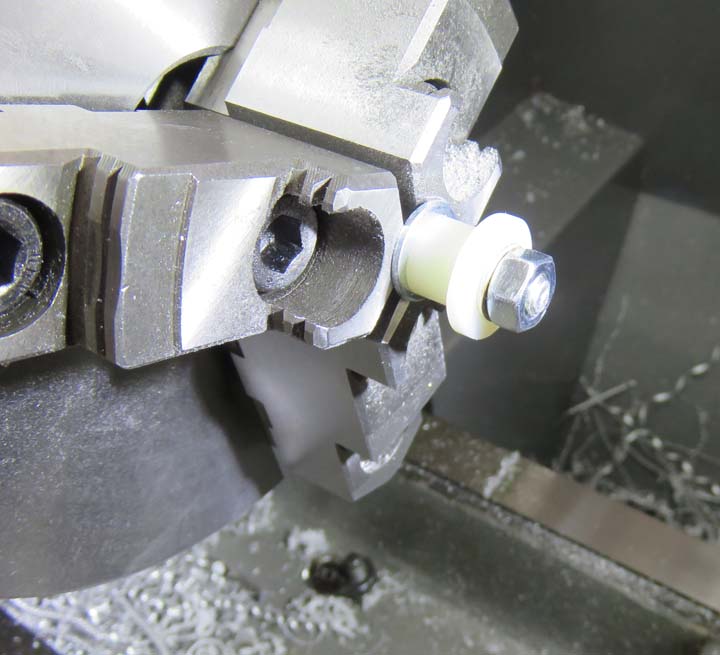
Here I'm machining some plastic that will become my bushings. I'll
use two on each side piece (four total), they will be half the
thickness of the wood and be inserted from either side.
|
|
 |
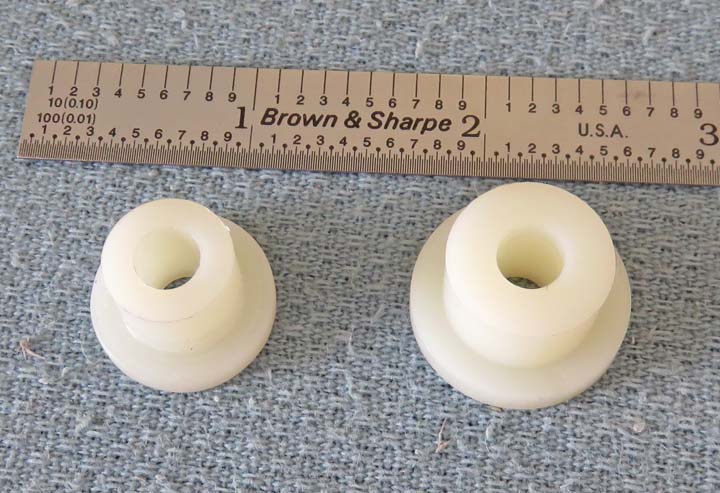
Once I had the idea of using bushings, I machined
some out of the ones that you see on the right, and ended up machining
every surface to get the size I was after. The plastic pieces I started
with came from my work and are used for packaging one of our products,
which worked out great.
|
|
 |
|
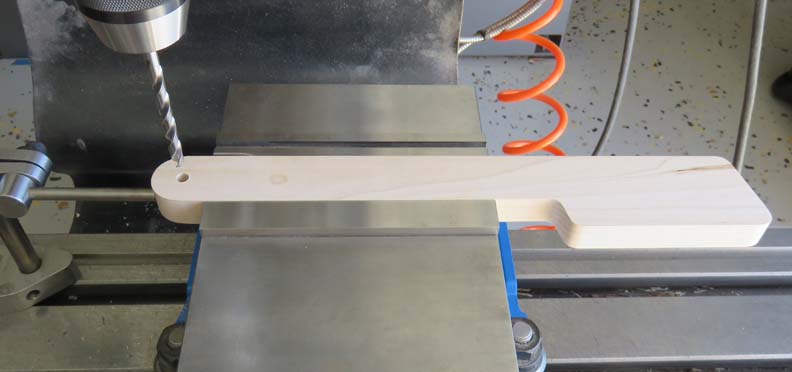
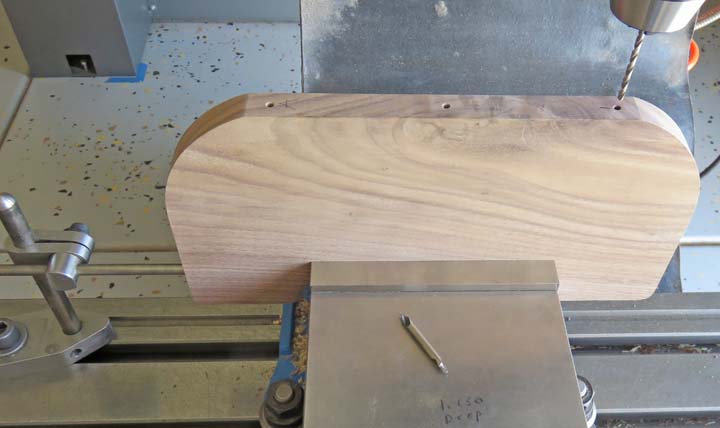
I'm drilling the pivot point hole in the arm here.
They will be equally spaced (same distance from the end as the sides)
and 1/4" diameter.
|
|
 |
|
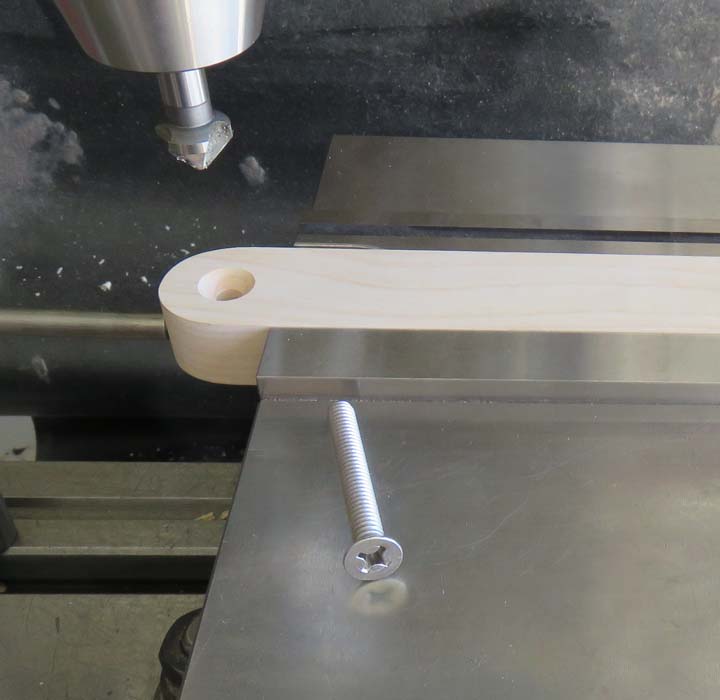
After drilling I chamfered them with an 82 degree
countersink for some stainless hardware.
|
|
 |
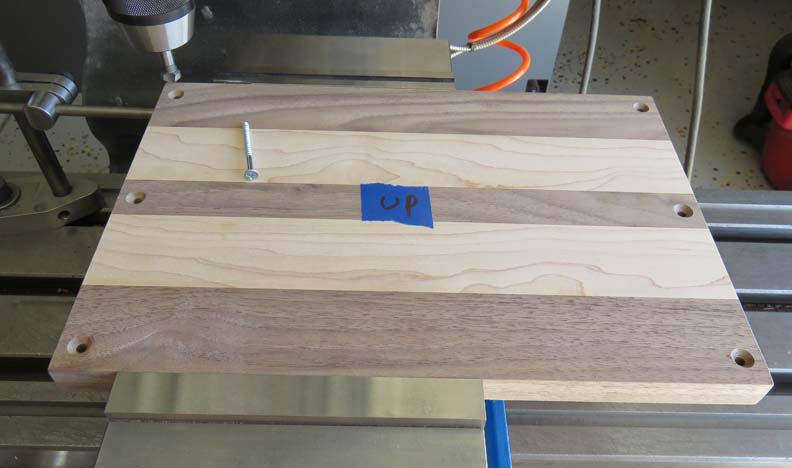
The next step was to drill and countersink holes for the top step/chair
seat. Before countersinking these holes, I had this piece screwed in
place and it fit really well. To make sure it went back the same way
after removing it, I labeled the underside with pencil marks. And the
"up" sticker is so I didn't get the countersinks on the wrong side.
|
|
 |
|
I used a center drill first and then drilled these holes
to make sure the hole locations were right for the seat.
|
|
 |
|
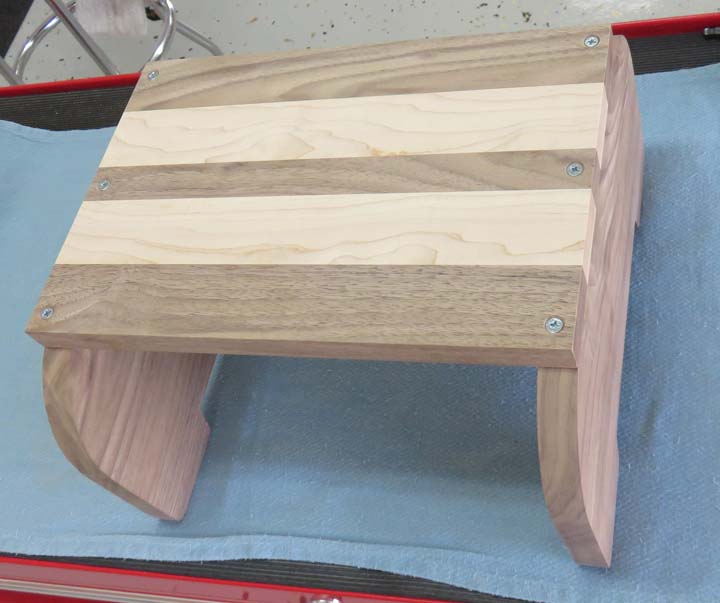
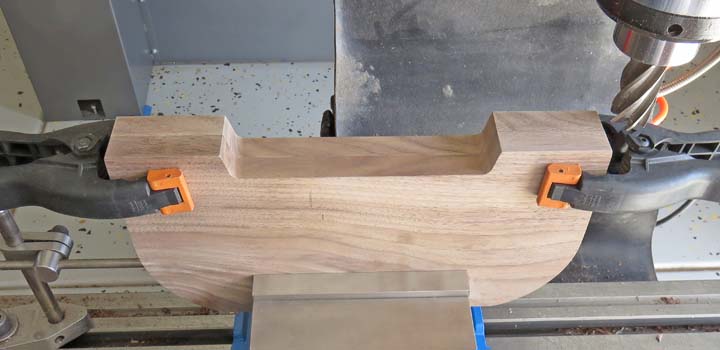
It's starting to take shape here and I'm happy with it
so far. Now it's time to fit the arms for the lower step/chair back.
|
|
 |
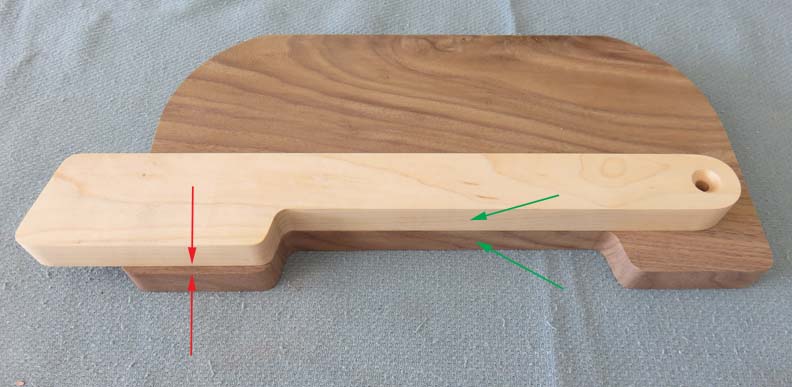
As I was placing the arms on the sides, I discovered I had a problem.
Now this was only a cosmetic issue but I didn't like it so I'll be
addressing it. See the green arrows, those two surfaces are flush. And
the red arrows are not. I wanted both surfaces to be 'flush' when I was
finished, but they really don't need to be. That means I have to decide if I
can live with the mismatch, or make them both flush with each other?
|
|
 |
|
As you can see I couldn't live with it and I machined
1/8" off the legs so things would match up better. No big deal because
this only
takes a few minutes. And then I had to redo the radius' on both ends.
|
|
 |
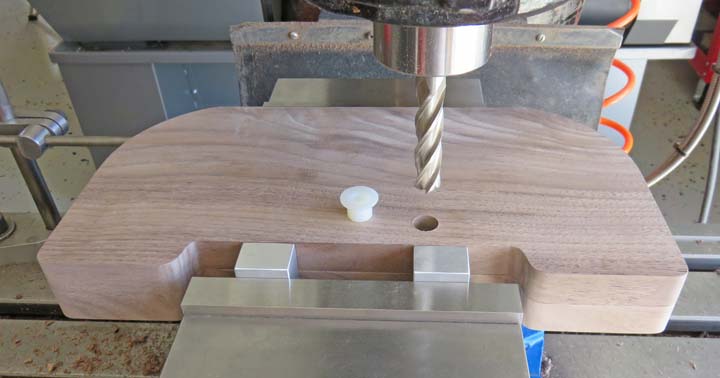
Once I figured out where the pivot hole needed to be, I used a 1/2" end
mill and went through both side pieces. This way I know they are in
alignment. Did they have to be this accurate? Not really...but I did it
anyways....
|
|
 |
|
1
2
3
4
5
6
7 |