|
Making presents for the family is something I've done for a long time
now and I really enjoy doing it because I like seeing their faces when
they open them. The bank that I made Audrey was finished a month ahead
of time so I had some time to think of something else for her.
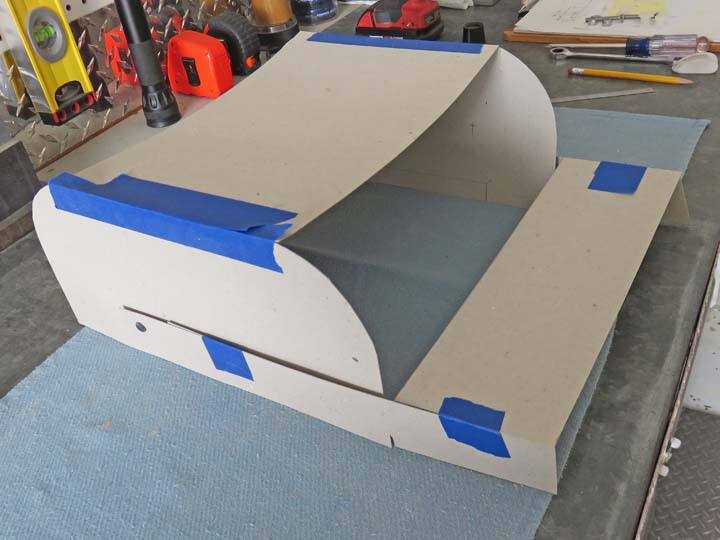
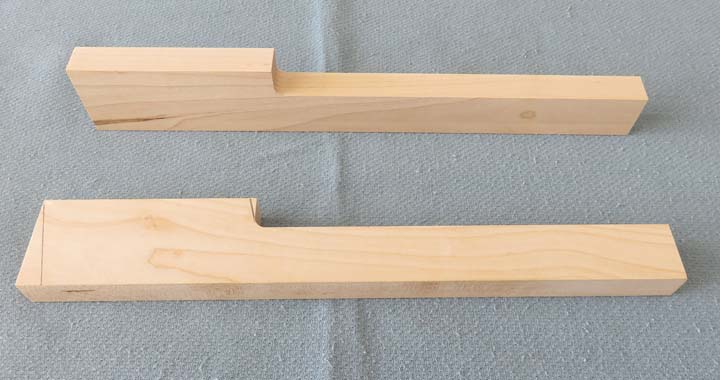
What I came up with was a small step stool for her to use while
washing her hands or brushing her teeth. However, after playing with the
design and then making a full size cardboard model, I added a little
something extra. The small step will do double-duty: it can be used like
you see below as a first step to the higher one, and it can also move
and become the back of a chair. Notice the small nail in the arm of the
step, this will be the pivot point. I'll add a non-movable stop for this
arm to rest against while in chair mode. This should be a fun project
and I hope to finish it before her big day.
|
|
 |
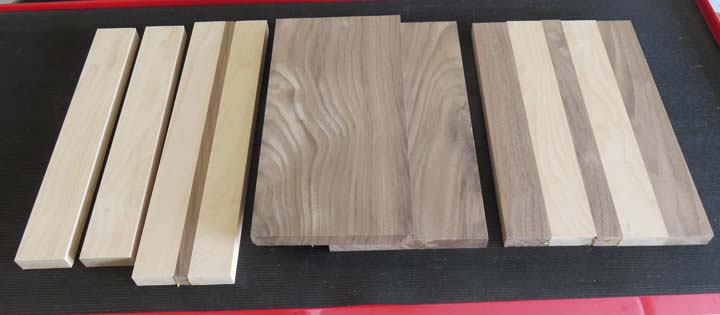
Once I had my model and most of the dimensions for my
project, I went to
Reel Lumber in Riverside,
CA. to pickup some material. What you see here is some hard maple and
black walnut cut into their respective groups with tags on them so I
don't get too confused. Now it's time to start machining each piece.
|
|
 |
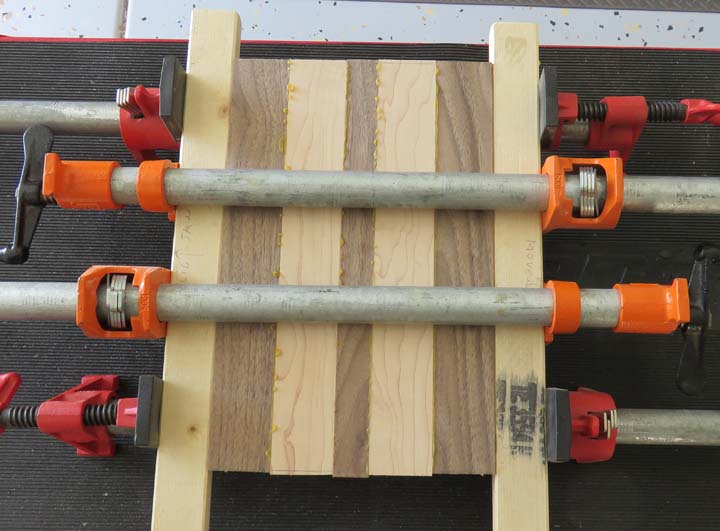
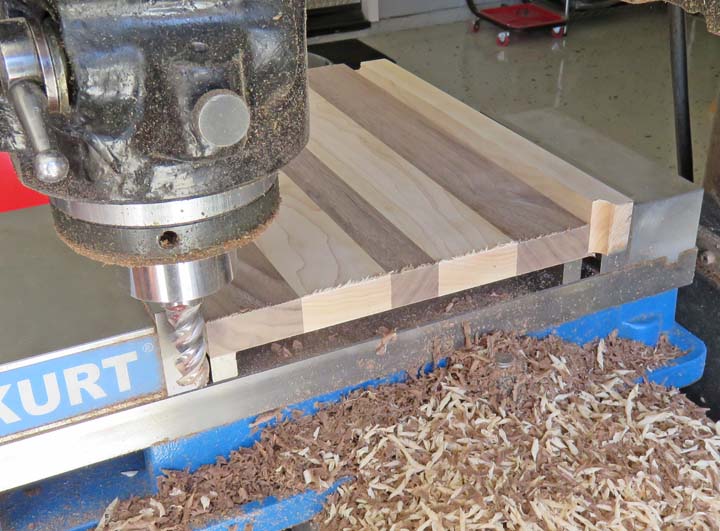
The top of the stool will have both species of wood used that will
measure 8" X 12" when finished. Here I'm machining the sides of four
pieces that will be of equal size.
|
|
 |
|
But one piece of black walnut will be of smaller size
that will go in the middle of the above step, which I'm machining here.
|
|
 |
|
This should give you a better idea of what it will
look like. Note: the two pieces that are longer are not part of the
project, that are clamping aids.
|
|
 |
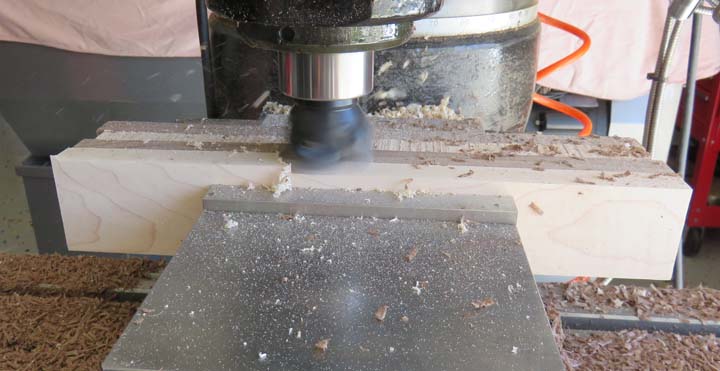
I'll be using a solid piece of black walnut for each side, which is what
I'm machining here. By placing both of them in the vise and using some
clamps near the top while machining, this helps keep things from
vibrating because the work piece is tall.
|
|
 |
|
This is the lower step or chair back. I went with more hard maple on
this piece so it would offset the amount of black walnut I'll be using.
|
|
 |
|
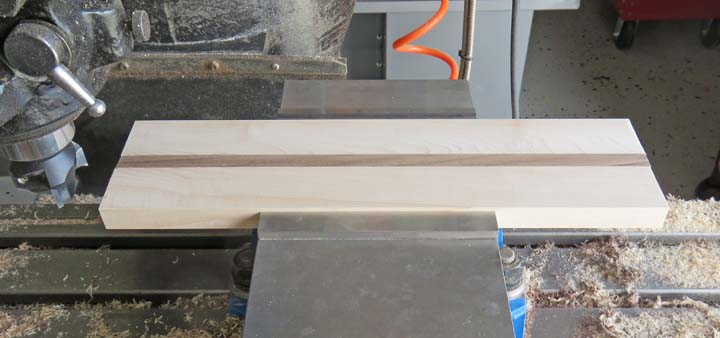
I machined everything but the lengths, so that
will be next.
|
|
 |
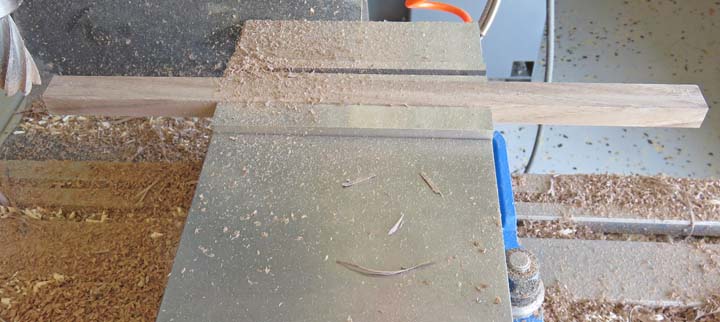
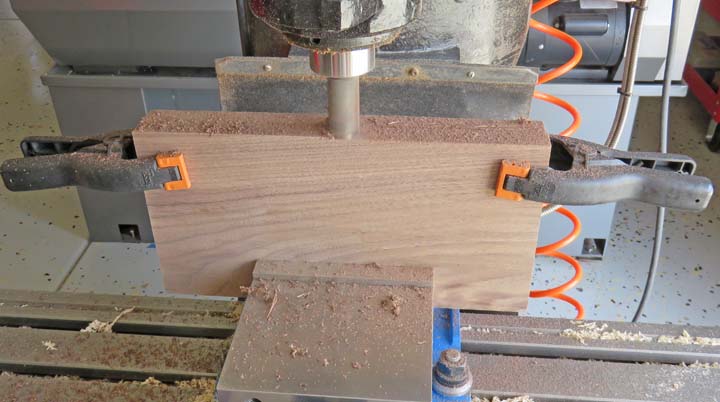
Machining wood is very easy and you can take some large cuts in doing so. However,
when you cut 'end grain' you need to use something to back it up with,
like the scrap piece that you see against the solid jaw. As the cutter
exits your work piece the rotation of the cutter wants to tear and split
the end of your work. But if you have something behind it (like
you see here) that won't happen.
|
|
 |
|
Here I'm cutting the lower step/seat back on one end
only. The reason I'm not cutting it to length is because I don't know
what that length is...yet.
|
|
 |
|
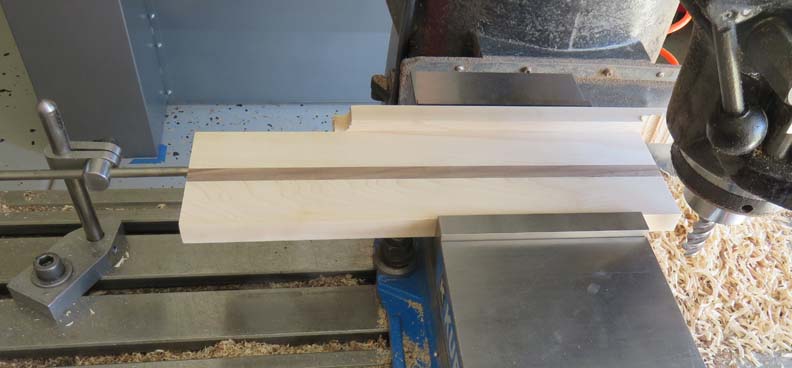
Here are the arms for the movable back, which
will be attached later. After they're in place I can measure from
one side to the other and find the length I need to machine the movable to.
Notice the long and short pencil lines on the bottom
arm. Those lines represent a 15 degree angle that will be machined
on them. Why 15 degrees? Why not!!
|
 |
|
1
2
3
4
5
6
7 |