|
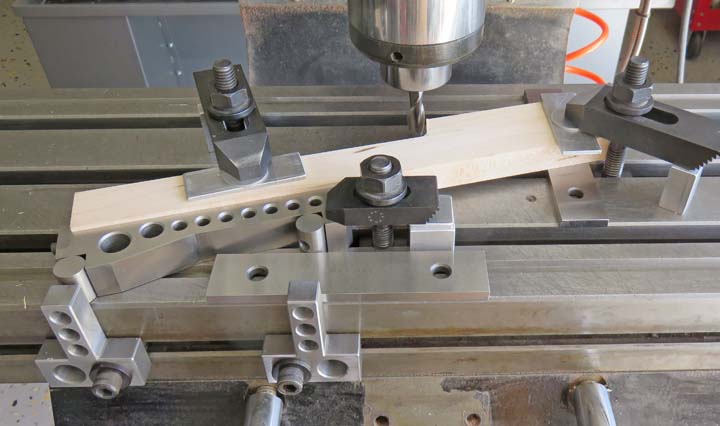
Here I'm machining the 15 degree angle with the aid of
my sine bar. Also notice I don't have a scrap piece of wood while I'm
machining. In this case I don't need one because the cutter is running
in a clockwise direction, which doesn't produce a chipped work piece.
|
|
 |
|
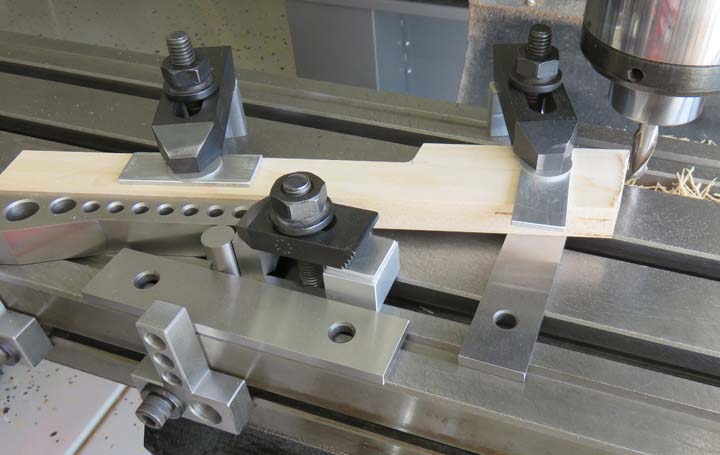
Here I'm machining the second 15 degree angle and again
I'm not using a scrap piece. But wait a minute....you just said that if
you didn't use one that one end would chip? That's true. However, the
end that could possibly chip is going to get a large radius so if I do have a
small problem, that will be removed while doing the radius.
|
|
 |
|
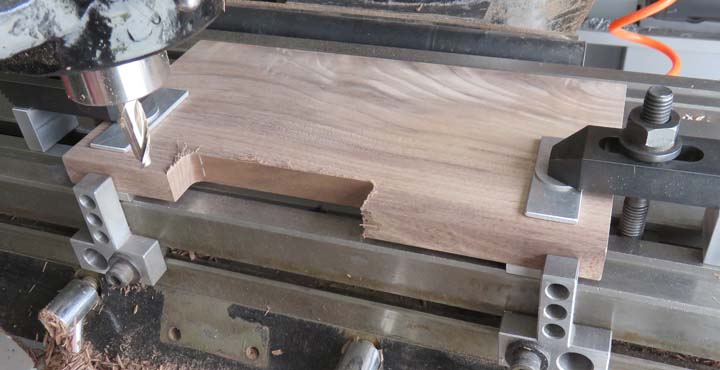
I'm machining a cutout on these side pieces, which will
end up being the legs of the chair/stool. My work stop is setup on the
left side and by machining one end only, but going past the center point
a small amount, I can unclamp my work piece, turn it over, machine the
opposite side the same way as the first side and have the exact same
size from the ends to the cutout.
|
|
 |
|
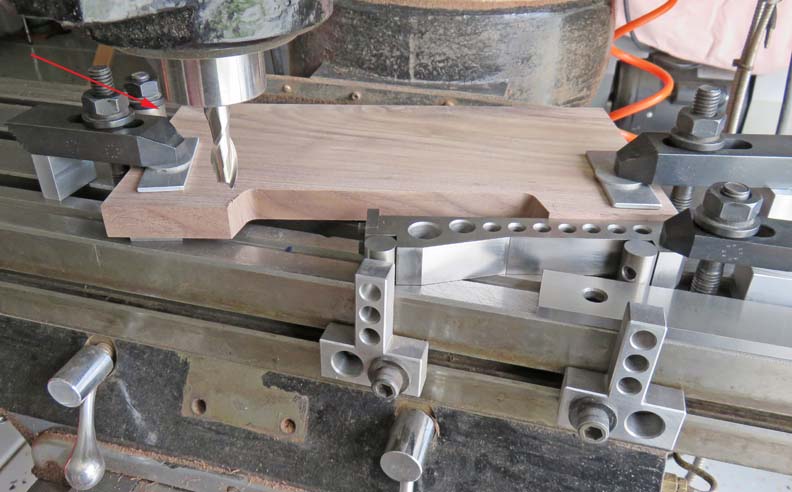
Here I'm using my sine bar again to put a 15 degree
angle on each end of the legs. I didn't have to put this angle on here
and could have left if with a straight cut, but it's just a little
detail that I wanted to do. I did the same thing here as I did in the
picture above. My mill stop is at the left (red arrow) and by banking it
against it, this allows me to repeat the process on each leg (four
times). All I do is go to the same number on my dial to make each cut.
|
|
 |
|
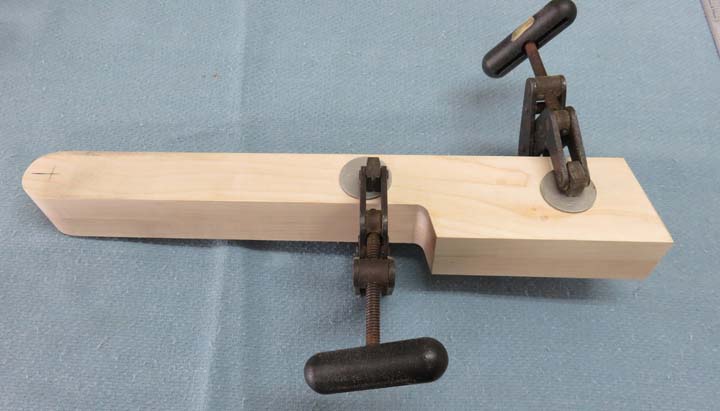
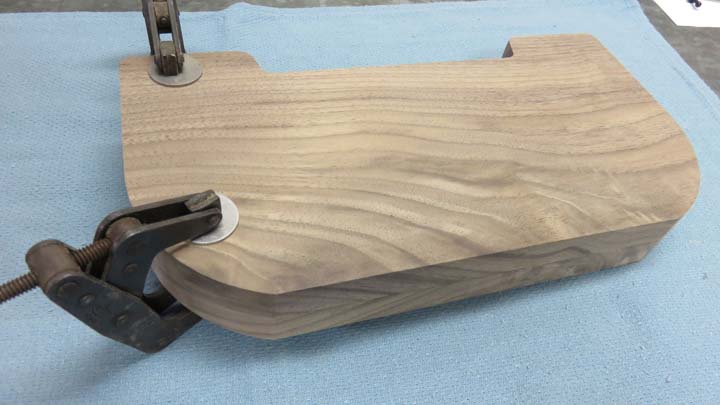
Now that all my 15 degree angles are finished, it's time
to put a full radius on the ends of the arms. Notice the left end
has some pencil marks. Those represent the center of the radius that
I drew on with a pencil. To make sure both arms had the same size
radius, I clamped them both together and used my belt sander to form
them.
|
|
 |
I did the same thing with the other end and sanded both at the same
time. This worked out great and it was fast and accurate.
|
|
 |
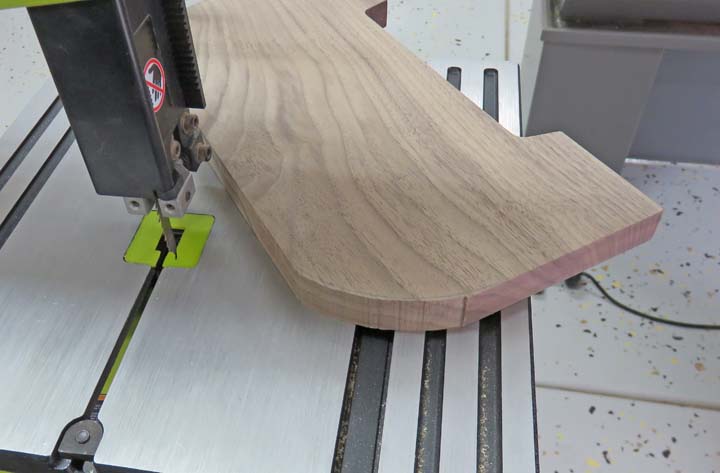
I laid out another radius (with my compass) and used my bandsaw to cut near
the line.
|
|
 |
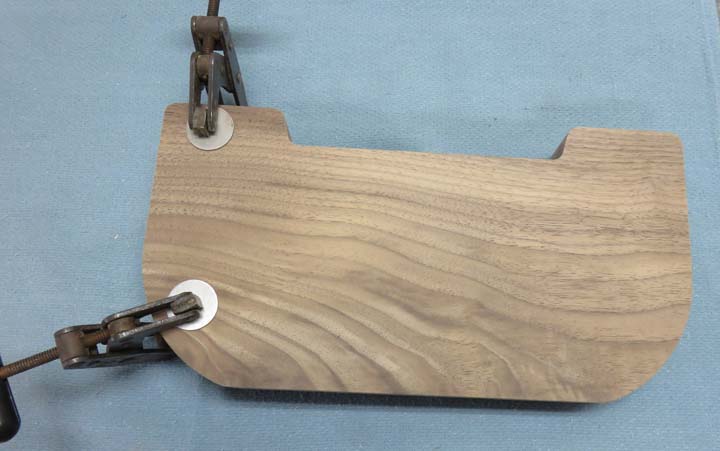
Then I clamped both of the sides together and used my belt sander for
these as well.
|
|
 |
|
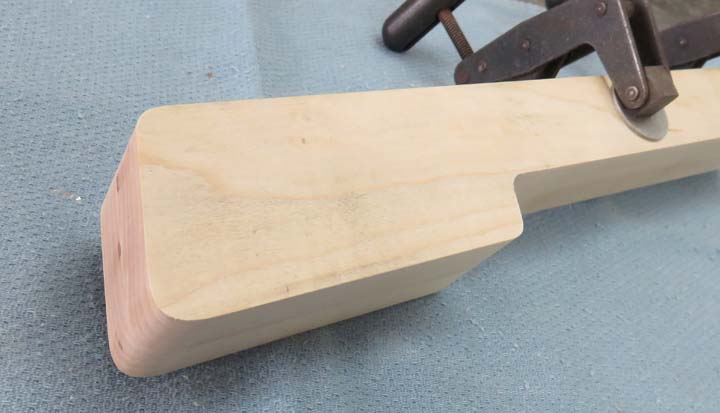
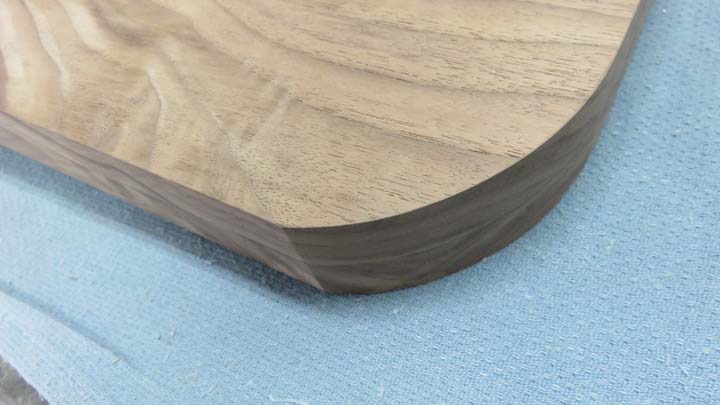
This worked out great and again was quick and easy. Notice the
radius isn't a smooth transition at the one end. The reason is because
the seat will be attached here. I thought it would look better if this
part of the radius didn't tangent out smoothly like the other end does.
However, I guess I'll find out once I screw the two pieces together... if
it looks good or not.
|
|
 |
And the same process was used for the feet as I did above.
|
|
 |
|
1
2
3
4
5
6
7 |