|
The top surface is all machined and it turned out pretty
good. Using a cutter designed to cut metal isn't ideal because wood has an open
grain which doesn't like getting forced around but I don't have any
other way of doing it. If I had a huge wood planer then this is how I'd
go about it but I don't.
|
|
 |
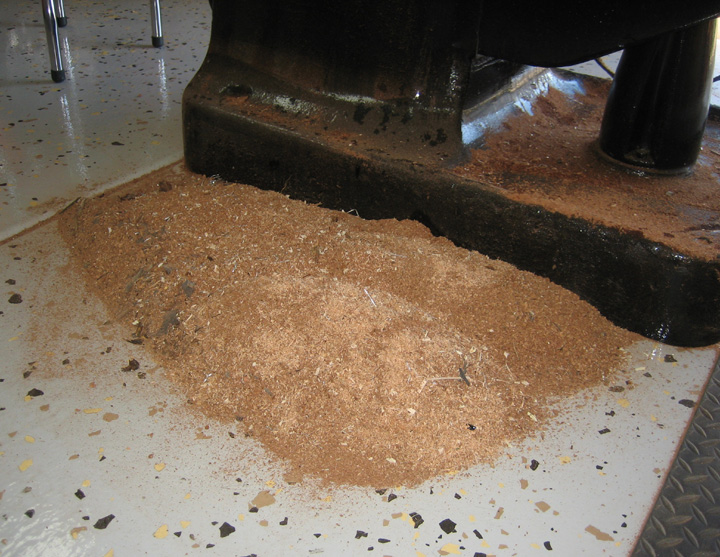
I had a little sawdust once I was
finished.
|
|
 |
|
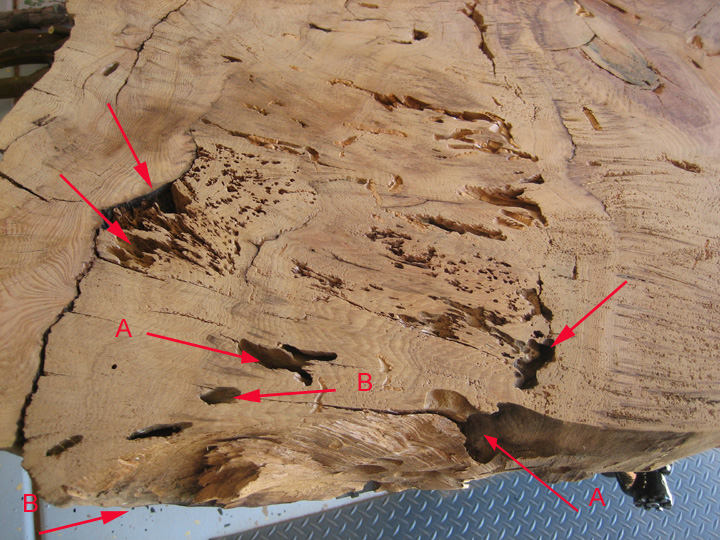
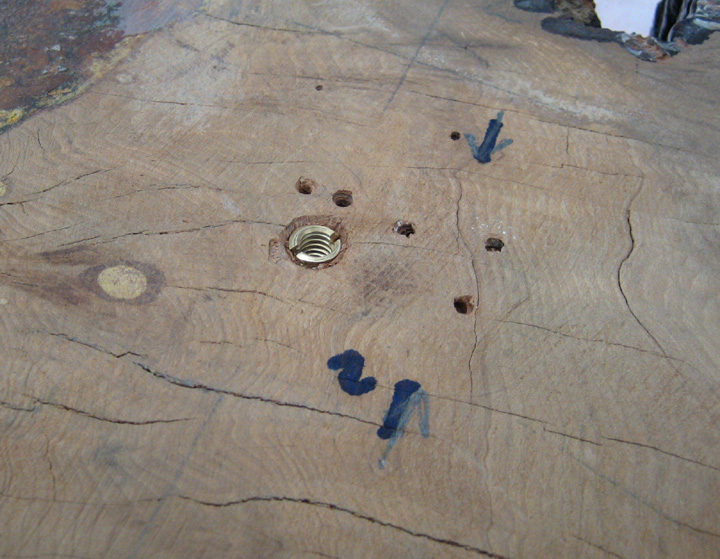
The next step is to put some kind of finish on this
surface but before I do that I wanted to show you what I'm dealing with.
The arrows with the letters A and B are thru holes and will need
something to plug them with before I put any liquid on here, otherwise
it will run straight through to the floor.
Those other areas (plain arrows) will need to be filled
a small amount as well but not flush with the surface because I really
like gnarly look. By the way, most of the holes and voids that you see
were made by carpenter ants which is one reason I choose this side to
begin with as it gives it a very unique look.
|
|
 |
|
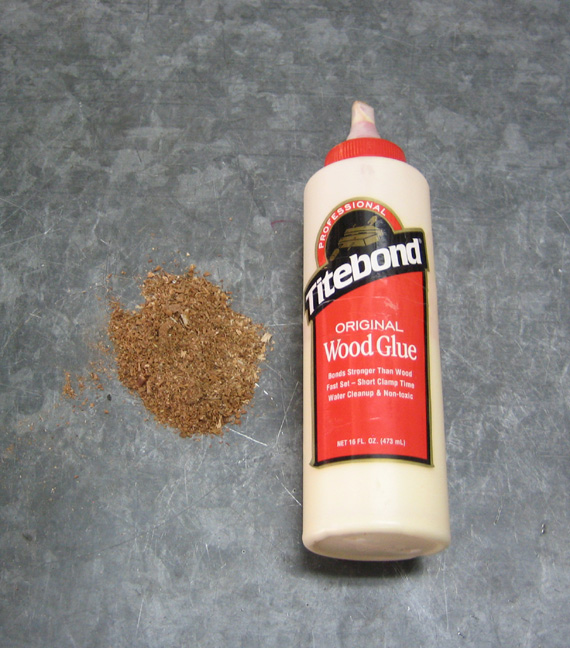
I used some wood chips and glue to plug the thru holes
but only filled them about halfway. I did the same for the other voids
just to make sure they didn't have any small cracks that I couldn't see.
Once this dried overnight, I'd be ready put a clear finish on it.
|
|
 |
|
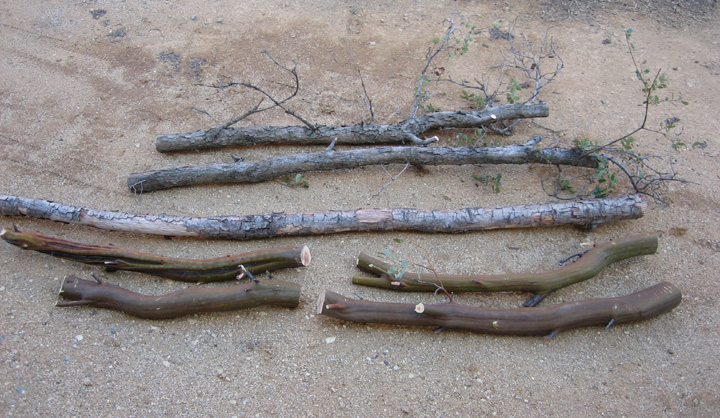
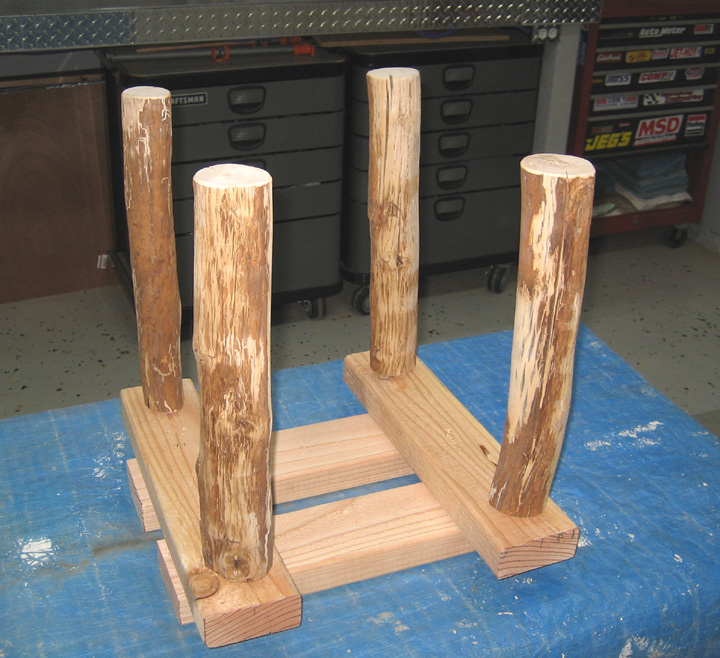
The legs for the table are going to be made of wood and
I had a few choices to go with. The top three are oak and the bottom
four are manzanita. I really liked the look of the manzanita but after
messing with it for awhile, I chose the middle oak branch.
I removed all the bark from it first, sanded it and then
cut four legs 14" long. With the table top being 3 to 4 inches thick,
this would make the table between 17 and 18 inches tall when finished.
|
|
 |
|
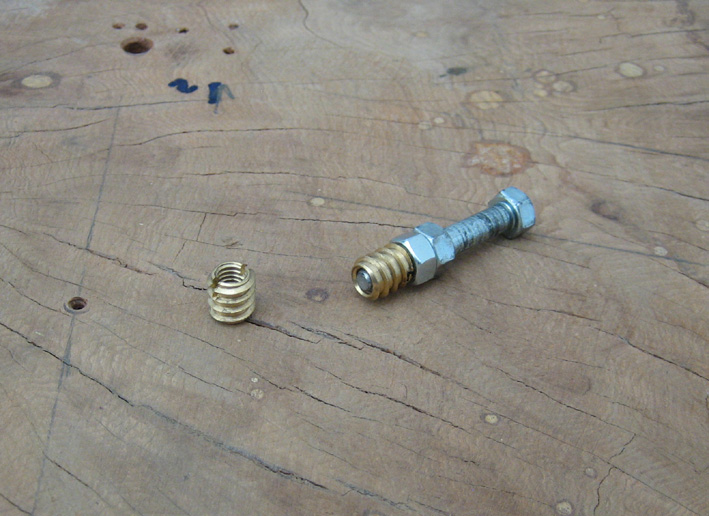
To attach the legs I used some threaded inserts made out
of brass. The inside thread size is 5/16-18 which should work great for
what I'm doing. If you look close you'll see a slot to drive them into
the wood with but that didn't work very well because of the soft brass
giving way as I was threading them in. The way that worked for me was to
thread them onto a bolt along with a double-nut to keep them from moving
while I screwed them into the wood. This made it easy because I used a
socket and ratchet along with a 6" extension. The reason for the
extension was so I could see if I was staying nice and straight while I
was threading them in.
|
|
 |
|
I chamfered the holes before I installed the inserts
which worked out good. I numbered all the holes (four of them) to match
up with each leg as they're all different lengths. The reason no two
legs are the same length is because the table isn't parallel and the
arrows are like timing marks which line up with a mark on the side of
the legs.
|
|
|
I used some of my 2 X 4 tooling to hold the legs while I
put the clear finish on them. It's hard to see here but I put three
washers under each leg to create a gap because when the clear finish
goes on, I'm sure it will run down each leg so this is just my way of
making sure I can remove them once the finish has dried.
|
|
|
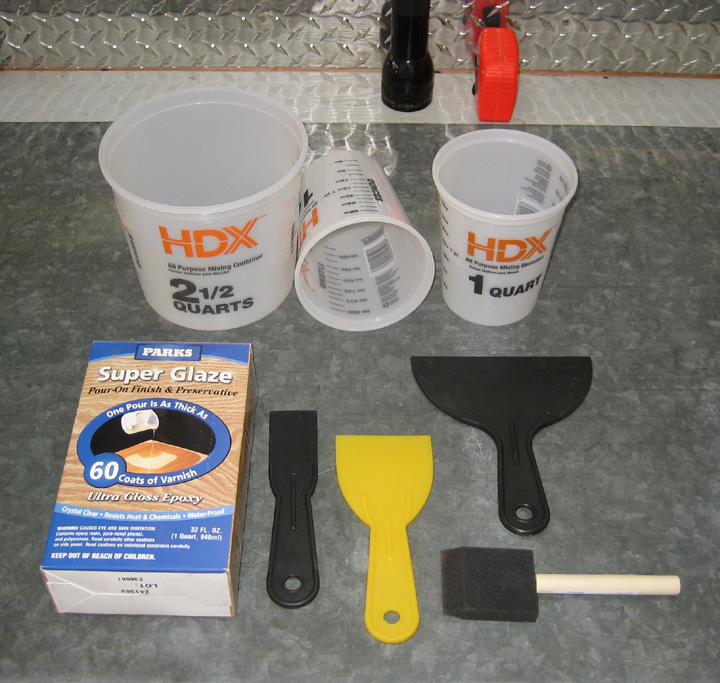
The clear finish I'm using is made by Rust Oleum Parks
called Super Glaze which I got from Home Depot. I bought the one quart
size but they also have a larger one gallon size if you need that much.
This type of finish might be used on bar tops, tables, etc. I've never
used this type of finish before so but the box says it's equal to 60
coats of varnish. On the other hand I've never had a problem with trying
something new before and I'm sure I'll learn a few things once I'm
finished.
You mix it to a 1 to 1 ratio, then pour both into a
larger container, mix for three minutes (minimum) and then you're ready to
rock. I plan on pouring most of this onto the surface, then use the
yellow plastic putty knife to help spread it around and letting it run off
the sides. And to coat the sides I'll be using that small foam brush
which I thought would get into the smaller places better than a normal
bristle brush. It all sounds like I know what I'm doing but rest assured
I'm not to sure.
|
 |
|
1
2
3
4 |