|
I acquired a large piece of wood from a neighbor of mine, which means I
have another project to work on. He wasn't sure what kind of wood it was, but knew
it came from Northern California and thought it was some kind of fir.
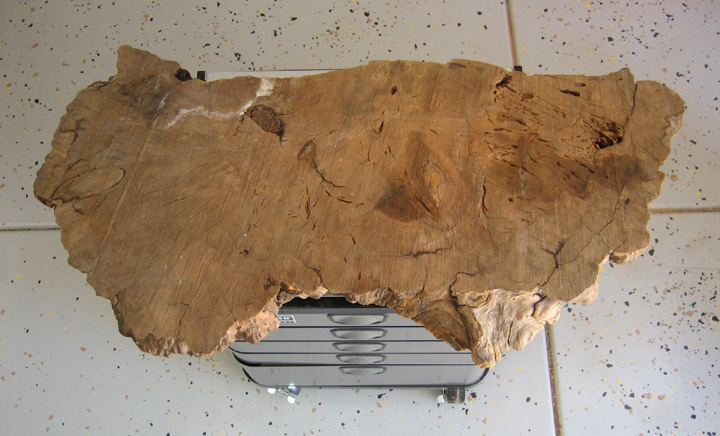
The length is 51" and 27" at the widest area. I
didn't know what I was going to make or do with it, all I knew it was
really cool looking and very heavy.
My first thought was to make some
kind of table because that's what my neighbor was aiming for before he
broke it in half. He let me choose which piece I wanted and after
looking them both over this is the one I liked better. Now my neighbor
had already started to sand one side, which was the good news. The bad
news here was that he used something to fill some of the voids
with, which looked out of place in my opinion. But worse than that, I
wondered if the filler he used would look or react weird once I put some
kind of a finish on it.
After studying the surface for awhile I decided to use the opposite
side for my project which is what you see below. The only problem with
using this other side was, I'm basically starting from scratch (it has a
chain saw surface) and it would be much more work. From this shot it
looks fine but once you get closer you can see just how bad it really is
plus it has a large low spot in the center.
|
|
 |
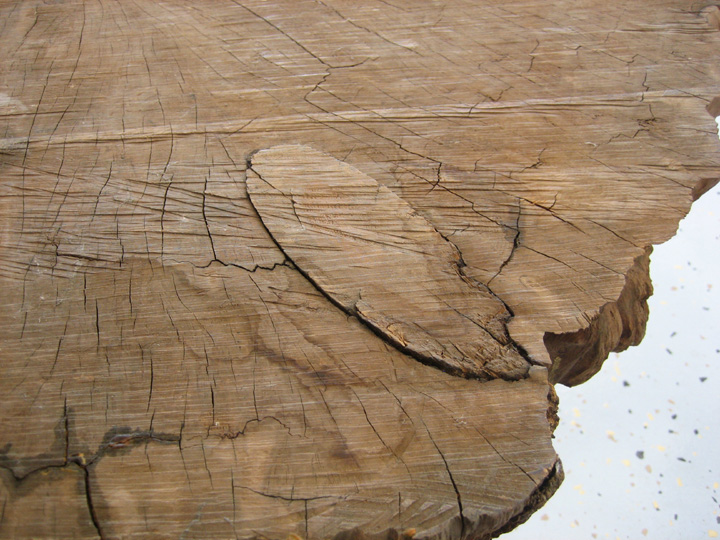
| I noticed a few things that needed my attention before I
started any work on the top surface and the first was this knot. Now
this cool looking knot should look pretty nice once it's finished but
the last thing I wanted was for it to fly out while I was machining it and
get destroyed.
This knot is larger on the top surface and almost disappears to
nothing on the other side, which means it would be easy to have it
dislodge while I was working on it. What I had in mind was to anchor it
in place so it stays put and to do that I planned on using some screws.
|
|
 |
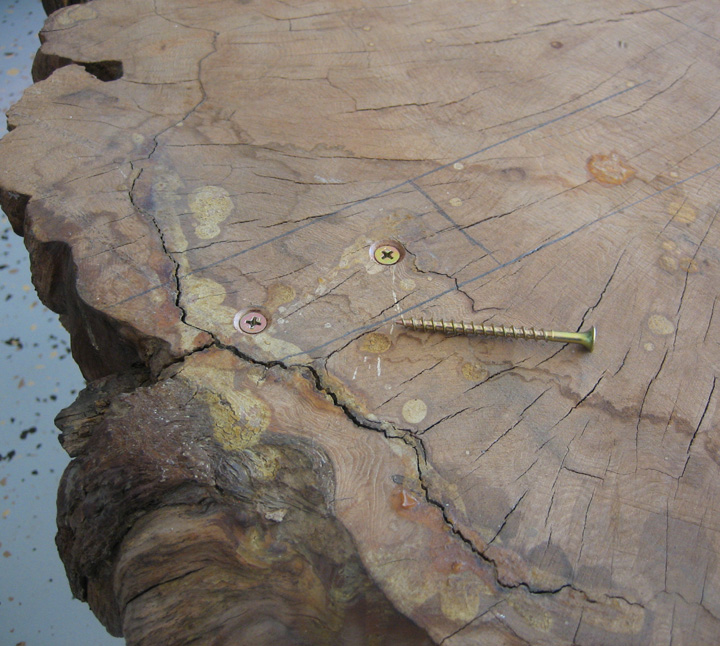
This is the opposite side where the knot should be (like I said, you can
hardly see it). After measuring and laying out where the knot is
located, I drilled 1/8" pilot holes, countersunk them and then used 2
1/2" long screws to hold the knot in place. You can also see some of the
filler that I was talking about in various places which is to bad
because this surface was close to being finished.
|
|
 |
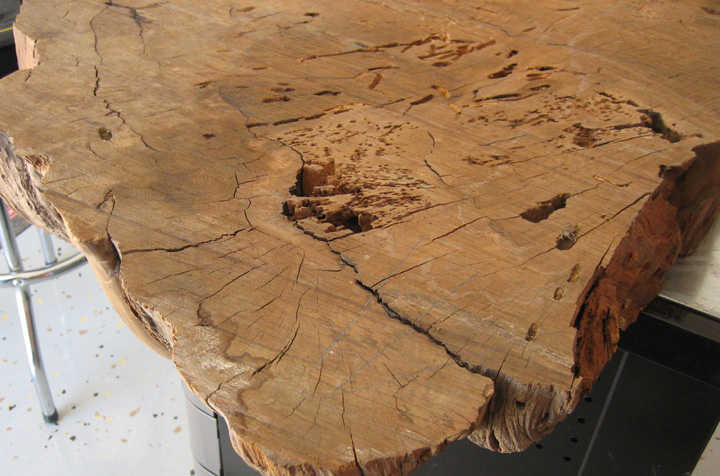
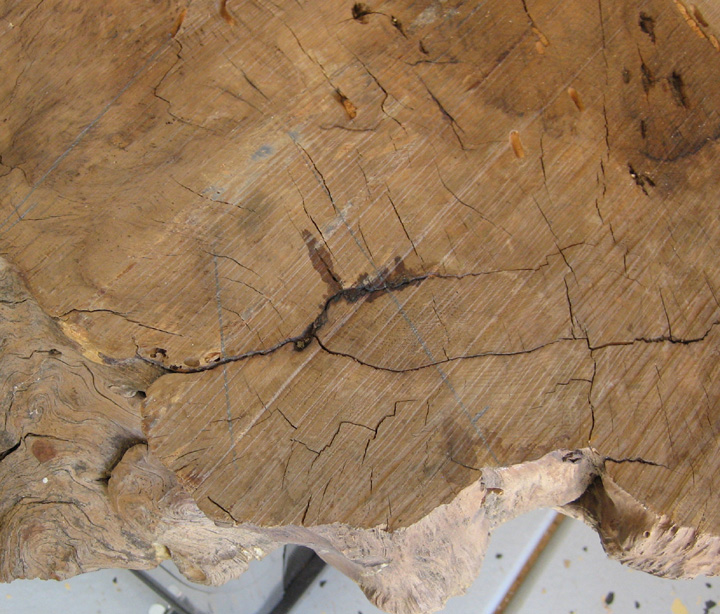
Back to the original rough side again. I used the handle of a
screwdriver and did what I call the "tap test". Note the crack in the
foreground, that area looked pretty bad so I tapped the adjacent section
to get a baseline of what solid wood should sound like. Then I slowly
worked my way towards the cracked portion and sure enough there was a
problem because the tone changed. This would be another area that would
need fixing before machining.
|
|
 |
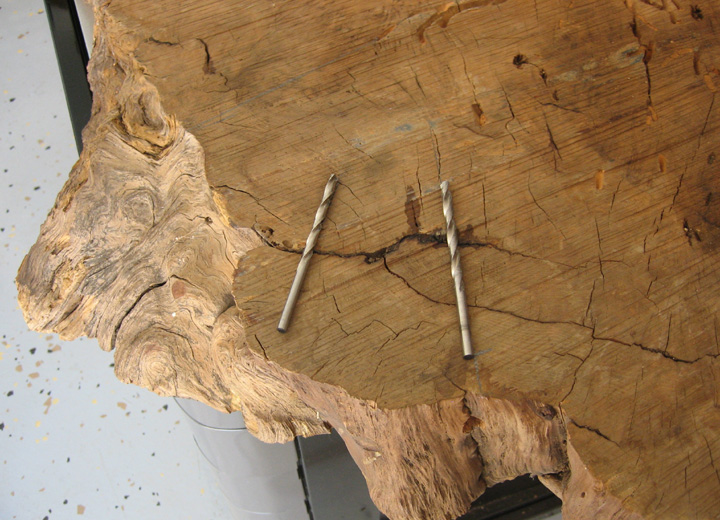
To fix this area the same size screws will be used as before but three
of them in this case. The way the drills are laid out will simulate the
angles of the screws that will be used from underneath.
|
|
 |
|
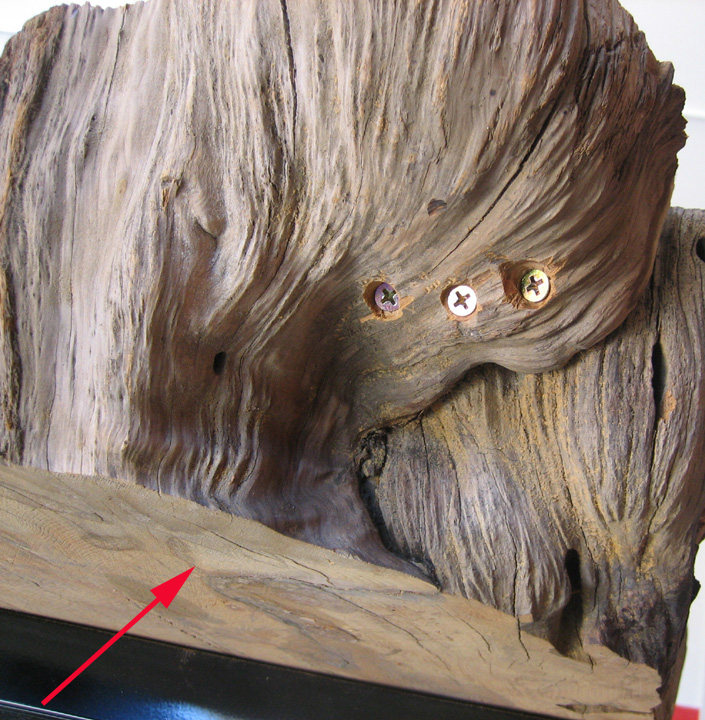
With the crack being the separating point, I wanted the
screws to pull the two pieces together. In order to do that, I first
drilled an 1/8" hole about 4 1/2" deep, then came back with a drill just
larger than the thread diameter - in this case it was 13/64 (.203
diameter). This second drill went right up to the crack but no farther
which would give me the clearance needed so the two pieces would pull
together and be like one. I also made a counterbore for the screw heads
(with a larger drill) so they wouldn't protrude and be somewhat hidden.
The arrow is pointing at the bottom surface to give you reference.
|
|
 |
|
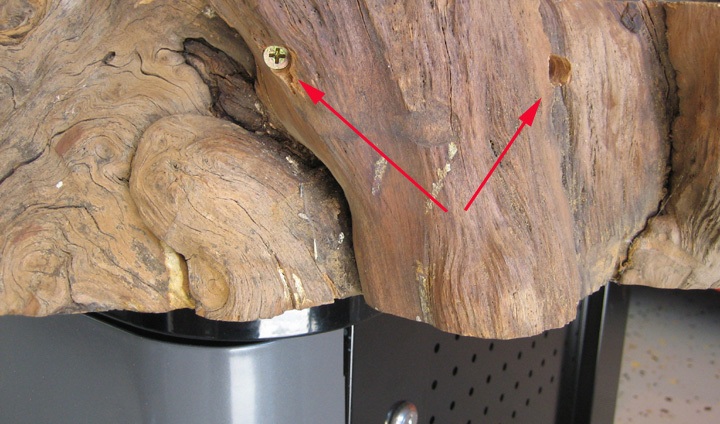
Here is another crack that will get the same treatment
as the last one.
|
|
|
Again the drills give you an idea of where the screws will end up.
|
|
|
Just like the others, the screw heads are countersunk and out of plane
sight. This will give me piece of mind and should make these areas much
stronger.
|
 |
|
1
2
3
4 |