33 Coupe Paint 15
9/19/05
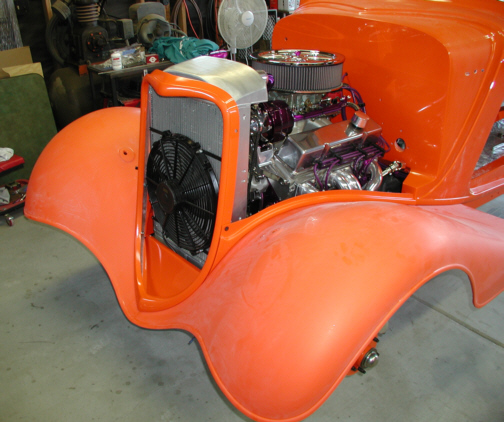
I'm starting to put the front group on now that I have them back from Bart's place. I hope
everything still lines up like it did before paint was applied. It's
hard to believe that paint could cause a problem but it sure can. When
you add the thickness of paint of two surfaces together, it can throw
you off a small amount. How do I know that? Because things don't fit
right anymore. Then again when you have primer (two coats), base (three
coats) and clear (three coats) your talking about 1/32" to
3/64" thickness to each surface. That means I'm going to have to be patient.
|
|
|
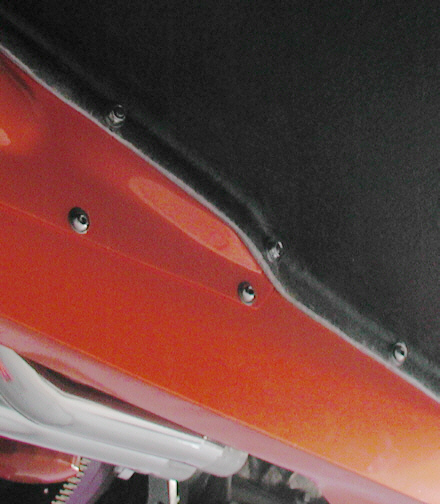
It's kinda hard to see here but I'm
using all stainless steel hardware to hold almost everything together on
my car. When I use a button head cap screw (like you see below), it gets a trip to the
buffing wheel and believe me, there have been MANY trips so far. All the
body panels will be held on with them and that means over a hundred
polished screws. I really don't have to do this but I figure....why
not!!
|
|
|
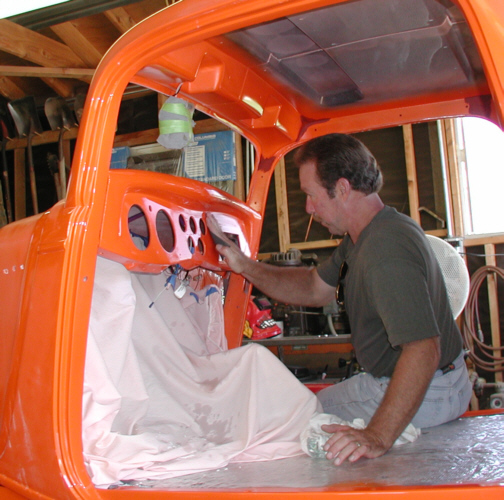
Here you can see Bart sanding on my
dash. He's using some 1200 grit paper to remove the orange peel and then
he'll be ready to start buffing. "Orange Peel" is what
the paint job looks like before any sanding or buffing has been done.
The surface of an orange resembles the surface of today's paint job
right after it's been applied and has to be worked to get it nice and
smooth. Using water and sandpaper, you sand a small area at a time and
then dry it off to check your progress. Now when your sanding, your
sanding the "clear" coat, not the "color" which is
one of the reasons you use clear. You only want to sand a minimum amount
off the surface so you don't end up sanding through the clear into the
color. After a little practice, you know about how much time an area
needs once you start sanding.
|
|
|
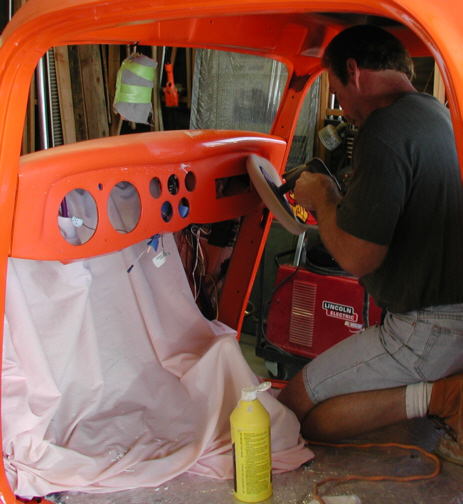
Out comes the buffer to make things
nice and smooth. After using two different buffing compounds, the paint really
comes alive. Bart said he will have to go over it one more time with a
smaller buffing wheel to get into all the corners. Once that's done, I
can install the gages, tunes and the rest of the dash. The sheet under
the dash is
covering all my wiring so it doesn't receive any water or buffing
compound. Liquid and electrical stuff just don't seem to mix!!
|
|
|
|
1
2 3
4 5
6 7
8 9
10 11
12 13
14 15
16 17
18 19
20 21
22 23
24 25
26 27
28 29
|
|
30
31 32
33 34
35
|
|