|
Working With Foam, Velvet & Felt
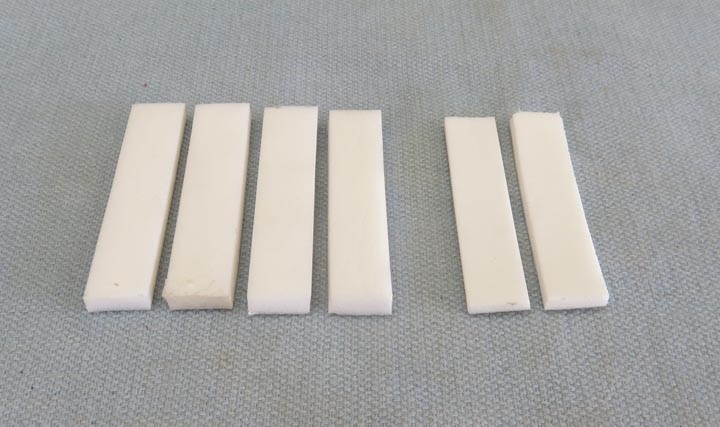
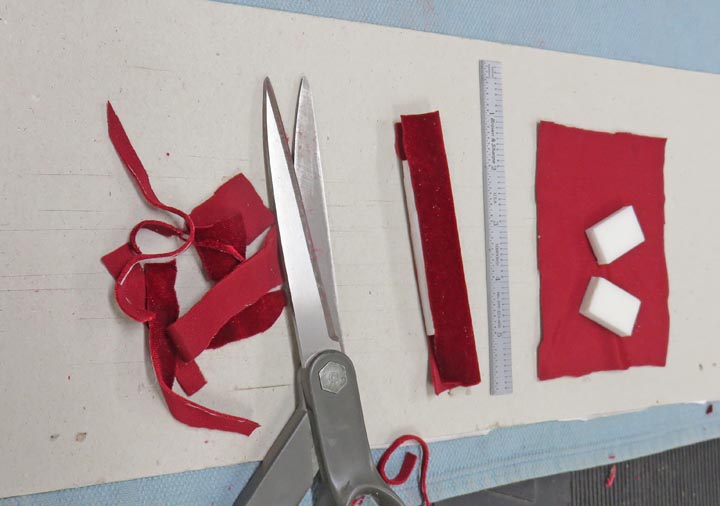
I'm going to glue this foam together and then cover it
with velvet. The four pieces at the left are 1/4" thick and the two on the
right are about 1/8" in thickness. I'll be gluing two thick ones and one
thinner one together as a set.
|
|
 |
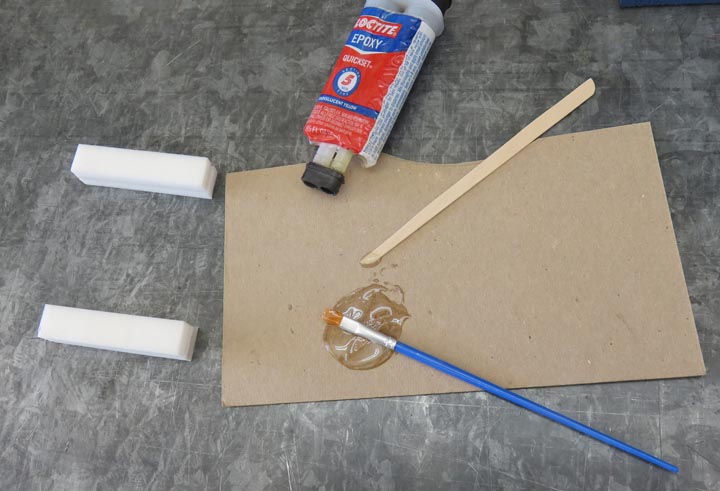
I didn't have any spray glue so I used
some five minute epoxy to attach them. Once the glue was dry, I
sanded each one and then glued some velvet to each one.
|
|
 |
|
Problems
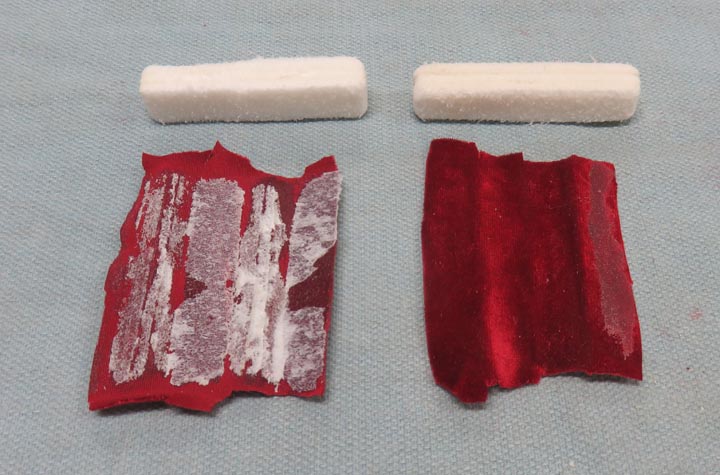
I wasn't happy with how stiff this foam was, plus I over did it with
how much glue I used. I tried messing with these foam pieces but I
wasn't happy with them, so I decided to remove the velvet and start over.
|
|
 |
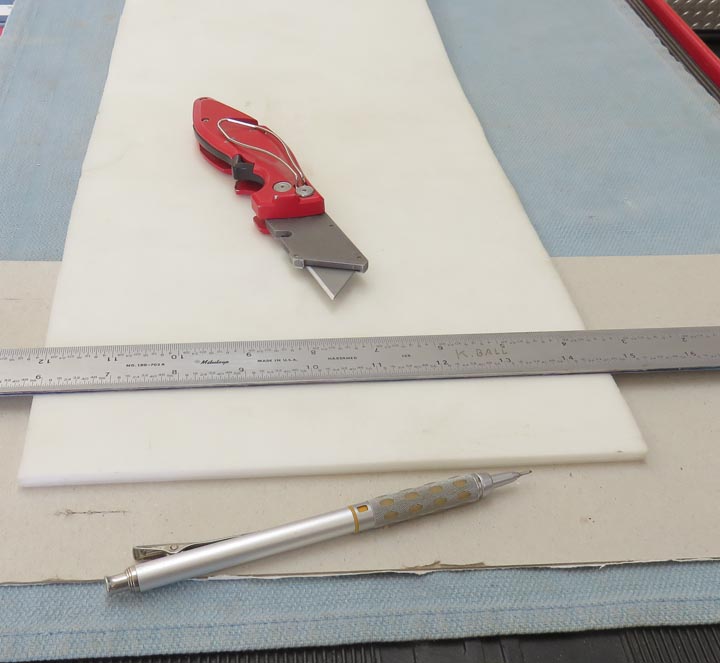
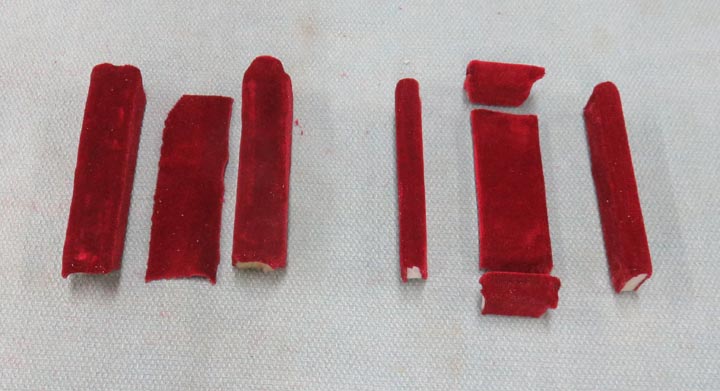
I found some nice soft 1/4" thick foam that I had laying around, which I hope works better than the other stuff. I cut out a few pieces like I did before
and again
glued those together (with less glue).
|
|
 |
A few minutes later I had more velvet glued on and then started trimming
all my pieces.
|
|
 |
This softer foam is going to work much better and I'm pretty confident
it will be what I'm looking for.
|
|
 |
I'm going to cover the entire bottom of the base with felt. But before I
glue it on, I'm going to stain all the wood pieces.
|
|
 |
|
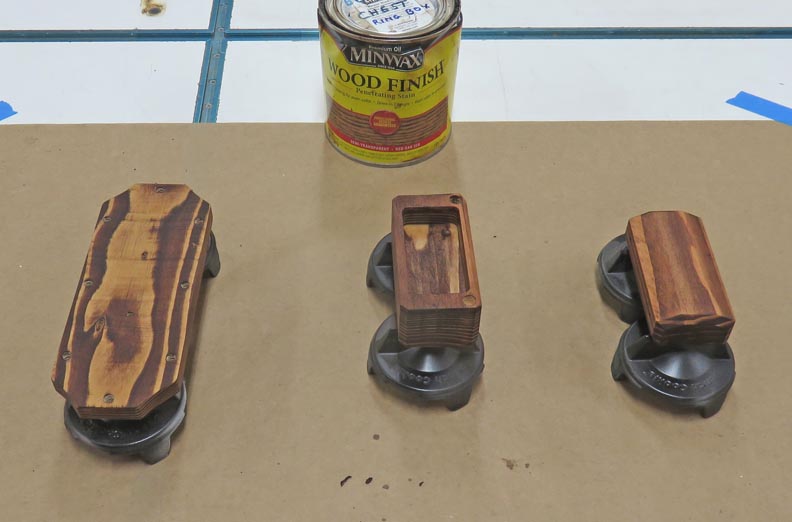
Staining
The color of this stain is the same as I used on my daughters last
project. This way they should match each other. While this is drying,
I'm going to work on the metal pieces again.
|
|
 |
|
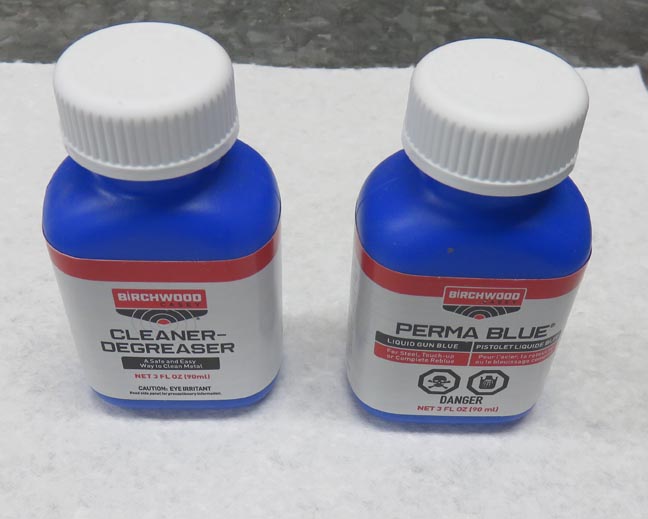
Working With Chemicals
I'm going to use this gun bluing on all the metal pieces that I made.
This is a simple process, as long as you prep the metal correctly and
follow the directions.
|
|
 |
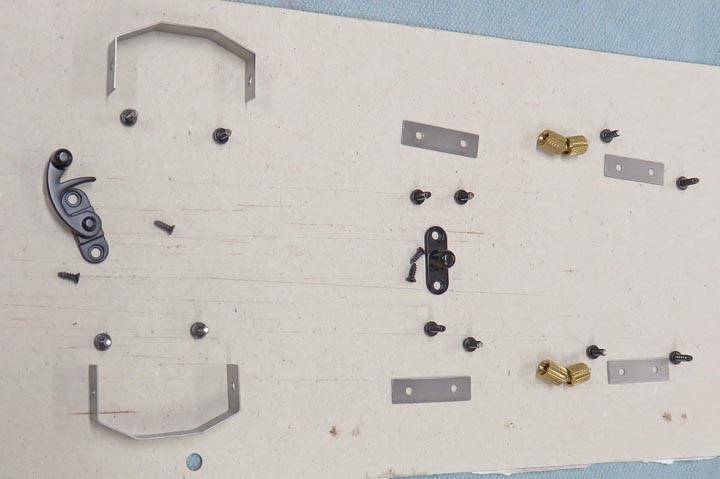
Here are some of the metal pieces along with some hardware. However, I
won't be using the bluing on any of the black or brass pieces below.
|
|
 |
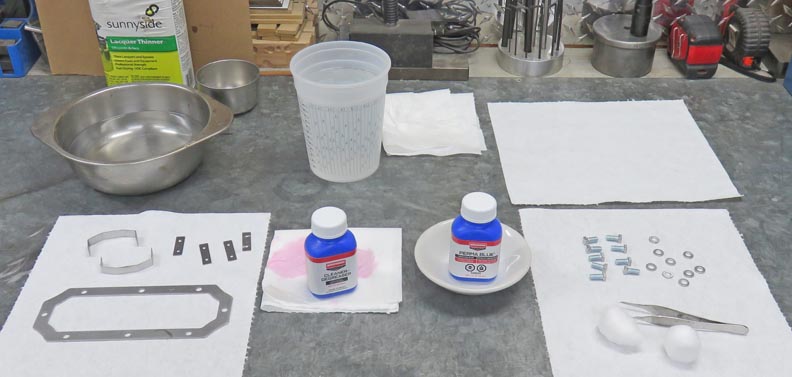
Here is my laboratory and now it's time to get to work.
|
 |
|
1
2
3
4
5
6
7
8
9 |