|
Working With Wood Continued
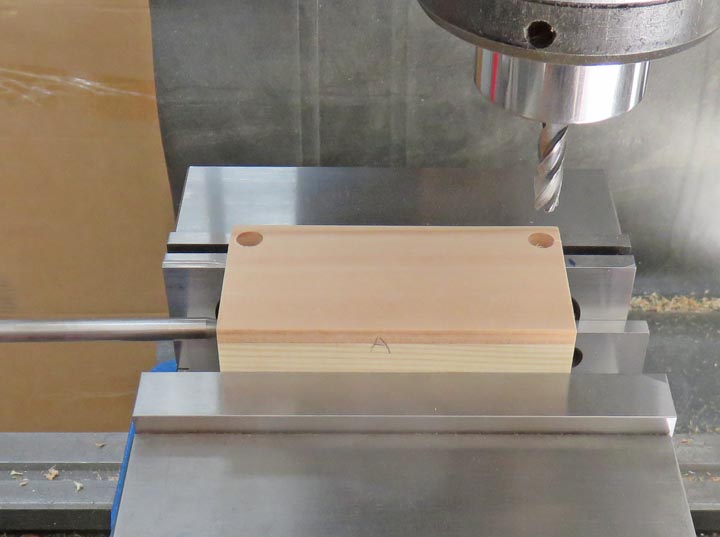
I found an endmill that had been sharpened (which makes them smaller
in diameter) that worked perfect for these hinges.
|
|
 |
|
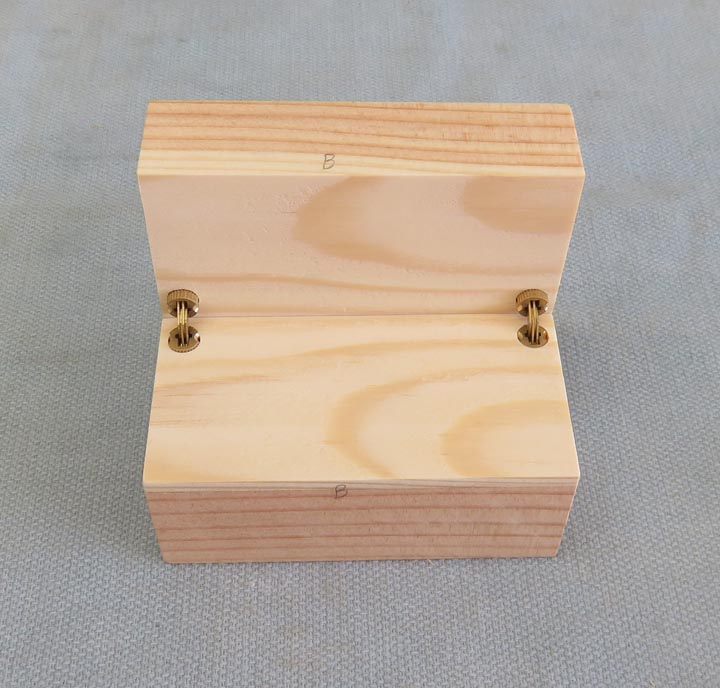
Here I'm doing some test fitting and so far they seem to
work just fine. But notice the top part of the hinges are sticking above
the surface. What I'll need to do is to make some clearance on the back
side of both pieces so this doesn't happen.
|
|
 |
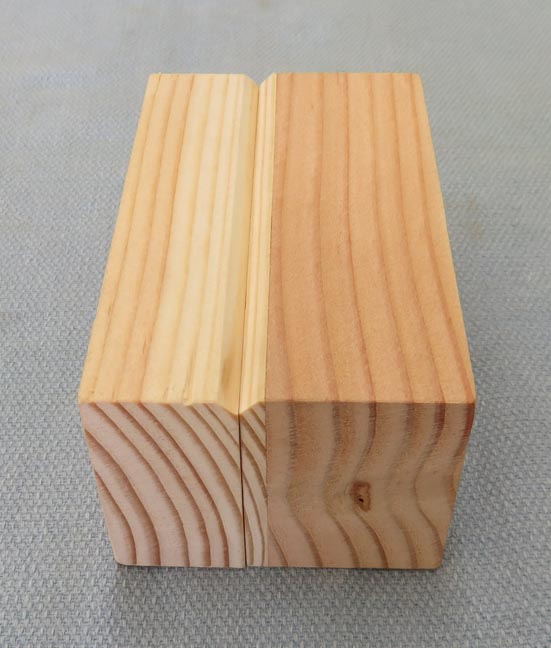
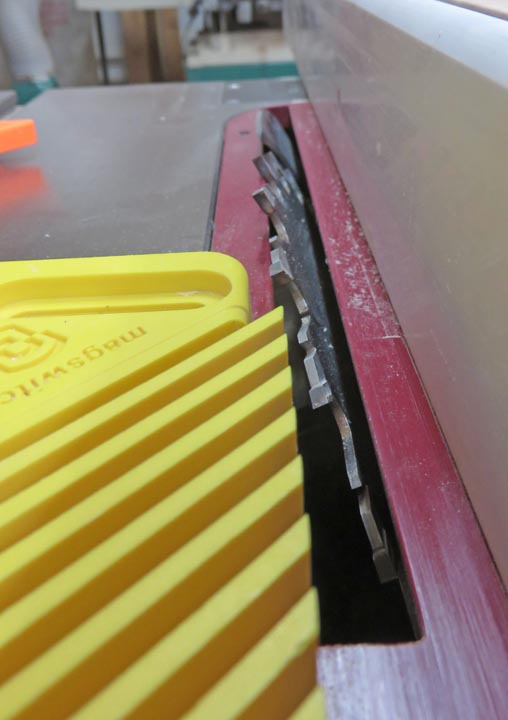
I tipped my table saw blade to 45 degrees to produce a small clearance
angle on the lid and box.
|
|
 |
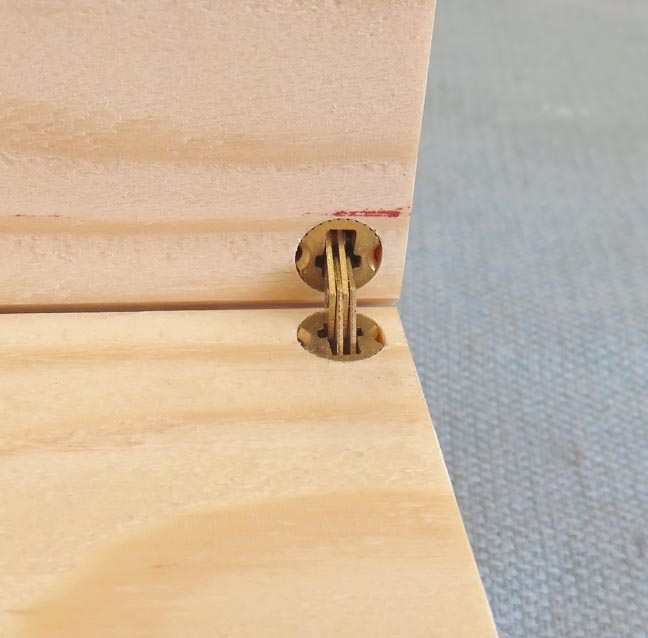
This is all I needed so now the lid will open to about 100 degrees, and it
will stay put when opened.
|
|
 |
These hinges are delicate but should last because it won't be opened
everyday. Now it's time to cut out a pocket for the rings to rest in.
|
|
 |
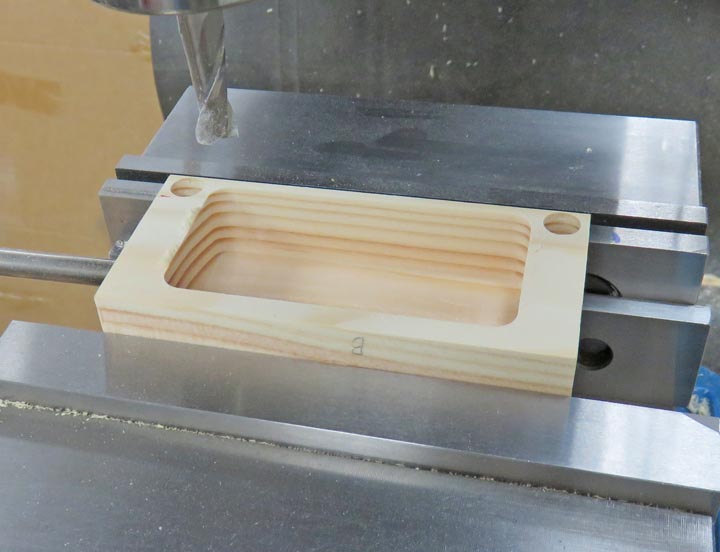
I'm working on the lid here and the pocket depth is .800" (slightly more
then 3/4"). I plan on putting some velvet in there later.
|
|
 |
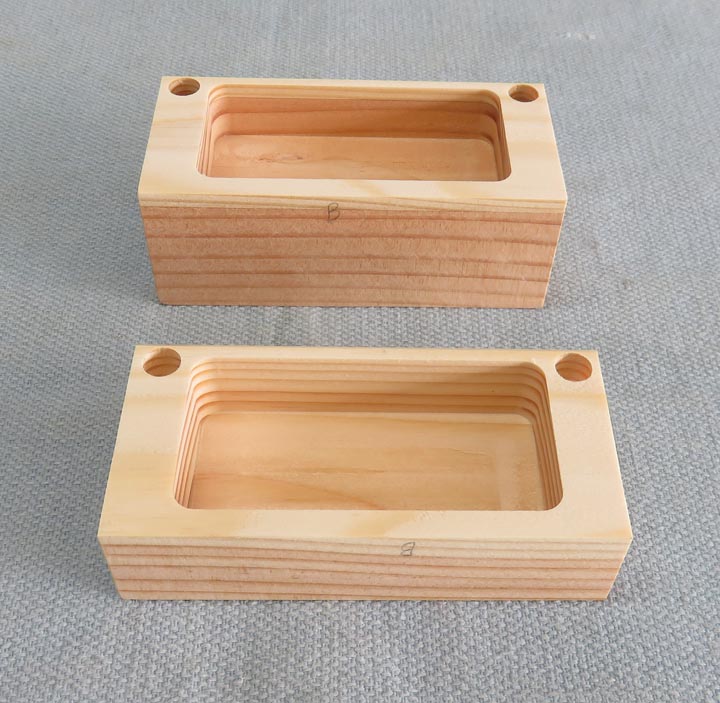
Here is what I have so far. The bottom isn't as deep as the top but this
was my plan all along. With the pockets done, now I'm going to cut some
angles on the lid so it isn't so simple looking.
|
|
 |
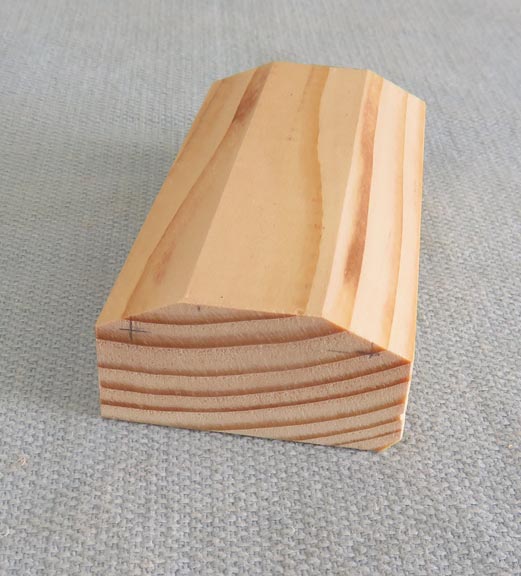
I did some testing and found that 25 degrees looked about right so this
is what you see below.
|
|
 |
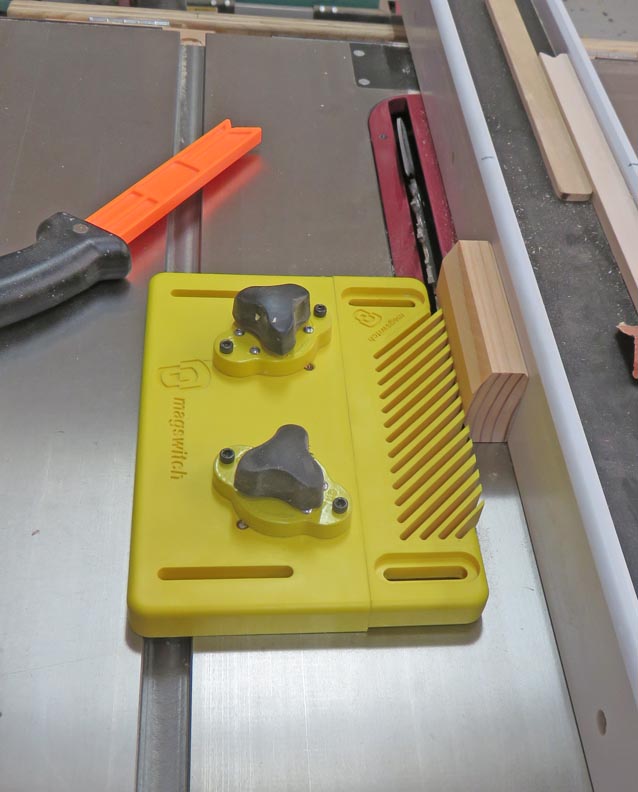
Here I'm cutting my angle in small steps to it doesn't get away from me.
|
|
 |
|
The angles and top area are all about the same size,
hence the 25 degrees. See those pencil lines at the front? Those
represent the pocket corners on the inside. If I had used an angle any
steeper than what I have, it might have gone through.
|
|
 |
|
1
2
3
4
5
6
7
8
9 |