|
Working With Wood Continued
I wanted a chamfer on each corner so I used my router table with a 45
degree cutter and slowly cut each surface.
|
|
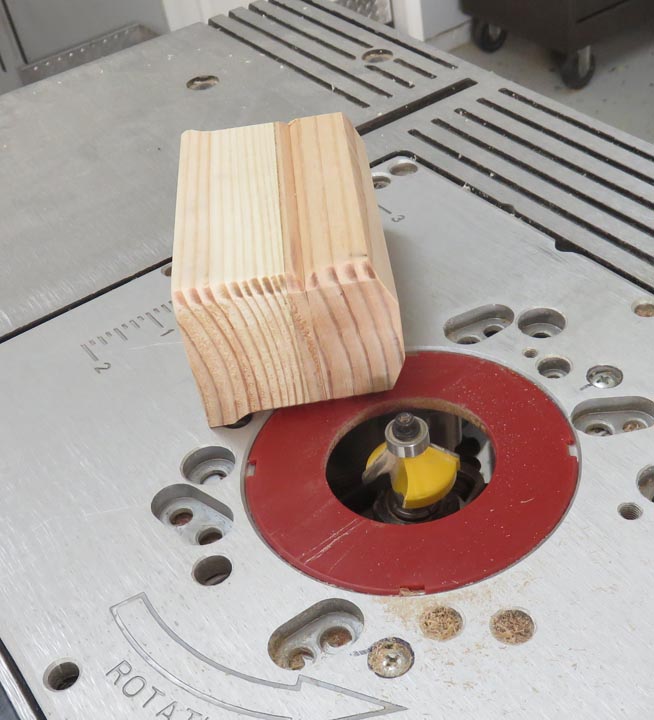 |
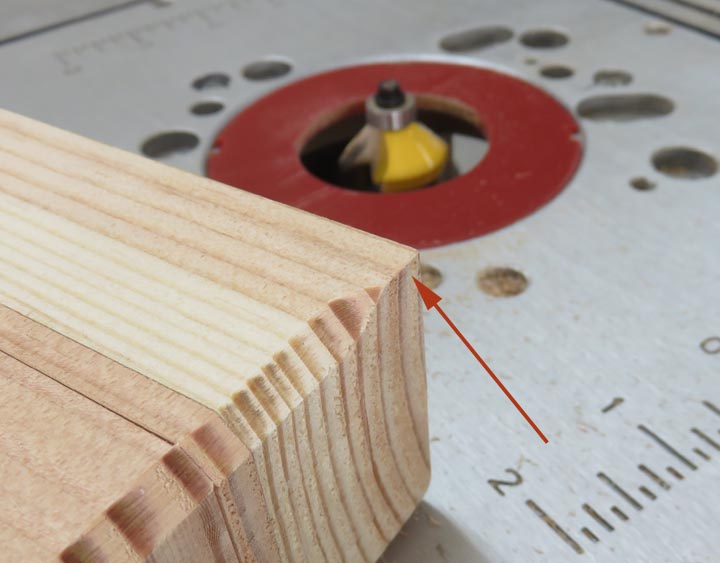
Notice I stopped short and didn't cut all
the way across. I was afraid that I might have tear-out so I didn't
chance it.
|
|
 |
|
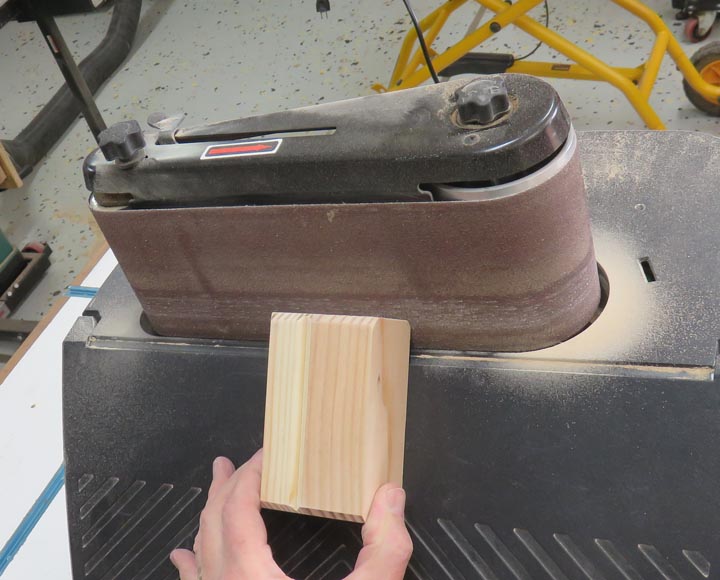
To finish each chamfer, I used the belt sander attachment on
my spindle sander. I set the table to 45 degrees, placed a 150 grit belt
on it and carefully sanded each corner. This worked out great but you
really have to hang on to your work piece so it doesn't grab it. Time to
attach the base to the ring box.
|
|
 |
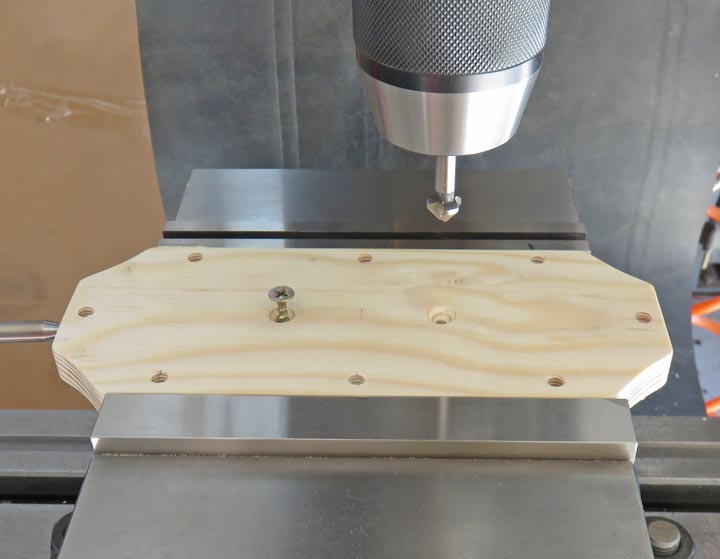
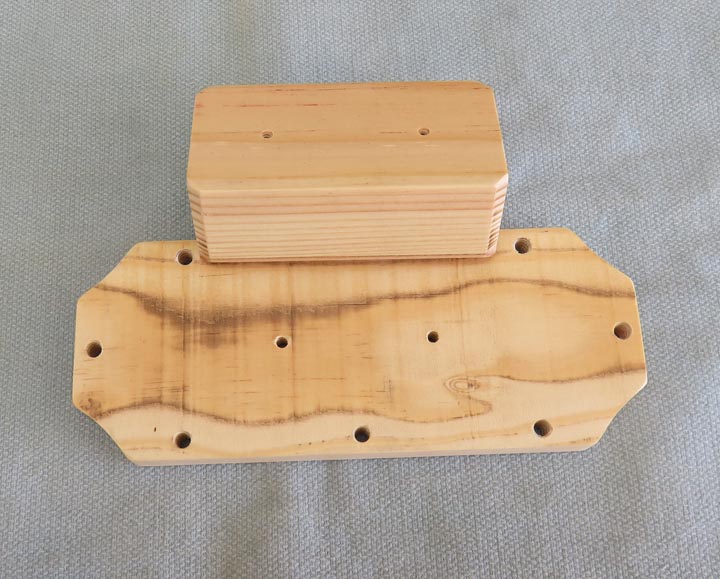
I'm using two drywall screws to hold the ring box to the base. Here I'm
chamfering for the flathead screws.
|
|
 |
|
The holes are clearance in the base and threaded in the
ring box. At this point, the wood parts are almost finished but I wanted
to add a little something extra to the ring box. Now I didn't know what
to do here but after thinking about it for awhile, I have an idea.
|
|
 |
|
Working With Steel Again
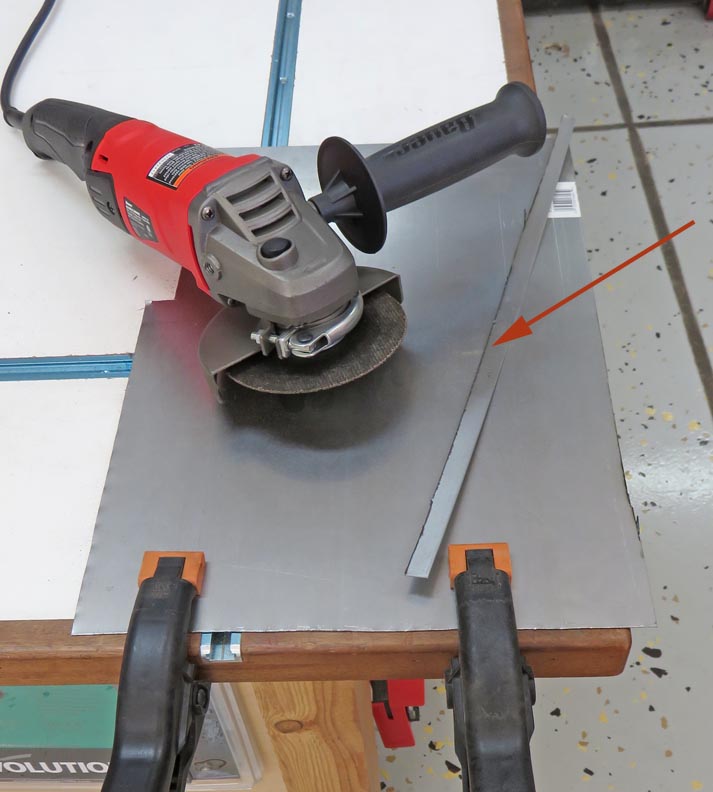
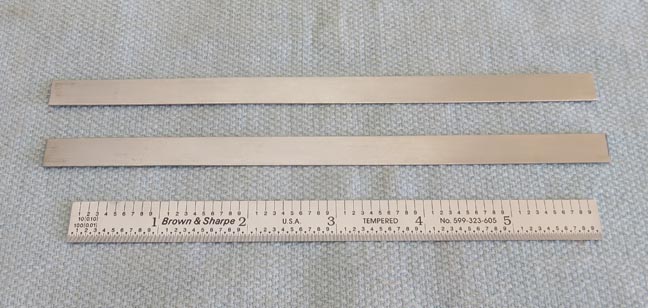
I'm going to add some steel accents to the ring box. The
sheet steel below is .025" thick and I used my angle grinder again to slice
off a couple of pieces that were just over 3/8" wide (arrow).
|
|
 |
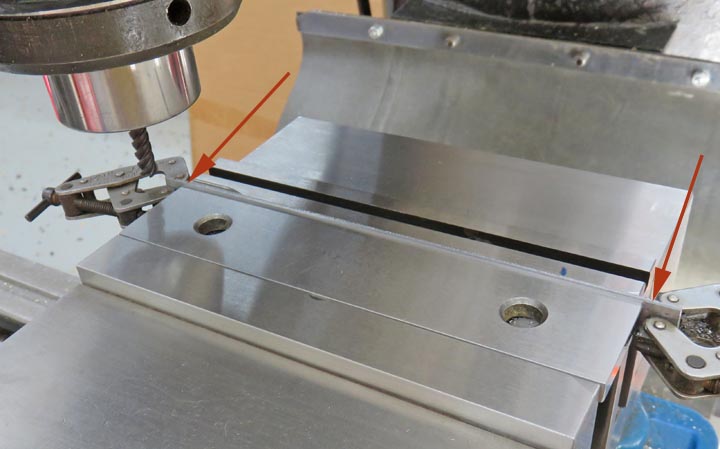
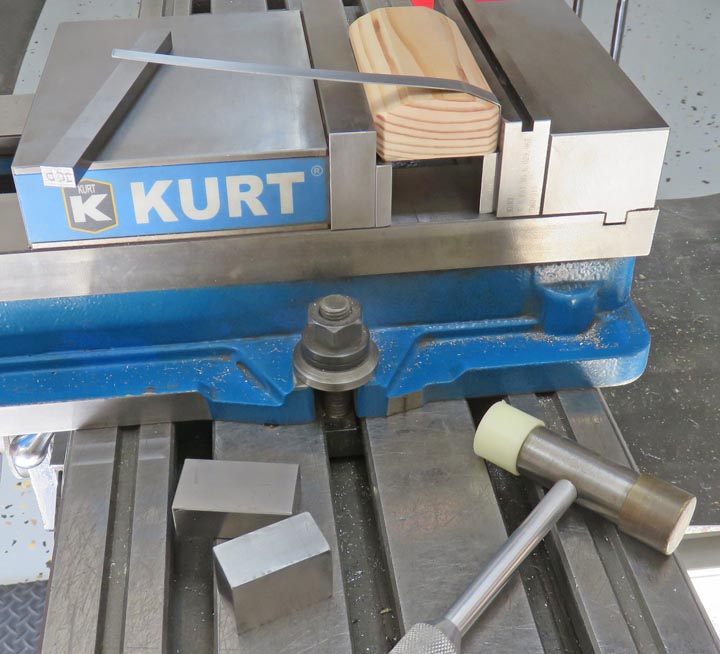
To machine these pieces I had to come up with a weird setup, but it
worked. With the use of a few parallels, I was able to hold my work
pieces so I could machine them (arrows).
|
|
 |
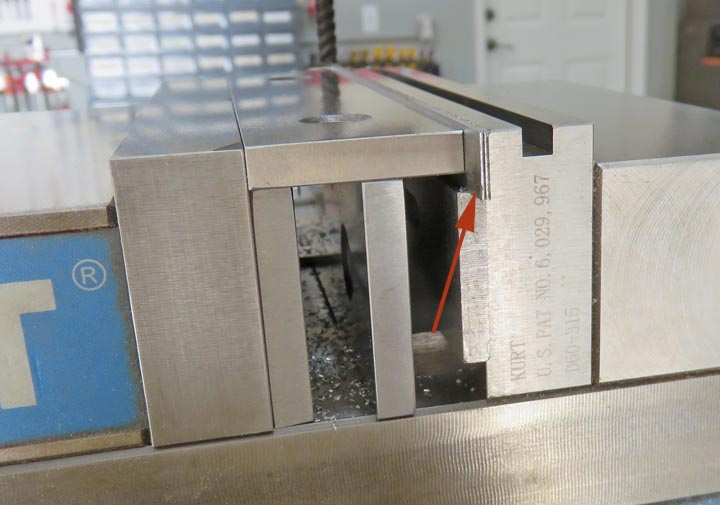
See what I mean about the strange setup. With the use of five parallels,
in my vise, I made it happen (arrow). But you know the old
saying...whatever works.
|
|
 |
Here are my two pieces, which are 3/8" wide. I plan on forming this
material around the lid and down the sides of the lower part of the box.
|
|
 |
This material only .025" thick, so it bends very easy. Here I'm
forming it up and over the lid with the use of a light hammer along with
various steel blocks to form it around.
|
|
 |
|
1
2
3
4
5
6
7
8
9 |