|
Working With Metal Continued
The one on the left is the original and the one on the right has the
larger chamfers. I modified four hinges, which will be used on two of
the boxes. The other two boxes will have the smaller screws.
|
|
 |
Here is a look at some of the screws that
I wiped out. Turns out they were very soft, but they held up long enough
for me to put threads in each work piece, so it wasn't a total loss.
|
|
 |
|
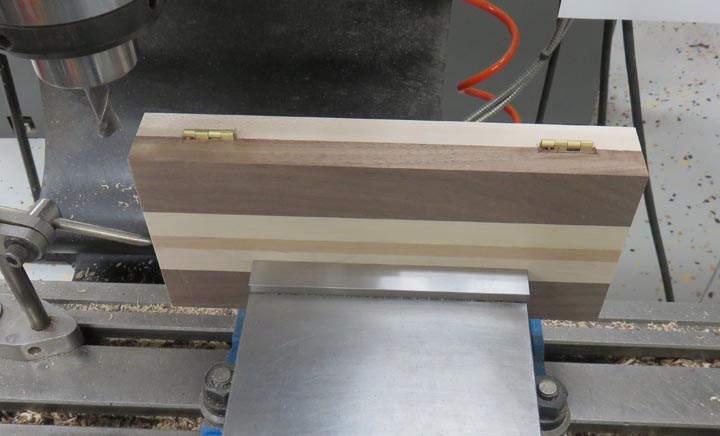
Working With Wood Again
After getting all the hinges installed, I had a slight
misalignment with the top and bottom pieces matching up correctly. What I
decided to do is cut the mismatched box with the hinges installed which
worked out just fine, and it insured me that everything would stay
aligned by doing it this way.
I'm using a 1/2" end mill to machine the two haves of
the box, but I'm staying away from the brass hinges.
|
|
 |
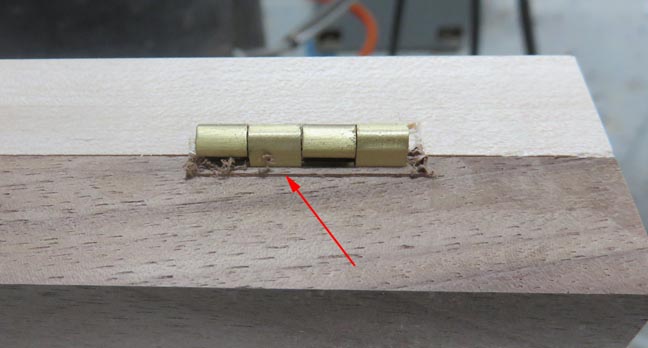
The arrow is pointing to the area that I didn't cut, which was
about .010" high. I'll revisit this area later on but for now, it's
time to soften some of the edges.
|
|
 |
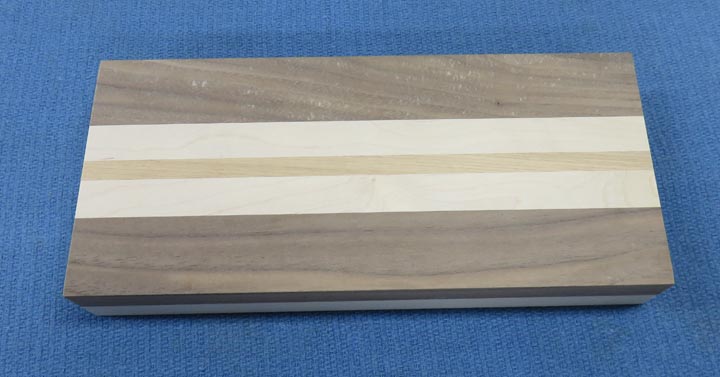
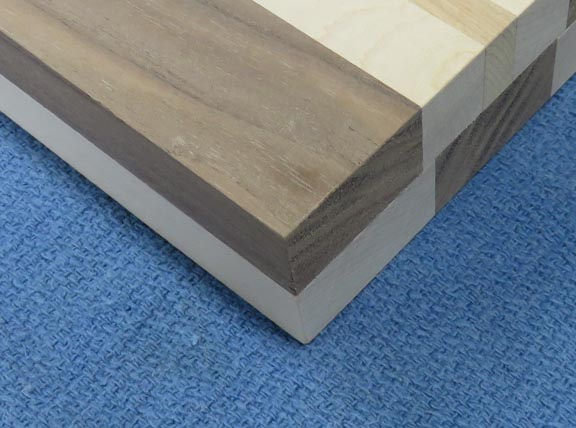
I left all the edges pretty sharp knowing that I would address them
later.
|
|
 |
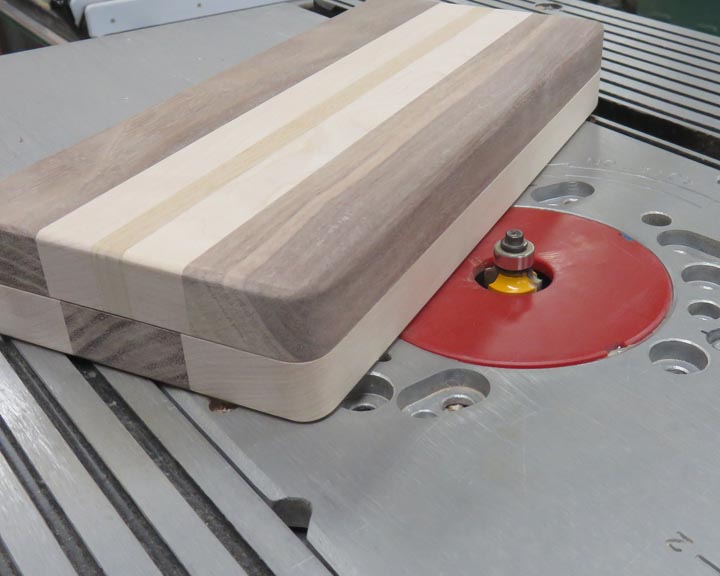
I wouldn't want a box with these edges and I don't think anyone else
would either. So it's time to address this.
|
|
 |
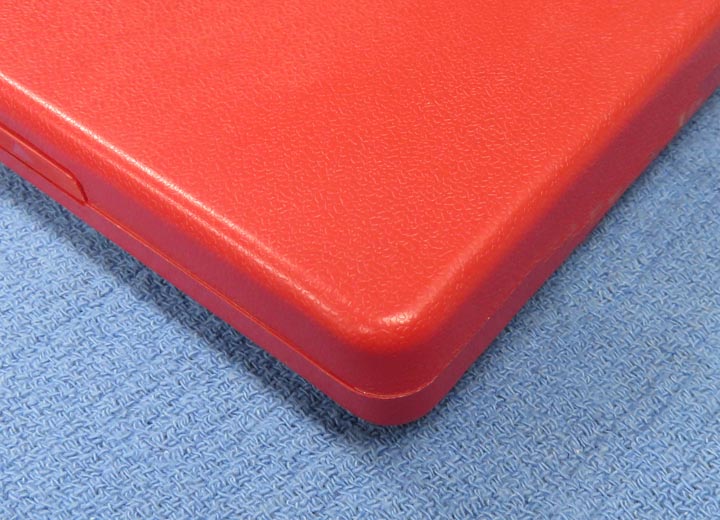
This is a plastic box that I've owned for 30 plus years and has 12"
calipers inside it. Notice the corners and the other edges.
|
|
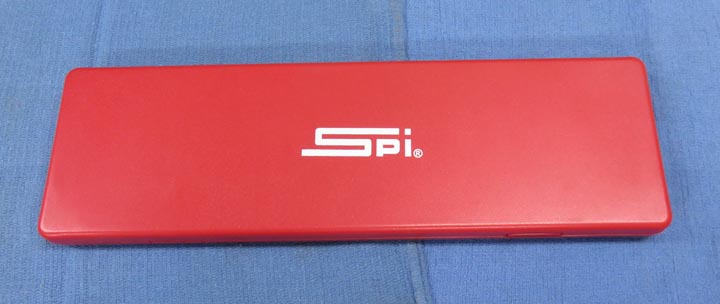 |
This type of box is easy to carry, move, open and feels good in the
hands. This is something I'm use to and I'm going to be doing something
similar to my boxes.
|
|
 |
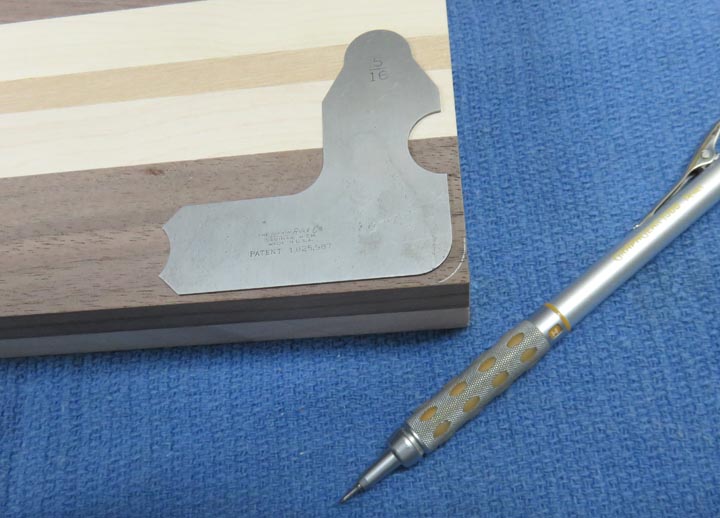
I'm using one of my radius gages to layout a pencil line at all the
corners. The size of the radius is 3/16". I used my belt sander and
sanded to the line.
|
|
 |
Next I used my router table with a 1/8" radius to soften all the edges.
|
|
 |
|
1
2
3
4
5
6
7
8
9 |