|
Working With Wood Continued
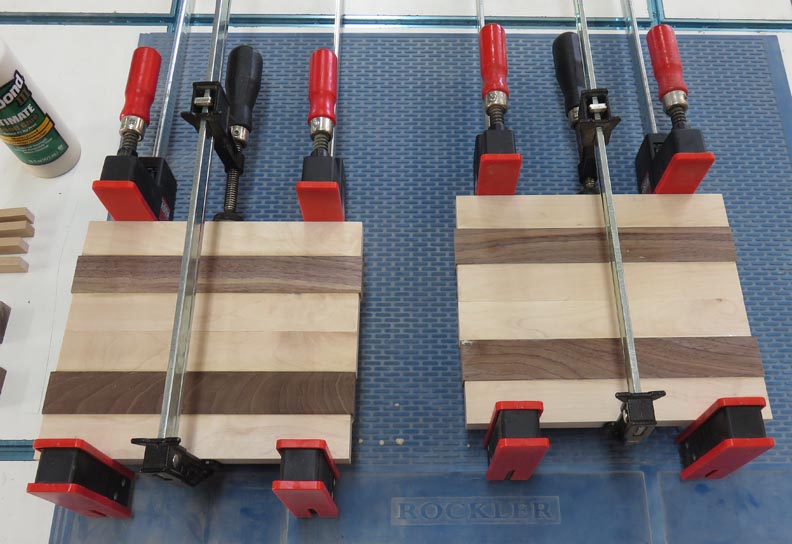
Here I'm gluing up four pieces that will used for the bottom of the
box. There is no glue between the center pieces of maple.
|
|
 |
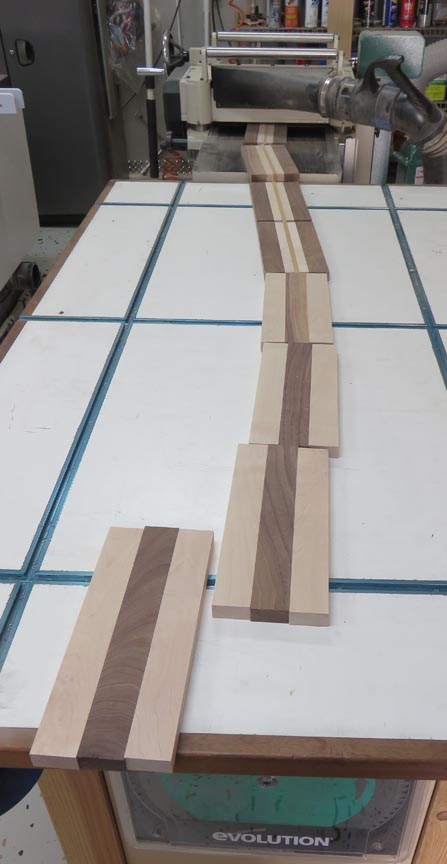
Here I'm running each piece through my
thickness planer. To prevent snipe, I made sure to keep each piece
butted against each other as they went through. With the aid of my
mobile work bench, this process worked out great.
|
|
 |
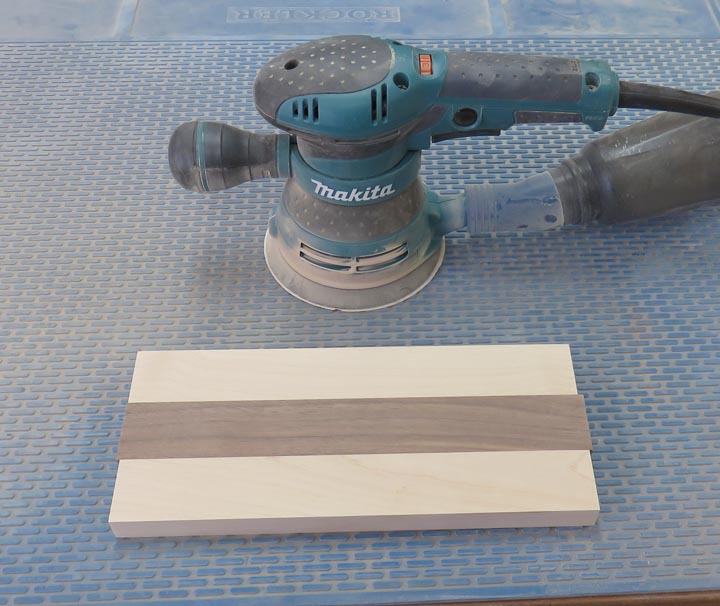
I gave each piece a light sanding using my DA sander.
|
|
 |
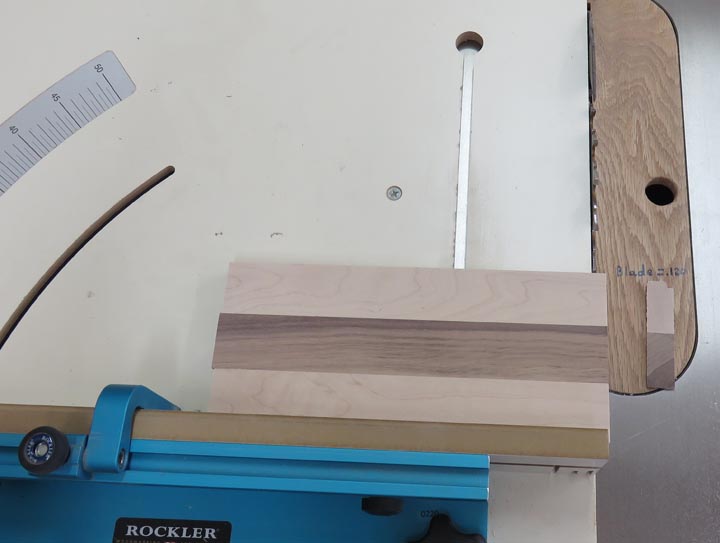
First I ran all my pieces through my table saw bringing them all to the
final width. Then I used my crosscut sled to finalize the length. The
pieces measure 10" X 4.5"
|
|
 |
|
Now that I have my work pieces to size, it's time to
make a cut-out for the hammer to rest in. To prevent any chipping or
tearing with the end-grain, I cut the area for the head first. Then
second I cut the handle area. Last I cut the center for the smaller part
of the handle.
|
|
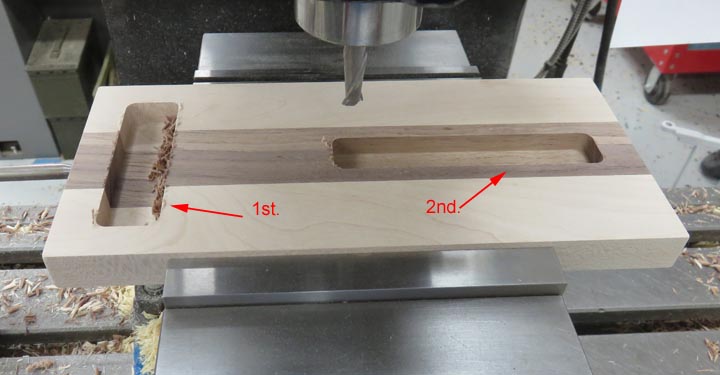 |
This process worked out very well and I didn't have any tear-out.
|
|
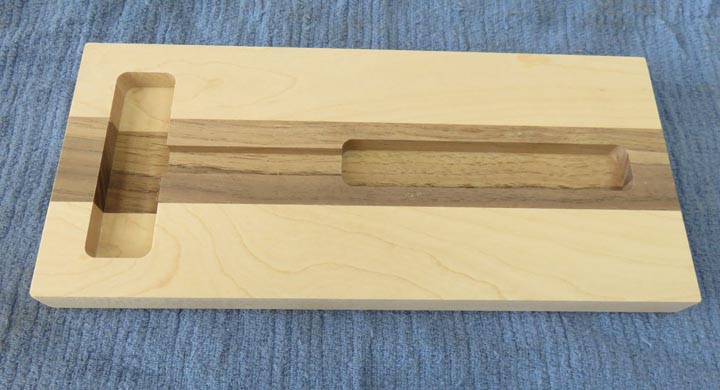 |
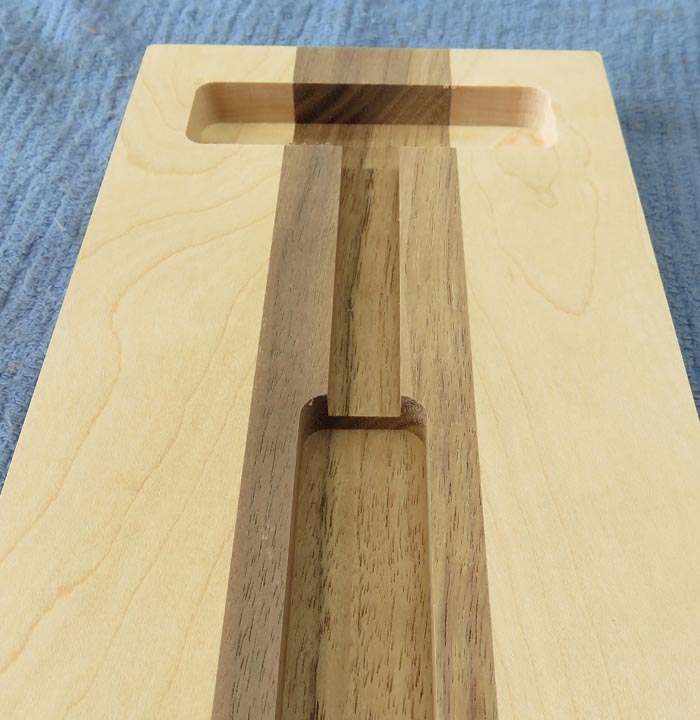
Each pocket is a different depth, which was easy to do.
|
|
 |
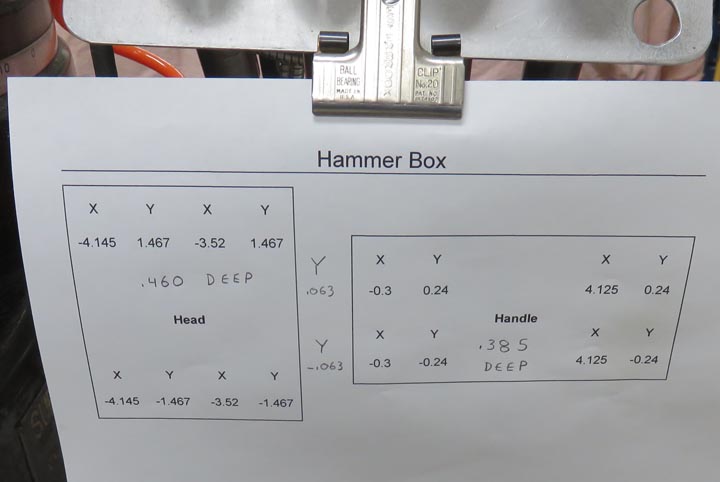
Here is my cheat-sheet for each pocket.
|
|
 |
|
Working With Metal
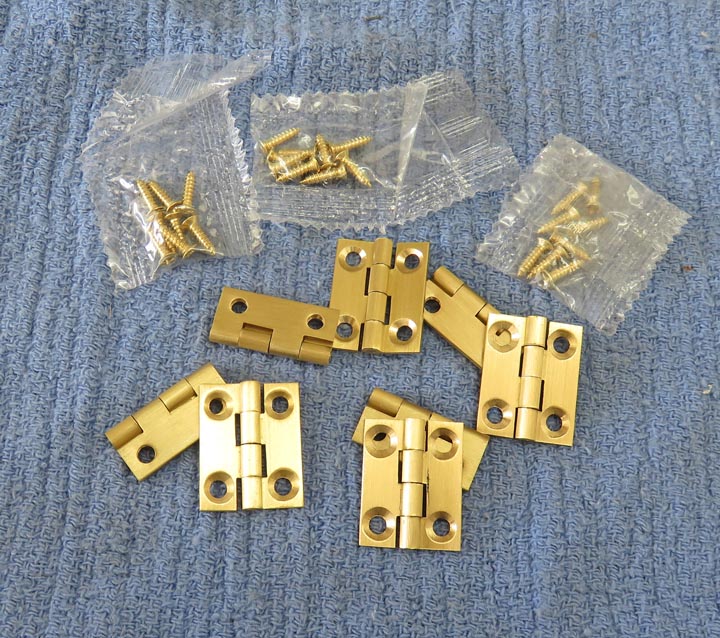
Now it's time to install some hinges. I've never used
this exact hinge before but they are solid brass and are about 1/16"
thick. I have two choices of how I could install these: either on the
back or by making a pocket for each half on the inside. I decided that
they would look better if I made a pocket for each one, leaving only the
barrel of the hinge exposed on the outside.
|
|
 |
|
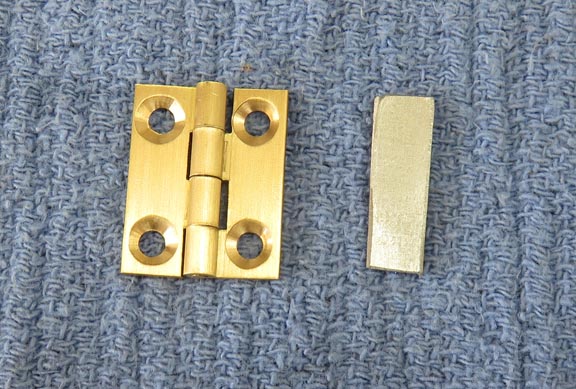
After doing some closer looking and doing some
measuring, this was going to be harder to install that I first thought.
These hinges are kind of wonky, but I'm going to use them anyways. I
found out that when you close the hinge, there is a gap of about .050"
when the two halves are parallel. The cardboard piece on the right is about .050"
and I have a plan to use it.
|
|
 |
|
1
2
3
4
5
6
7
8
9 |