|
Working With Steel Continued
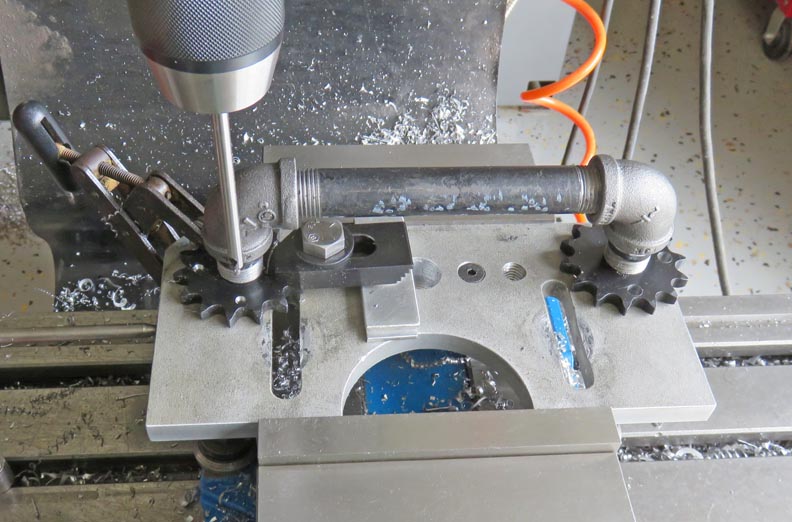
Here I'm using my tooling to help me with the mounting
holes for the handles. I used one toe clamp (under the pipe) and one 3" Kant-twist clamp to
hold the sprocket from moving. Then I used a long center drill to put in
three hole locations. Note: I did all the drilling at this end only.
Also, I'm only using three bolts per sprocket as it would
very hard to install the one bolt under the handle because of how long
the bolts are.
|
|
 |
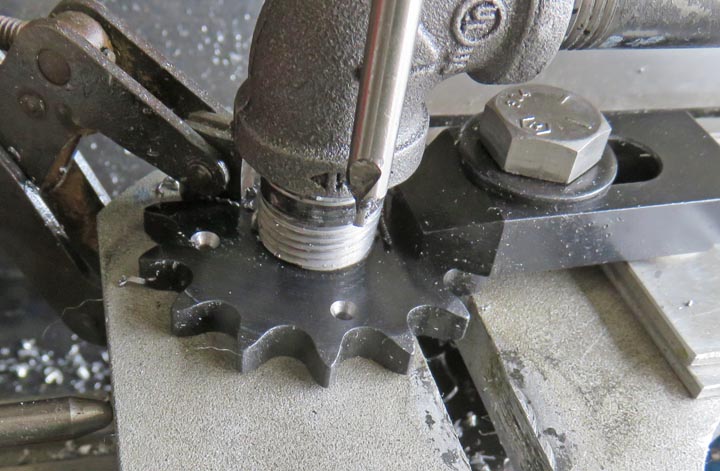
| Once I had my holes in one side, I
unclamped everything, turned the handle around and then repeated the
process.
|
|
 |
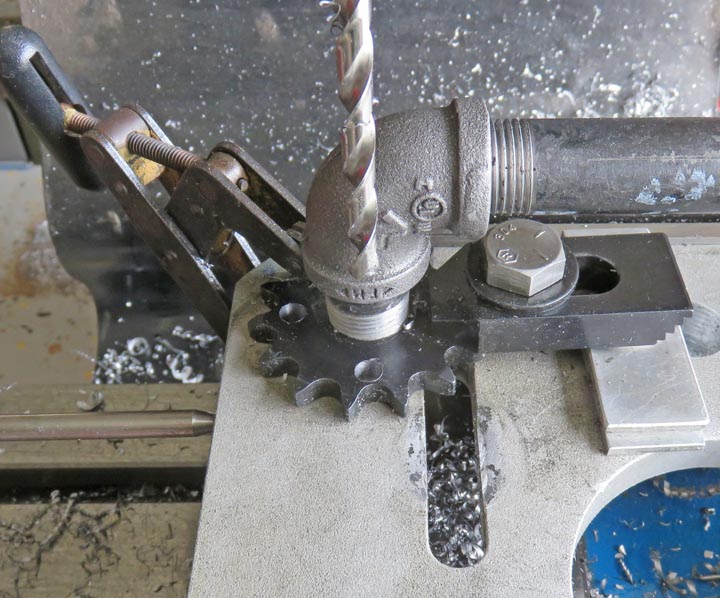
Once all the center drilling was finished, I switched over to a 9/32"
drill, which is just over 1/4" diameter. This is so the 1/4" bolts will
have a small amount of clearance.
|
|
 |
Last I gave each hole an edge break with a countersink.
|
|
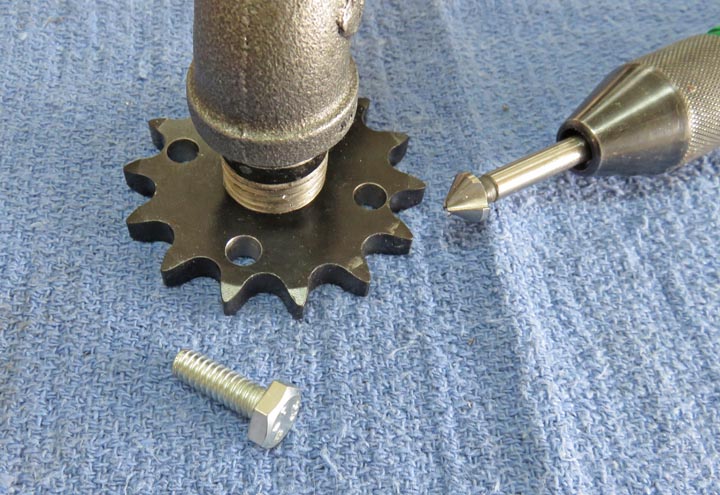 |
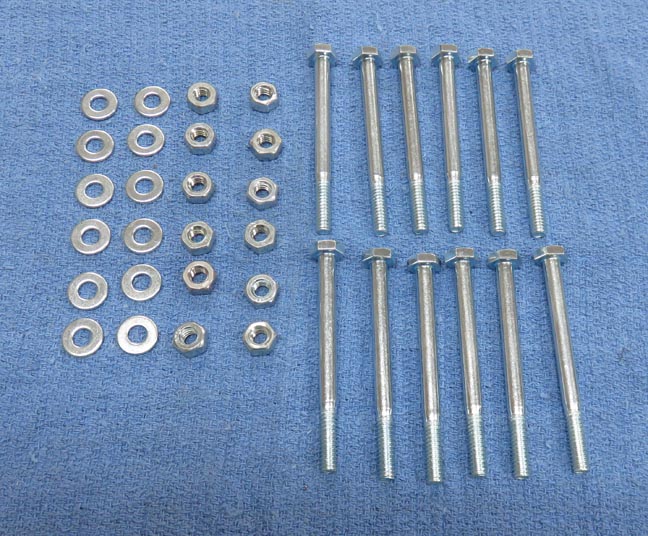
Here is the hardware that will be used to hold the handles to the door.
The 1/4/20 bolts are 3.0" long and might need to be cut to length once
they're installed.
|
|
 |
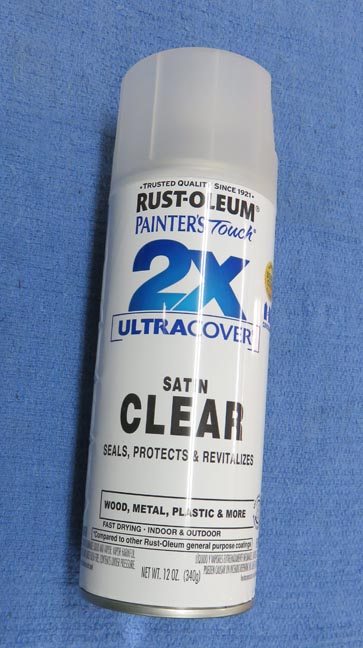
I'm using a satin clear on the handles to make sure they don't rust.
|
|
 |
My side-yard paint booth.
|
|
 |
|
It's Finished
Here are the finished door handles.
|
|
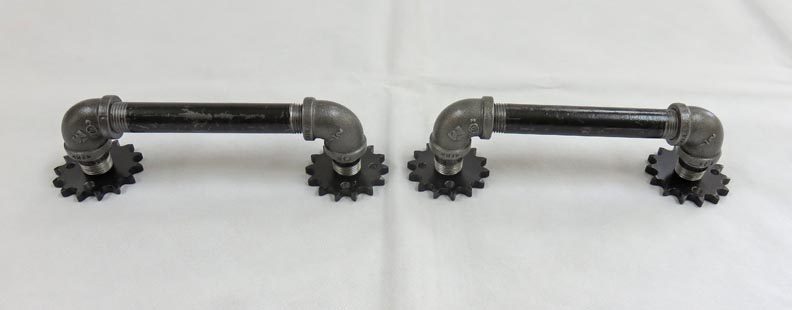 |
I like the look of the sprockets.
|
|
 |
With three bolts on each end, I'm sure they won't come loose and will be very
strong.
|
|
 |
|
1
2
3
4 |