|
Tooling Continued
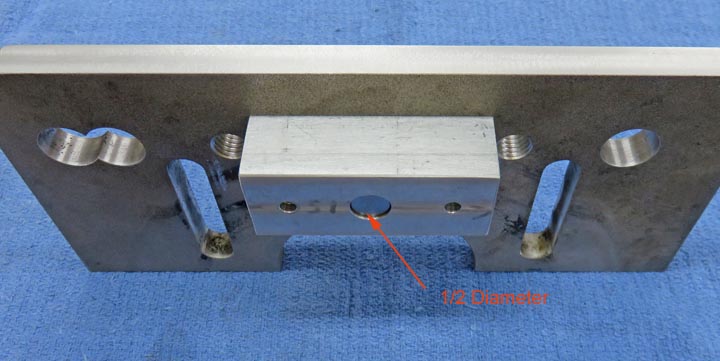
Here is a better view to show you the block bolted up along with the 1/2"
pin in place.
|
|
 |
|
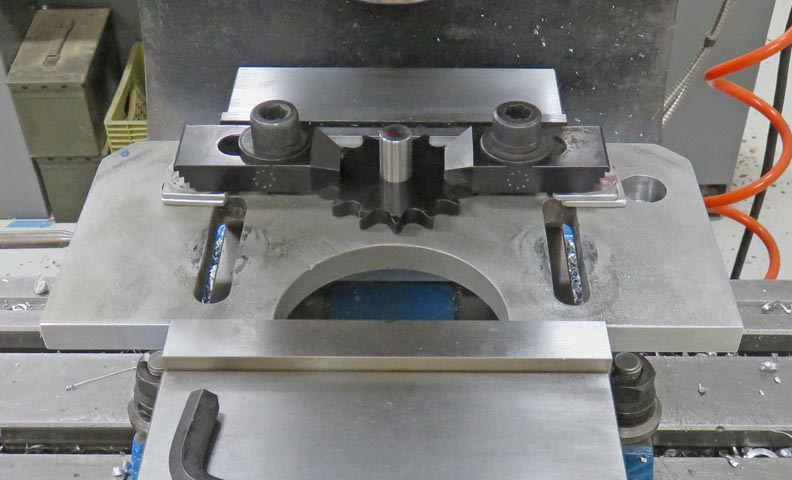
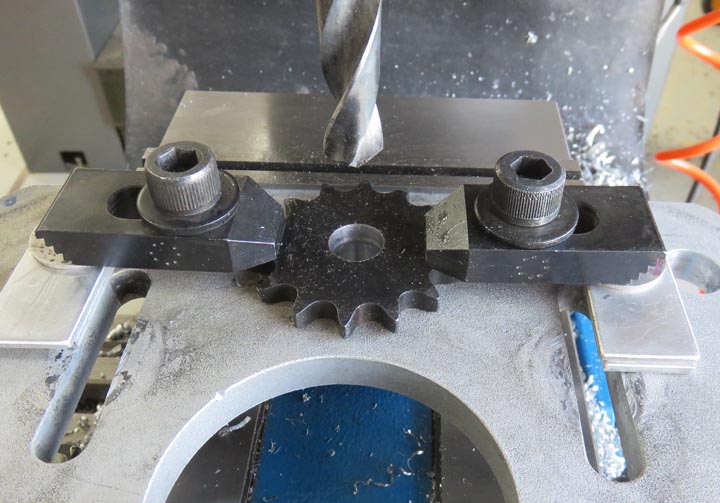
I'm using the 1/2" pin as my X and Y zero. Now I
can place the sprockets over the pin, clamp the sprocket down, then
remove the pin so I can enlarge the hole and then put threads in it.
This way I can do this four times making quick work of locating each
sprocket exactly each time.
|
|
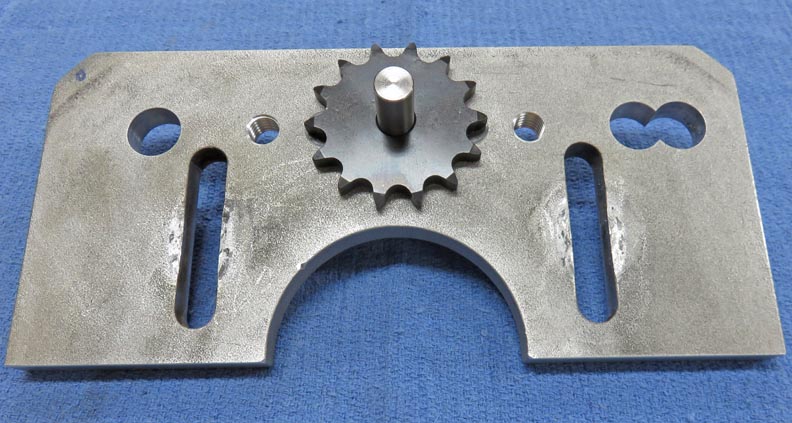 |
Here is the sprocket clamped in place and is now ready for me to remove
my pin and then enlarge the hole in the sprocket.
|
|
 |
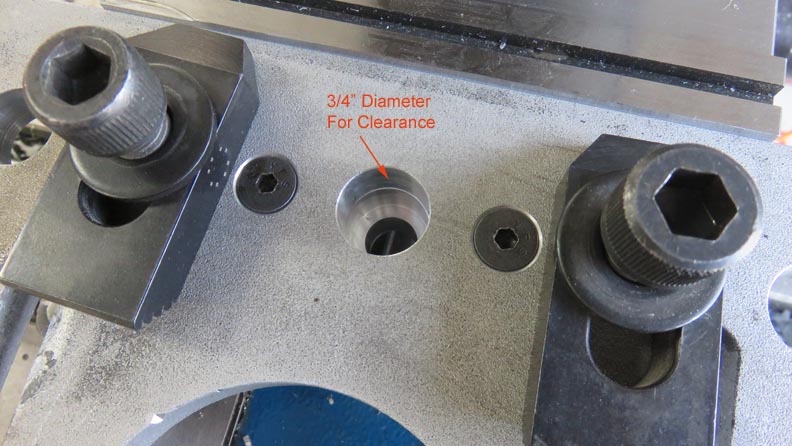
When it's time to use my 1/2" pipe tap, this clearance area will be
needed because I'll need to run the pipe tap down quite a ways (about
one inch).
|
|
 |
|
Working With Steel
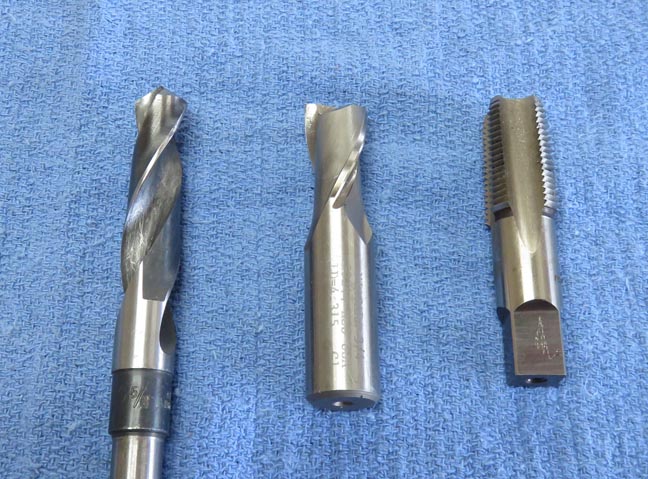
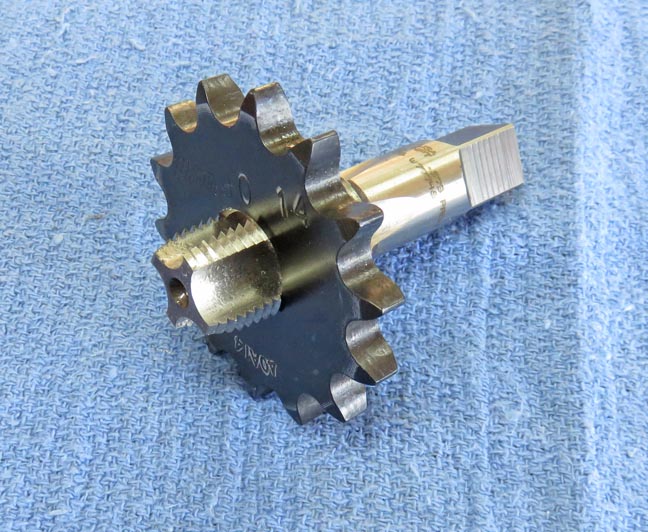
Here are the steps I'll be taking for putting in the threads. First I'll use a 5/8" drill, then I'll
use this end mill that is tap drill size 25/64 (.703 diameter) and last the 1/2-14 pipe tap.
|
|
 |
Going from 1/2" to 5/8" diameter here.
|
|
 |
I've already used the end mill (tap drill size) and here I'm putting the
threads in. I'm also using my spring-loaded tap guide to keep the tap
on center.
|
|
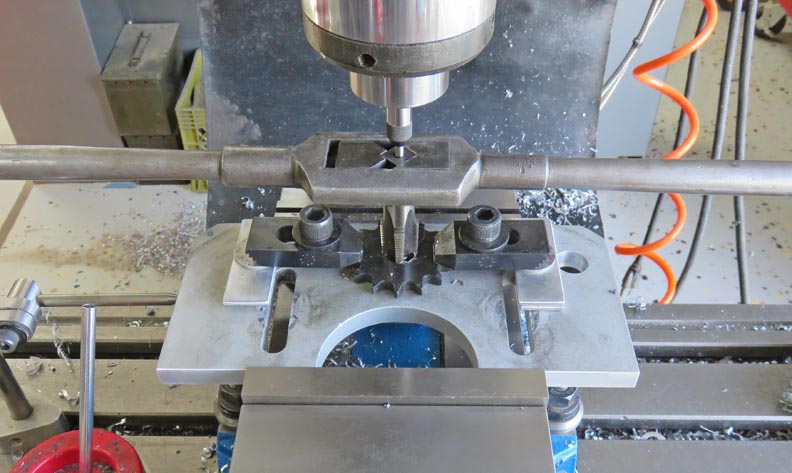 |
This is how far I needed to run the tap in to achieve the proper depth
for the pipe nipple. Now you can understand why I made the block with
the clearance hole in it.
|
|
 |
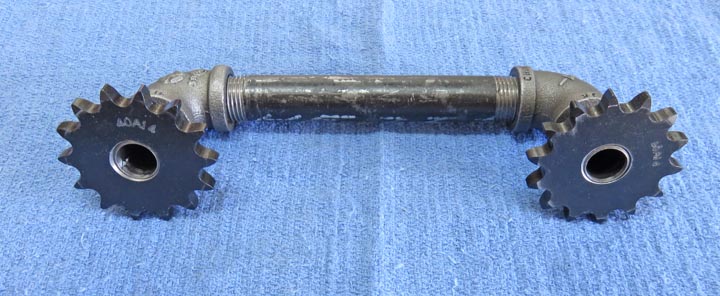
There we go, the sprockets are on and tightened down.
|
|
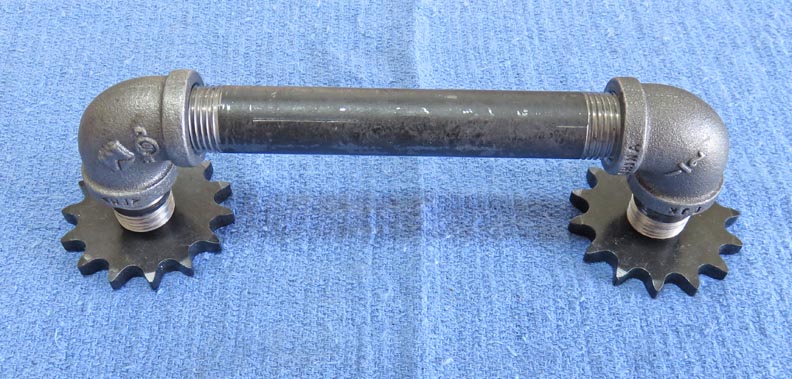 |
It took a little trial and error with the depth of the tap to make sure
the pipe nipple was flush with the bottom of the sprocket. Now it's time
to dill some holes in the sprockets.
|
|
 |
|
1
2
3
4 |