|
Working With Wood Continued
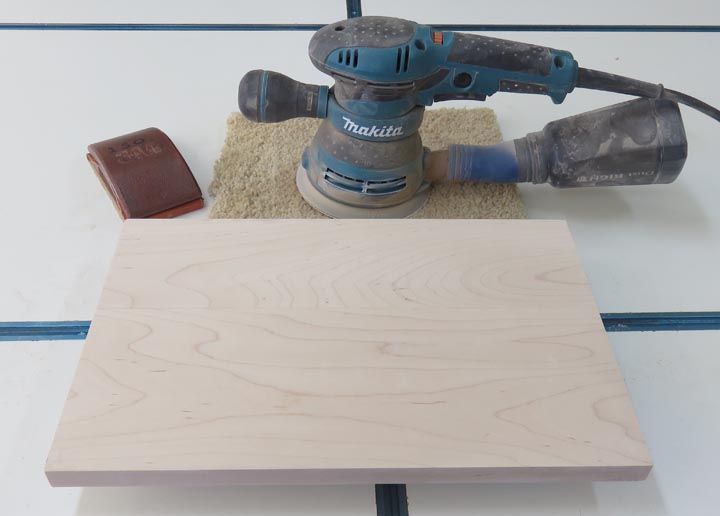
A quick sand with my DA along with a sanding block.
|
|
|
If you notice in the picture above you can see my work
piece is not sitting on the bench. When I sand, I like using these Bench
Cookie's to keep things from moving around. I have two flavors, the ones
you see below and some
round ones.
The ones you see below snap together to make a seven
inch diameter unit or you can use them like you see here. Or you can
break them down farther making four pieces. It's called a
Bench Cookie Connect made by Rockler.
They all have threaded holes in the bottom so you can add some risers to
them (different lengths) and they in turn work with a T track system. I
also use them while I'm cutting with my jigsaw because this system keeps your
work piece above the bench when using the risers. Very handy!
|

|
|
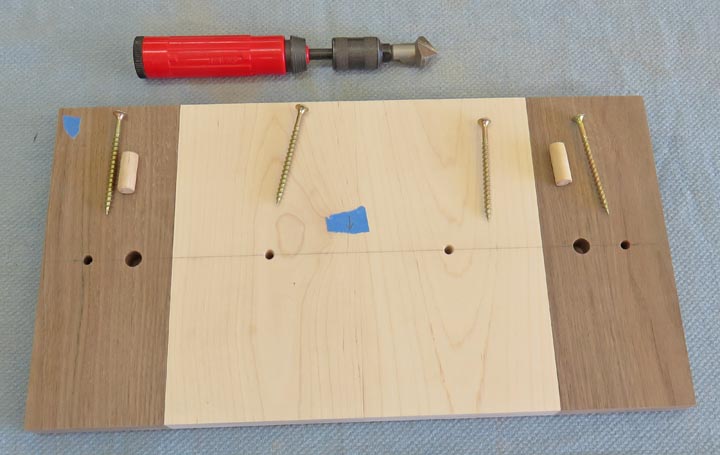
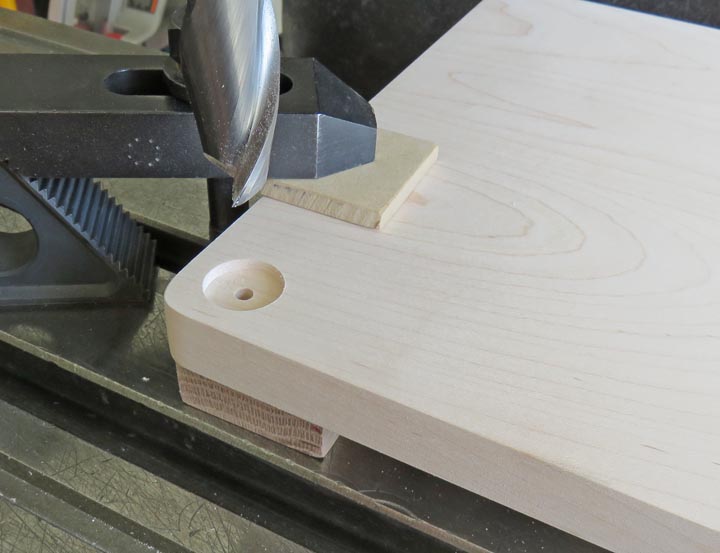
I'm putting in some dowels and screw holes here. This way it will
make it easy for Tracey to assemble.
|
|
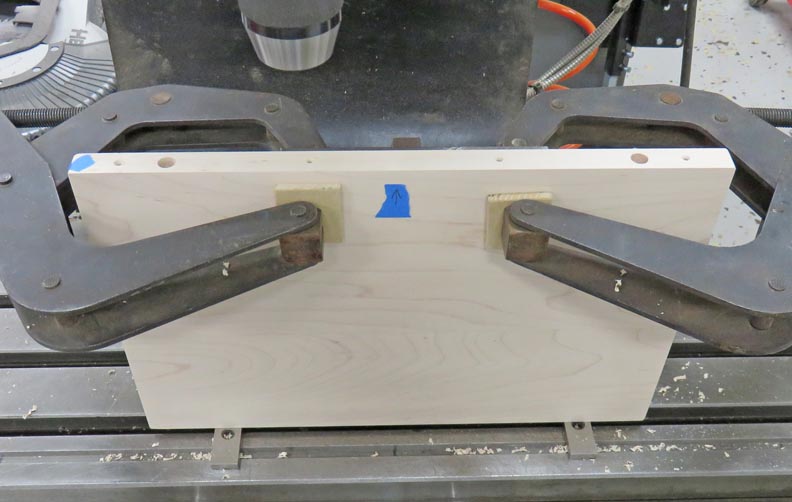 |
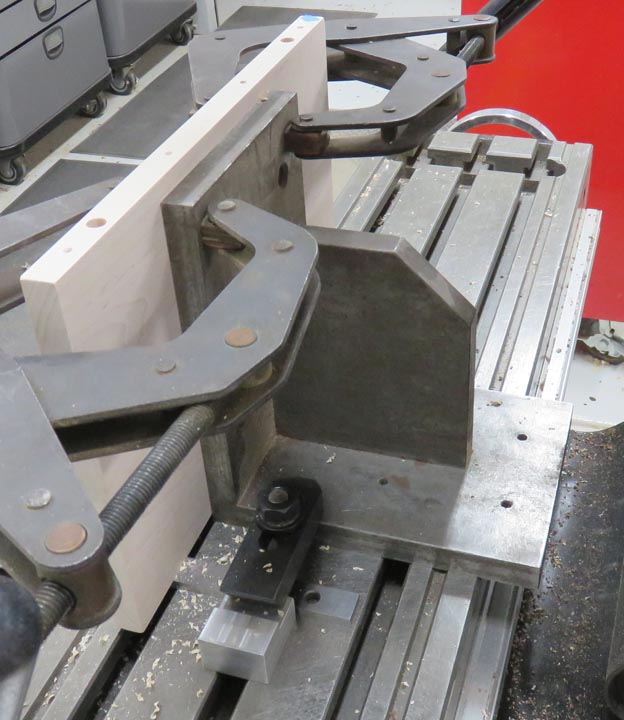
I'm using an angle plate to clamp my work piece to. Once I indicate my
angle plate, I know my work piece is parallel to my X axis.
|
|
 |
I gave each hole a small chamfer with my hand-held countersink.
|
|
 |
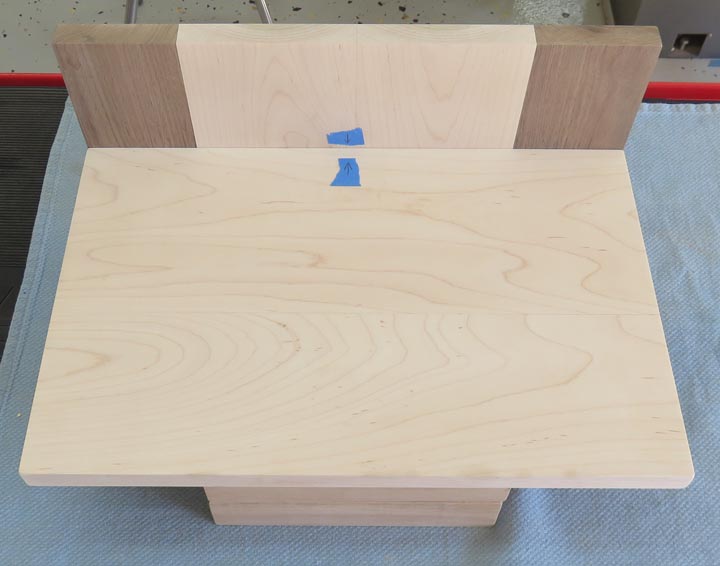
Here is what it looks like when all the screws and dowels are installed.
Now it's time to add some sides to retain the exercise balls.
|
|
 |
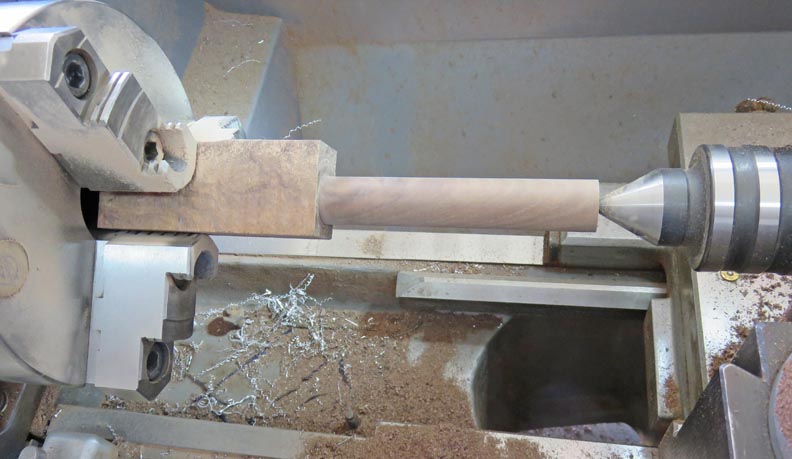
I found some rectangular black walnut laying around and made two round
pieces out of it. These 3/4" posts will be placed at each corner of the
shelf.
|
|
 |
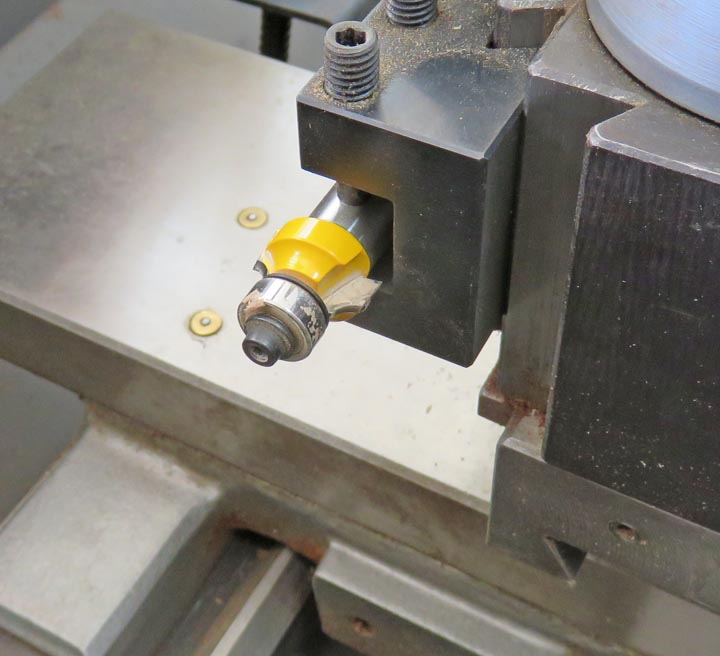
I wanted a small radius on the top of my round posts so I'm using a 1/8"
round-over bit that goes to my router.
|
|
 |
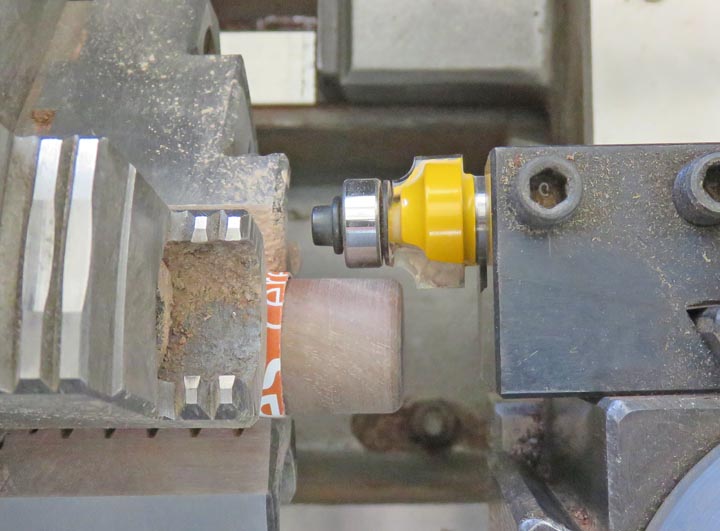
I clamped the round-over bit in my tool holder and produced a true 1/8"
radius on my posts.
|
|
 |
I'm recessing the posts 1/8" deep so they locate correctly. I'm using a
3/4" end mill for this process.
|
|
 |
|
1
2
3
4
5
6 |