|
Working With Wood Continued
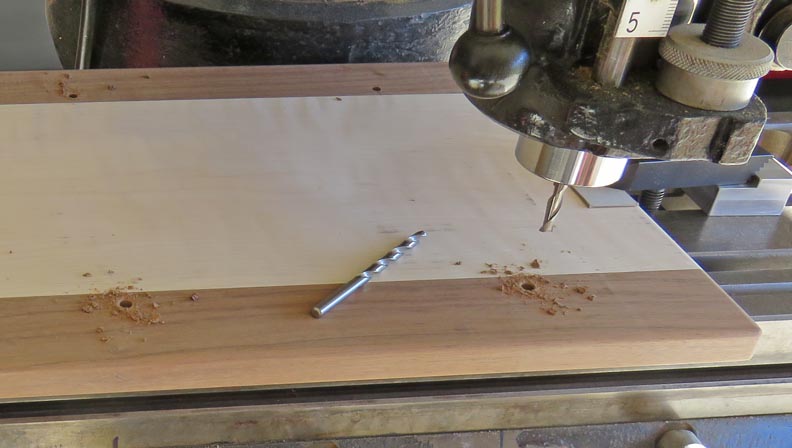
To put the holes in my wood piece, I used my milling
machine. I first used a 7/32 drill, which is just under my target size
of 1/4". Then I came back with a 1/4" end mill to size the hole and to
give it a flat bottom. If I were to use a 1/4" drill for the final hole
size, the tip of the drill would not give me the maximum amount of
straight wall to locate the stainless pieces. I know it's not much of a
difference, but every little bit helps here to make sure things work
right. Over engineering? Probably!
|
|
 |
|
Hanging The Rack
I talked to my daughter about how she wanted to hang
this rack on the wall. I mentioned a couple of different ways, like
picture hanging hardware but what we came up with was a 'key slot'. This
would keep the rack very close to the wall, which Tracey really wanted.
After I got off the phone with her, I went to the
hardware store and bought a key slot router bit. Now I've never used one
of these but I was willing to give it a try.
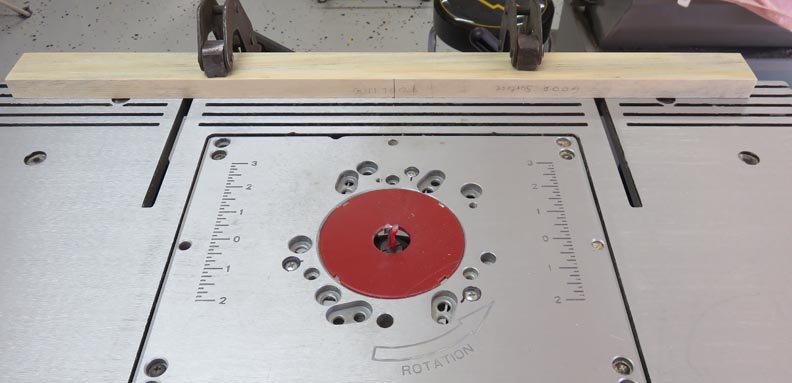
The piece of wood that you see clamped is where I'll
locate my work piece against to put the key slot in the center. Notice
the pencil mark that is in-line with the router bit. I'll use this as a reference
line that will correspond with two lines on my work piece.
|
|
 |
|
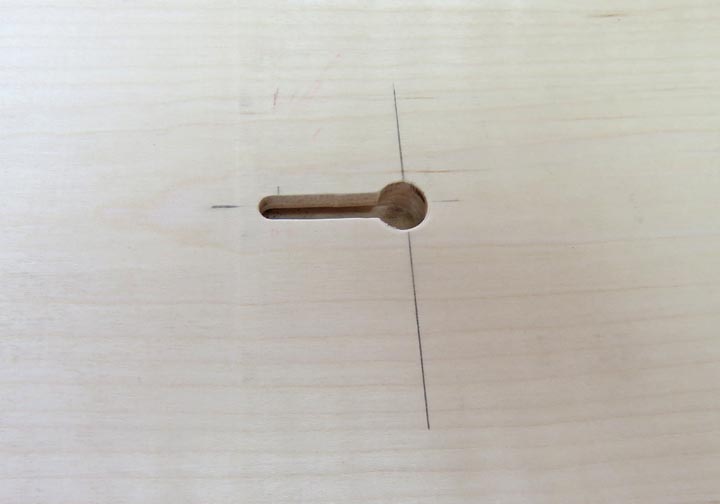
Here is what the key slot looks like on my work piece.
And it came out pretty close to were I wanted it. This was easy,
fast and definitely the way to go.
Now the rack will be against the wall like my daughter wanted.
The procedure: I started the router first, placed my work piece against
the wooden straight edge, lined up my mark and then lowered my work
piece onto the cutter. Once the work piece was flat against the router table, I slid
it one inch, slid it back to my starting point and then turned off the
router. The only tense part was lowering the wood into the cutter, but I
just think that was the hard maple being...well...hard. The reason I say
that is because I used a piece of pine as a test piece and it was very
easy compared.
|
|
 |
|
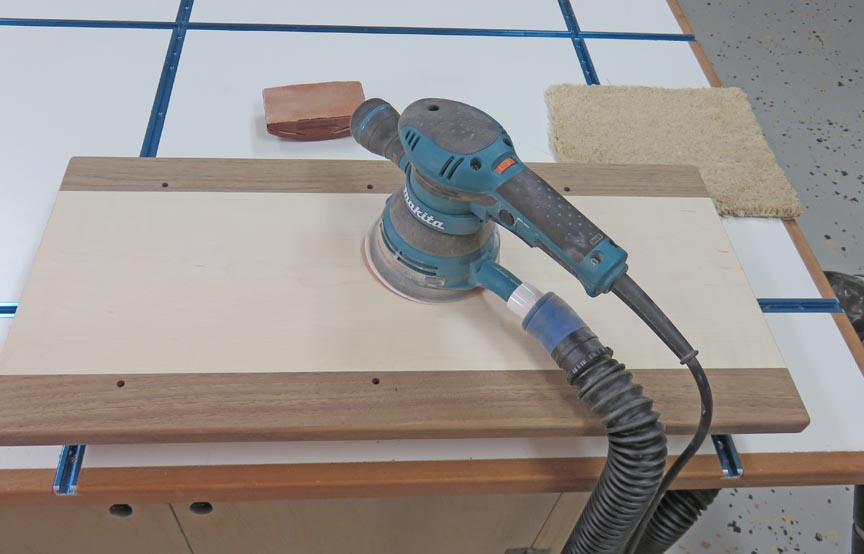
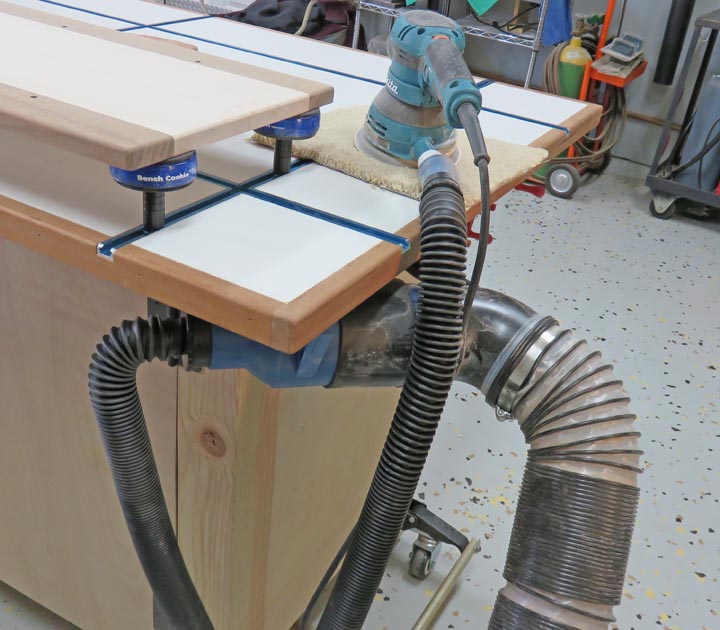
Sanding Next it was time to sand. I started with 150 and then
went to 220 grit. Also notice I have my new dust collection attached
to my sander. Now this was my first time using my new dust collection on
this sander it made a BIG
difference.
|
|
 |
|
I bought an adapter that goes from 4" down to 2 1/4"
that I attached to my mobile work bench (four screws). The hose
connections are all slip-fit so I can attach everything in seconds. And
the same goes for disconnecting as well.
|
|
 |
|
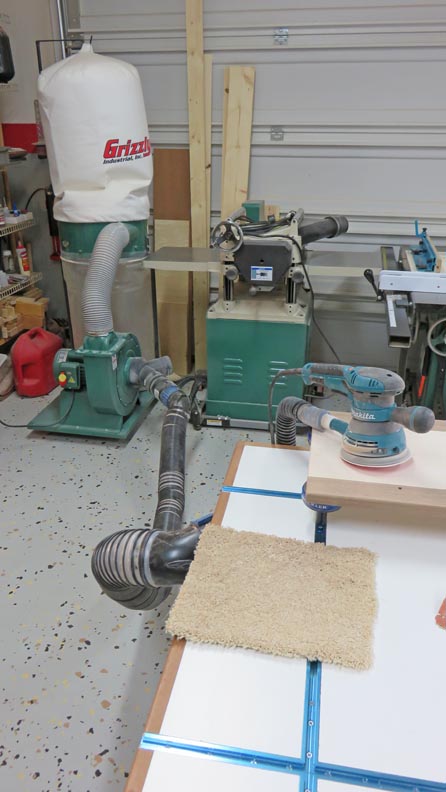
I bought this dust collection system for my table saw
and planer but it works equally well for sanding. In fact, this was the
first time I didn't have sawdust all over my garage and can't wait to
use it again. Yes, it really does work that good and is a game changer
for me because normally, I have sawdust in and on top of "everything" so
this will make life much better.
|
|
 |
|
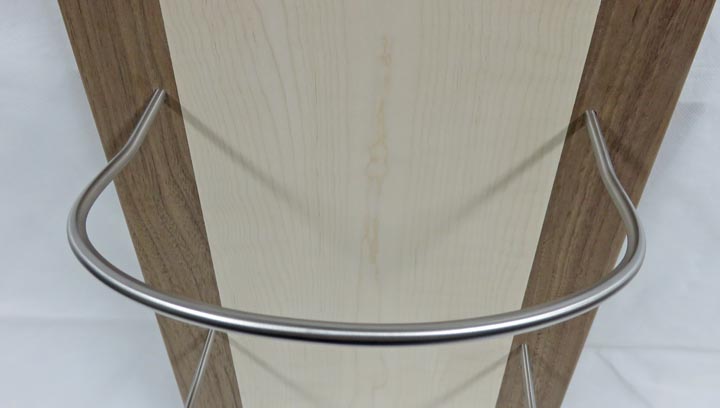
It's "Semi" Finished
This isn't finished...yet. However, this should give you
a good idea of what it will look like. Tracey is going to add her touch
to the maple area but I don't know exactly what yet. So what I'm going to do
is send it to her like this, without any clear finish on it.
|
|
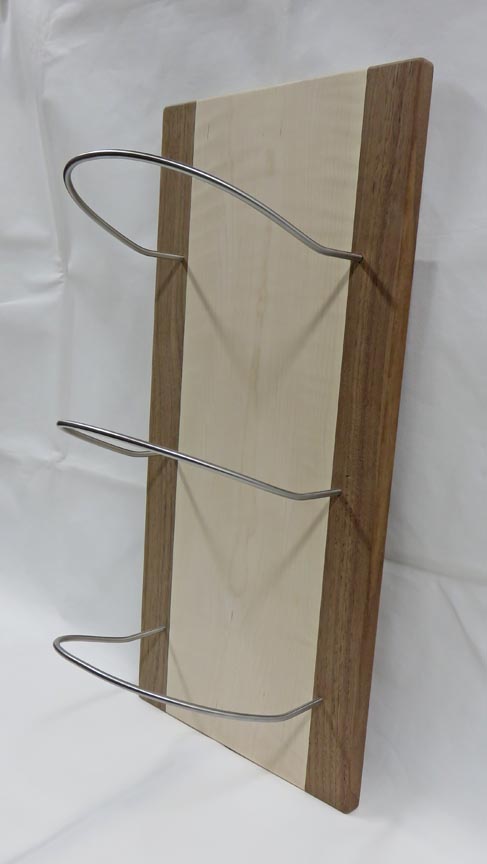 |
Once she does her magic, she'll put some clear polyurethane on it so it
will stay nice for years.
|
|
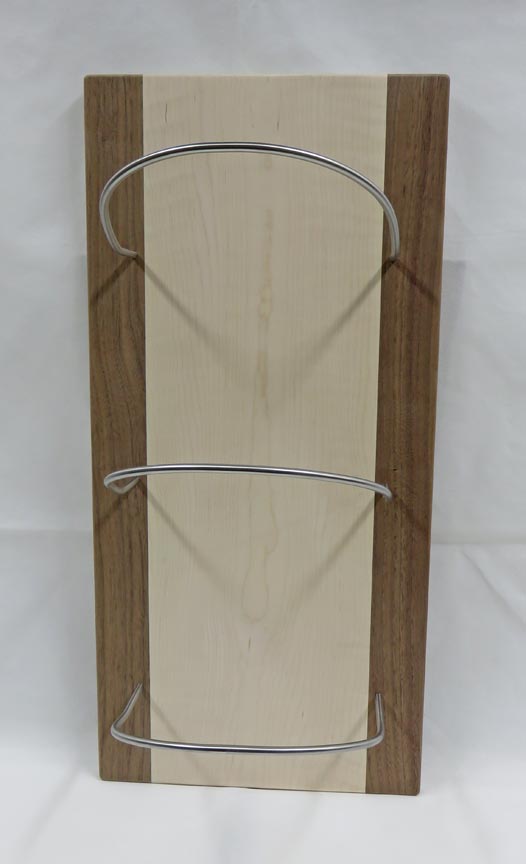 |
But before she does that she'll need to remove the stainless racks.
|
|
 |
|
1
2
3
4
5
6 |