|
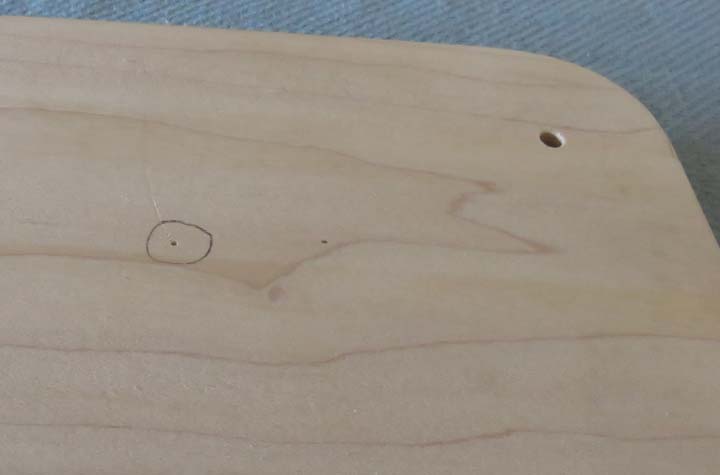
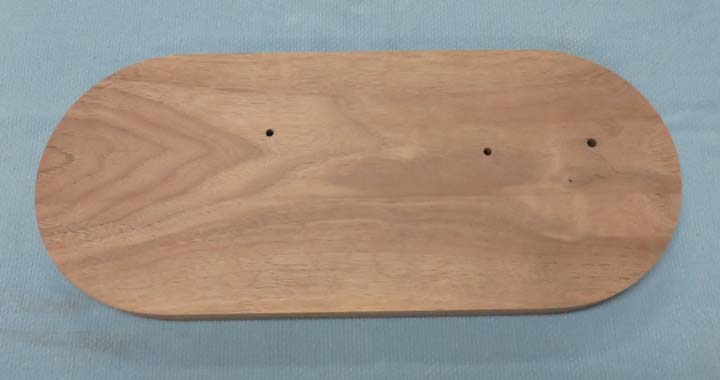
Note the pencil line around the spot that was transferred. This was a
very easy and a very accurate way of finding the exact spot where I needed
to drill my second hole.
|
|
 |
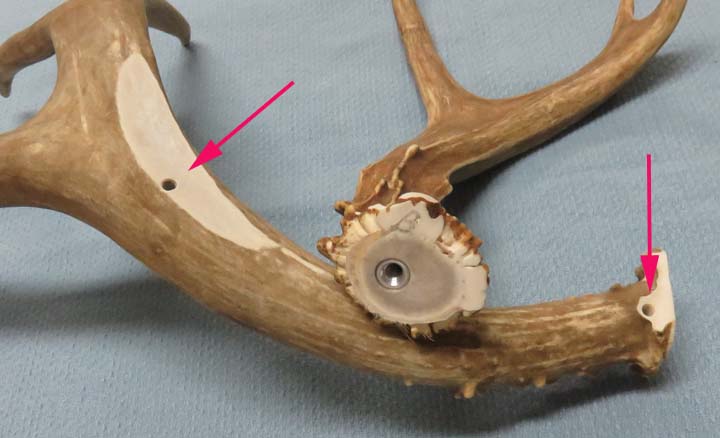
The arrows show where the screws will go when the antlers
are fastened down. Notice the aluminum thread insert in the one antler.
This is how I fastened all the antlers when I made the 'Hat Rack' but once I stated
experimenting with different ways of holding them down, I found that the thread
inserts weren't necessary. What I'll be doing is drilling a hole that is
slightly smaller than the outside diameter of the screw threads and then use
that same screw to make threads inside the antler. Surprisingly, the
antlers are very hard and its not easy to make threads in them.
|
|
 |
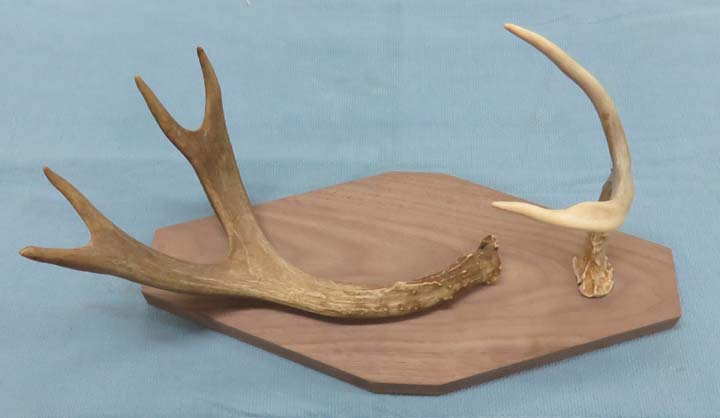
Here is what those same antlers look like fastened to the base. The
right hand side is where the neck of the bottle will rest and the bottom
of the bottle will be captured in the pocket of the other.
|
|
 |
|
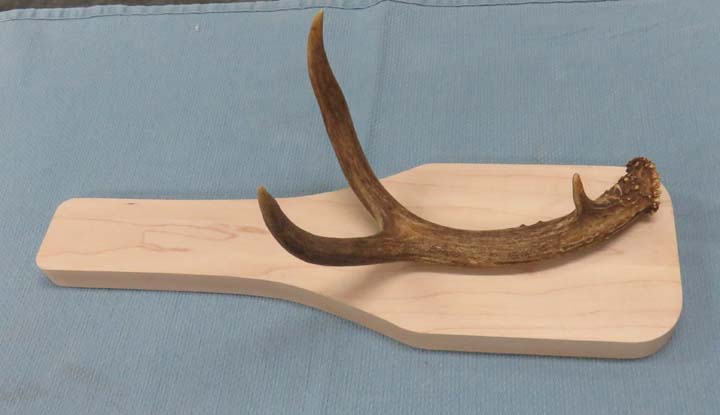
This antler has a unique feature, an eye guard. This
eye guard will rest against the bottom of the bottle with the
neck running through the branched portion.
|
|
 |
|
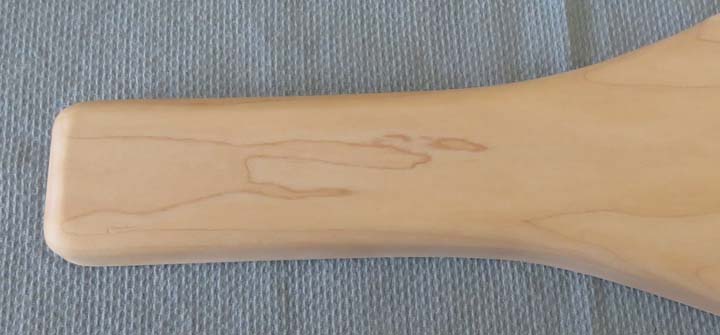
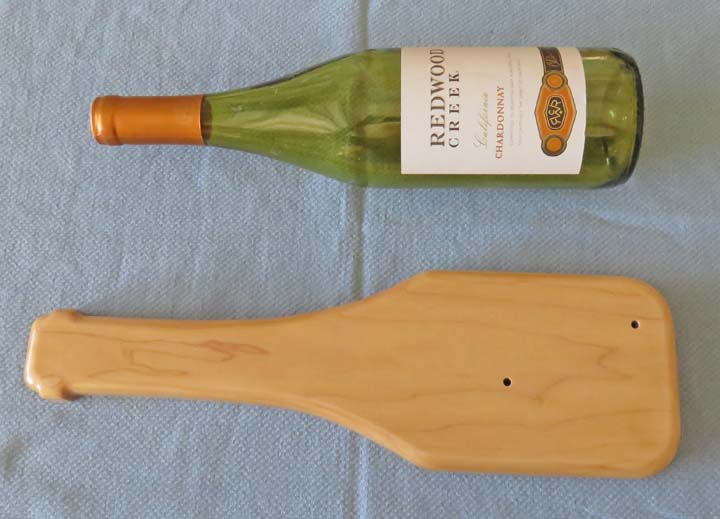
I used a 3/8" round-over bit on my router table to give
the sides of this base some shape. However once I was sanding this piece
I stated thinking that I could make it look even better. What I mean is,
I want to make it look more like a bottle so I stated measuring and laying out a
few lines.
|
|
 |
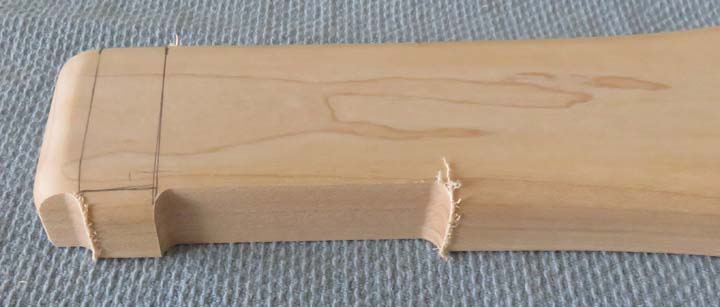
What I doing here is making this end look a little more like a bottle. I
cut both sides (like you see below) and now I need to blend them. For
the bottom portion I went back to my bandsaw, and for the top I used my belt
sander.
|
|
 |
|
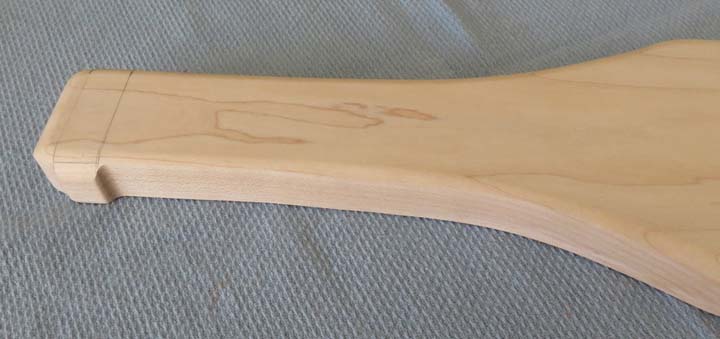
Once I had it all blended again, I used my router
table on last time with the same 3/8" round-over bit.
|
|
 |
|
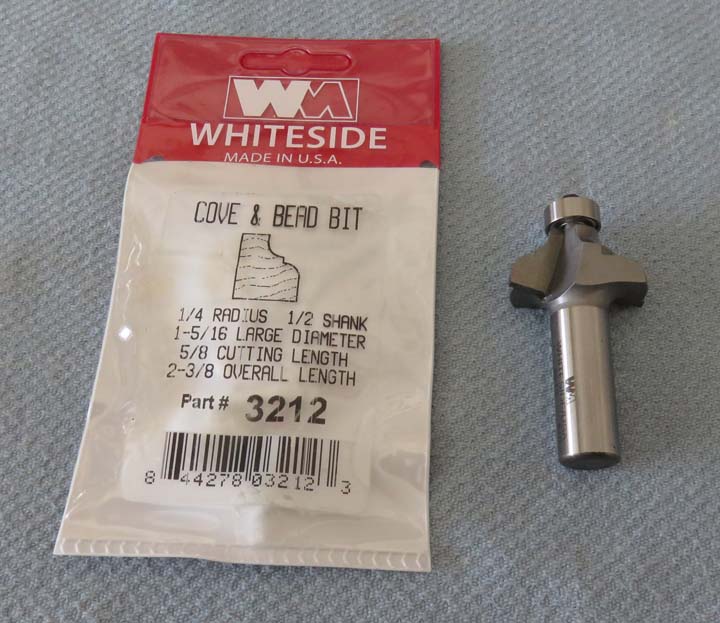
I bought this new router bit for one of the bases
because I thought it would look nicer than just a round over radius.
|
|
 |
I decided to use the new bit on this oval shaped base. BTW, I rough cut
this large radius with my bandsaw (followed a pencil line) and then used my
belt sander to finish it with.
|
|
 |
|
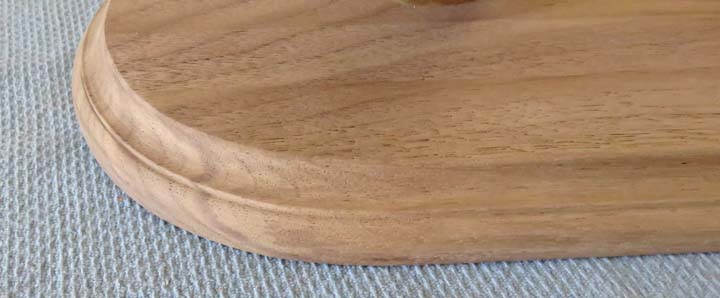
Here is what it looks like with the new router bit. It
gives the base a whole different look that I really like.
|
|
 |
|
Now that everything fits and looks right, it's time to
put a clear finish on all of the wood bases. I used Zar Ultra on my
gun vise
awhile back and it worked great so I thought I'd use it again here. I brushed
the first coat on and then let it dry overnight. The next day
I sanded that first coat lightly with 400 grit paper before applying the
second coat.
This is an oil based product and to apply it I used some
cheap paint brushes that were 2" wide and tossed them out when I was
finished. I also put one coat on the back the same day I was putting on
the second coat. With this product being oil based it smells bad for a
long time (about three weeks) but it dries enough to sand the next day.
|

|
|
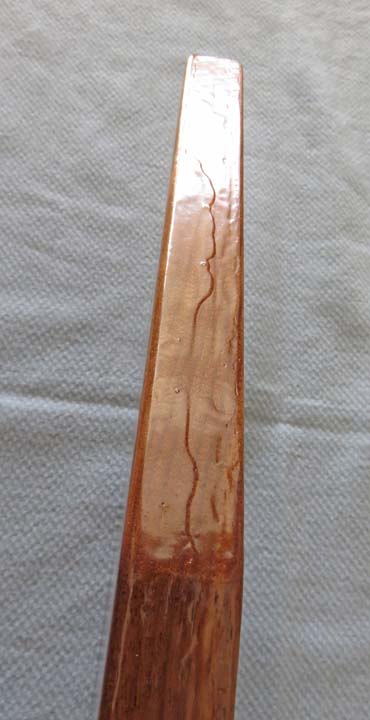
What you see here is a problem that will need to be
fixed. I haven't had this problem in the past so I'm not sure what
happened... but I have a theory. I think the clear finish went on too
thin and with the sides not easily seen while applying it, I didn't
notice how I was doing. Now the top surface is a different story because
I can look straight down on it while I'm brushing, which came out fine.
|
|
|
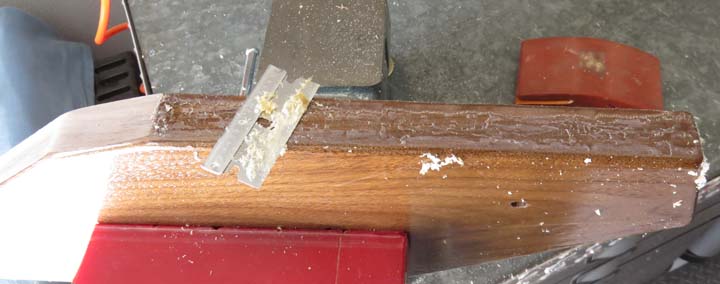
I needed to remove the clear finish from the sides so I
could redo it so I started with sandpaper. That turned out to be
a waste of time so I tried a razorblade. This worked great and removed
the clear finish quickly and then I came back with the sandpaper to
finish with.
|
|
|
The rough clear finish is all gone and sides are ready for
round two. I didn't touch the top surface because it came out fine so
when I come back to apply the clear again, I'll put a heavier coat on the
sides and a lighter coat on top so it blends together.
|
|
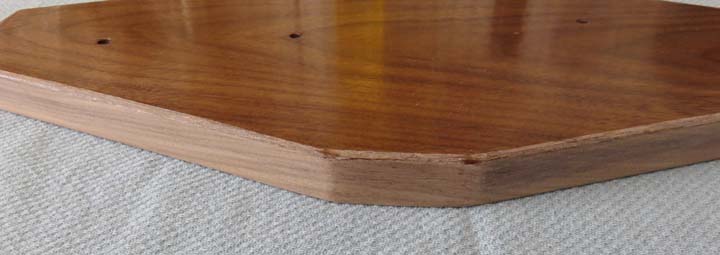
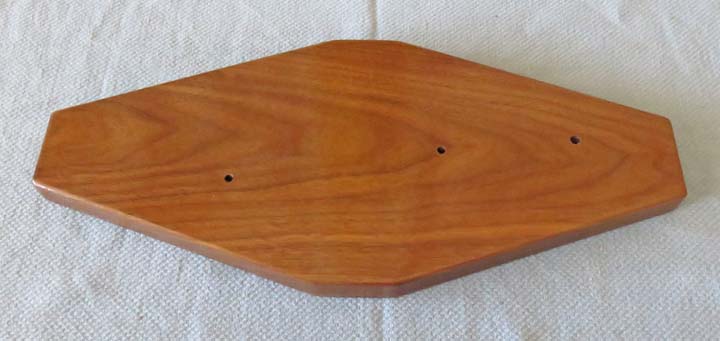
Here is the base all finished....again....but this time it came out much
better. I'll show you the sides on the next page.
|
|
The shape of this wood base looks a little better now. Or should I saw,
it looks more like a bottle here. And the clear finish went on fine
here as well.
|
|
|
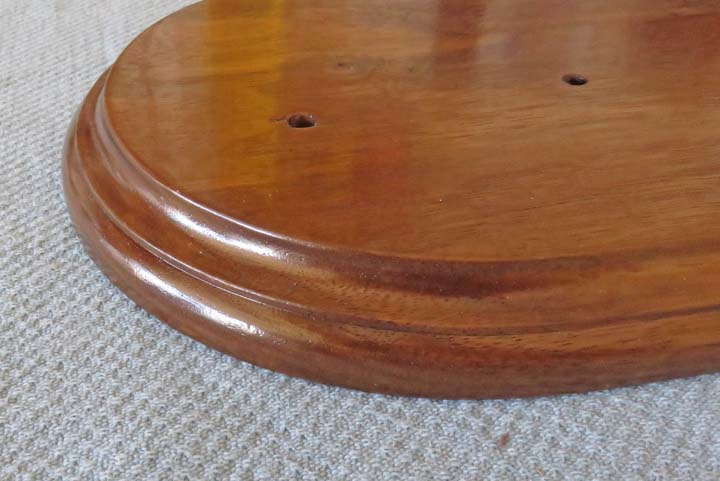
A close-up of the oval base with the clear finish on it. This one came
out good on the first try as well. Now lets take a look at all finished projects on the next page.
|
 |
|
1
2
3 |