|
Deer Skull
03-2018
|
Warning: Graphic
Animal Pictures Below
As most of you know, I've mentioned deer hunting on this site from time-to-time, and
I've made a few things out of deer antlers, like
wine bottle racks,
hat rack, and
antler plaques
in the past.
Those were fun projects and everyone that I've made those presents for
appreciated them. This time around I'll be doing something I've never
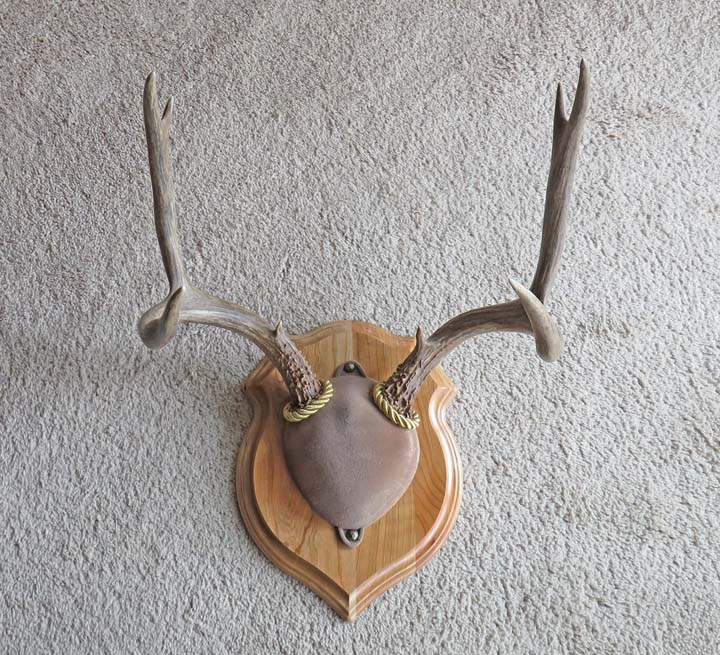
done with a deer before and that's called, a 'European Mount'. A
European mount is not a shoulder mount or just the antlers on a plaque (like
you see below). It's leaving the antlers attached to the skull, and then
mounting both the skull and antlers to the wall.
The antlers that you see below were harvested by me from the hunting
season of 2016, and is referred to as a 3 X 3 here on the West coast. If
you were on the East coast they would call it a 8 point. See those tiny
eye guards near the base? Most of the time those would be counted as
well (on the East coast), but not hear on the West coast. On the other
hand, we have Mule deer on the West coast and somewhere in the Rocky
Mountains they have a mix of Mule deer and White Tail deer that
eventually turns to White Tail only throughout the Midwest all the way
to the East coast.
I've seen a few European mounts before and have always like them, but
for some reason I've never tried doing one...till now that is.
|
|
|
|
I had a really hard time
dragging the one out from above, and I even had help that year. But, when you
have to pull the deer for over one mile, it takes it toll on your body
when you get older.
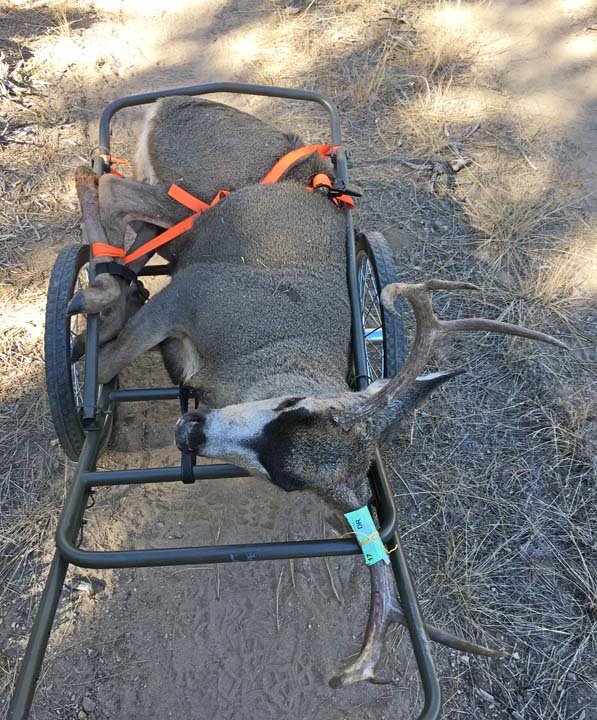
This is the deer that I harvested in the hunting season of 2017 and it's a
nice big 3 X 3 (for So. California that is). I shot it near the end of
the season and it's nice and heavy too.
Before the start of the 2017 deer season, I bought the game cart that
you see below, which worked out great! This saved me from the stress of
dragging the deer out and I will never hunt with out one again. It folds
up and goes together in just minutes and you're ready to get your animal
out of the forest...by yourself...which is so much easier (I should have
bought one of these a long time ago).
At this point you load the animal in the truck, take it to the meat locker and
tell them how
you want it processed. Before I left the meat locker, they also gave me the head so I could do the
mount at home. Now more work begins....
|
|
 |
| What you need to do once you have your deer head is
remove all the skin and meat that is attached to the bone. And to do
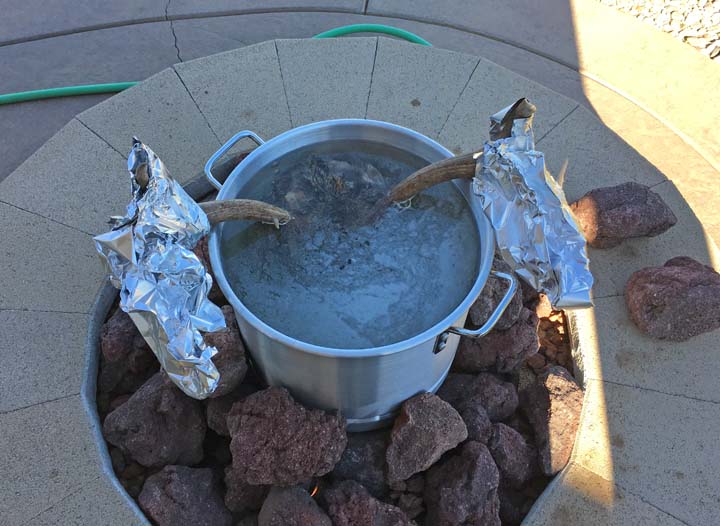
that, you need to boil it. Knowing this, I bought a big pot from Walmart made out
of aluminum and then looked for a place to start the project. The first
rule to know about this part of the project, "do not try this inside
of your house".
The reason for this is because it stinks....big time! I've seen some
videos of people doing this on their stove and had to wonder if they were married or
not. If yes, for how much longer?
Anyways, I used my fire pit for this part and it worked pretty good. I
pulled out all the lava rock first to expose the fire rings, then put
the pot in the center and filled it with water. I placed most of the rocks
back around the pot so the flames were coffined to the business area and
that seemed to work out the best.
The flame on my fire pit is adjustable and I had it cracked open
about half way. I also had some flames coming
through the lava rocks around the sides so I added some aluminum foil to the antlers for
insulation. This worked good and antlers stayed safe.
The water started to boil after about 45 minutes and I let the head
stay in there for 1 1/2 hours. After that I removed it and began the
process of pulling and scrapping off everything leaving only the bone. I
wasn't happy with the results the first time around so I put it back in
for round two. After another 1 1/2 hours of boiling, I started scrapping
again which did the trick. Total time out of the water working on it, a
little over two hours. Now that doesn't sound that long but when things
stink, it makes for a long day. Let me put it this way, I won't do this
again. Oh...and I used the hose to wash it off with a few times and after a short
time I had it looking pretty good.
|
|
 |
|
Once you have the skull clean, you need a way to make the bone
nice and white. I've heard of some people using bleach to do this but
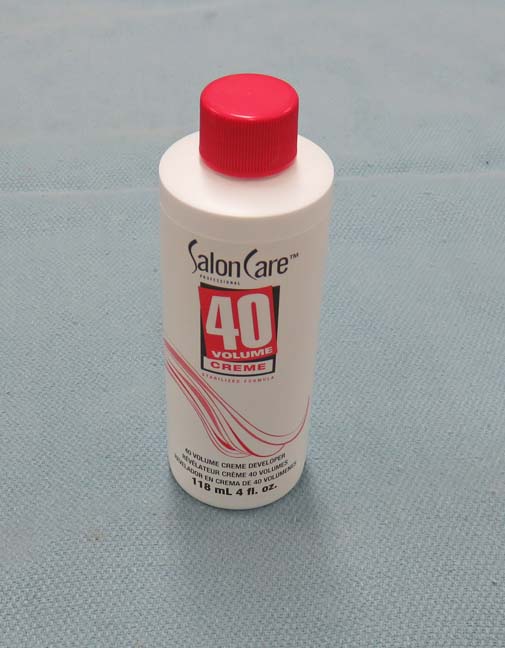
I've also heard that it's hard on the bone. However, most people use
hydrogen peroxide to whiten the bone with and a lot of beauty products
have that in them. I bought a product called Salon Care 40 Cream that
worked very well. This small bottle didn't cost much and was more then
enough to do one deer skull.
I used a small throwaway brush for this that was about 3/4" wide and
placed the head in a plastic tote. I applied three coats of this stuff
and being cream, it stayed pretty much were you applied it. And I let
each coat set overnight before putting on the next. One thing to be
aware of with this stuff, don't get it on the antlers or it will lighten
them too. Just be careful and it's not a problem, but if you do splash
some on them, just wipe it off with a damp cloth.
I forgot to take any
pictures of this process but you get the idea.
|
|
|
|
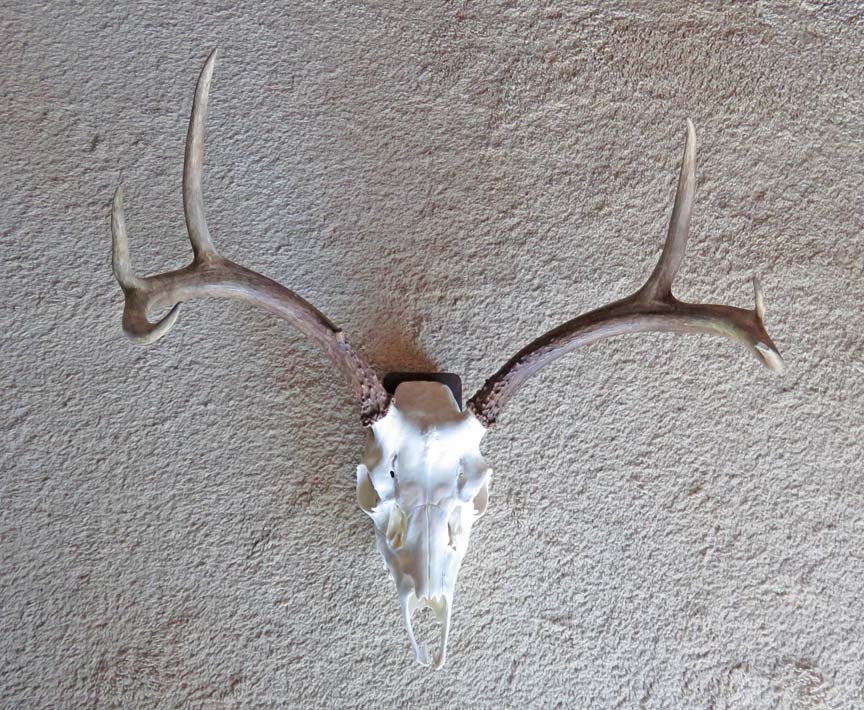
Here is what it looks like all finished. This was an
easy project but a very smelly one.
|
|
 |
|
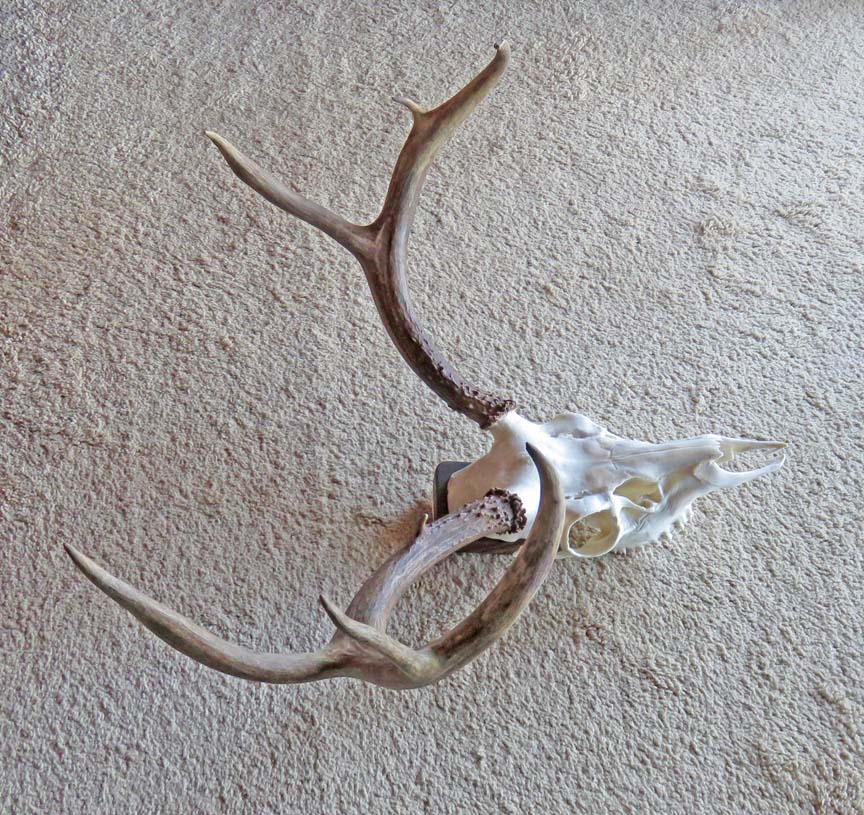
The spread is 21" wide with some nice thick beams.
If you look close you can see a small piece of black walnut attached to
the back of the skull. Then on the back of the wood I screwed on a
picture hanger bracket that makes it easy to hang on the wall.
|
|
 |
|
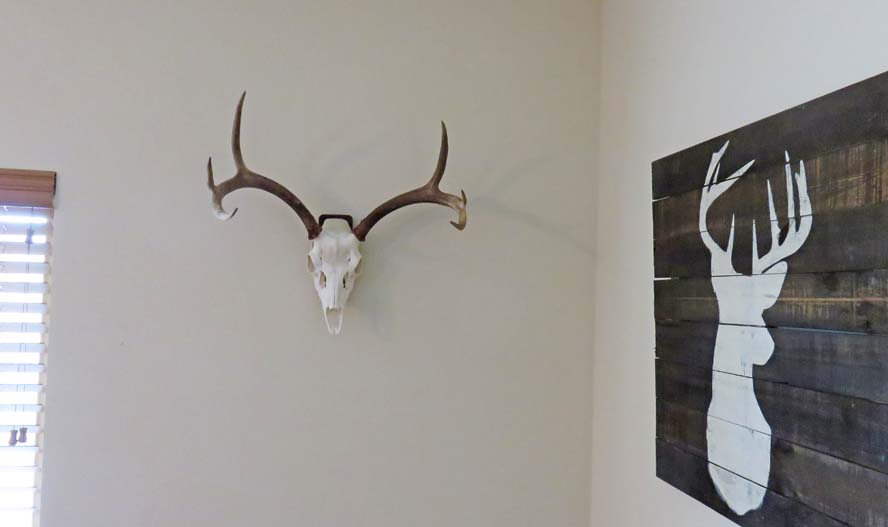
This is my living room along with a nice
picture of a whitetail on the adjacent wall. I think it came out nice
and I'm happy with it.
|
|
 |
|