|
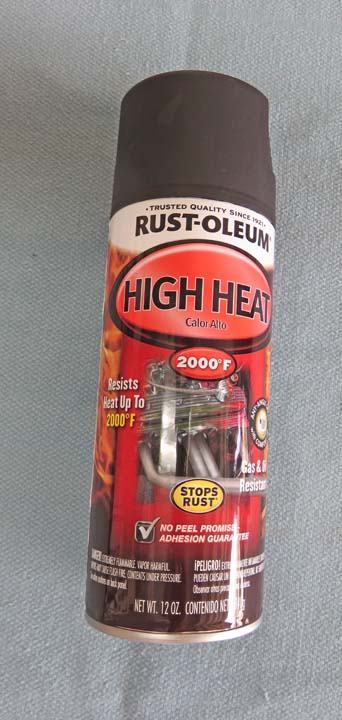
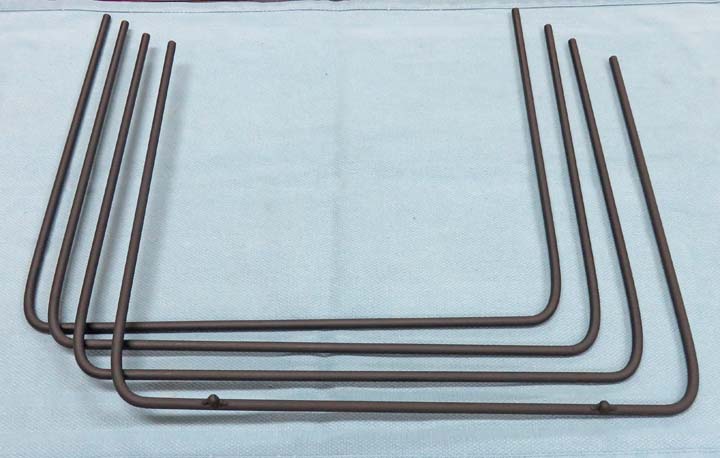
For the steel racks I'll be using some High Heat
automotive paint. The can says it's good for 2000 degrees.....well....I
don't know if that's true or not but those racks won't see anything over
400. The instructions say that any parts that are not exhaust pipes can
be baked to a given temp, which will help keep the paint from
discoloring. I'll talk more about this later.
|
|
 |
I took my parts out to the paint booth and
gave them two coats, with 30 minutes between each coat.
|
|
 |
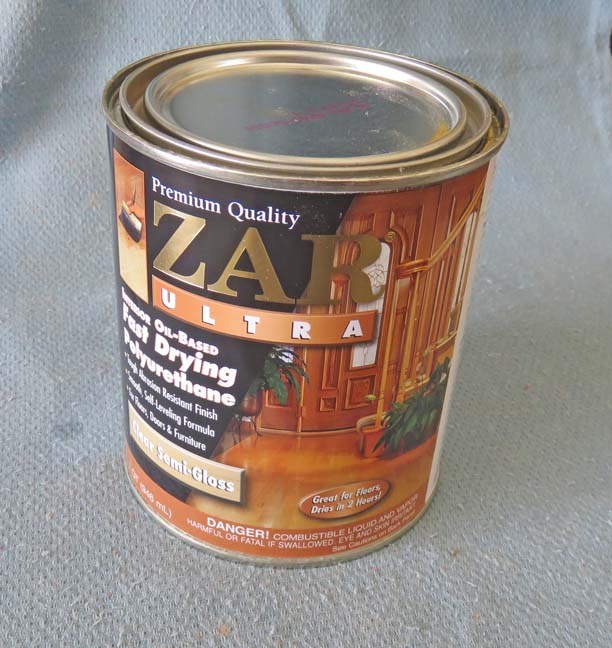
Now it's time to put some polyurethane on the wood pieces.
|
|
 |
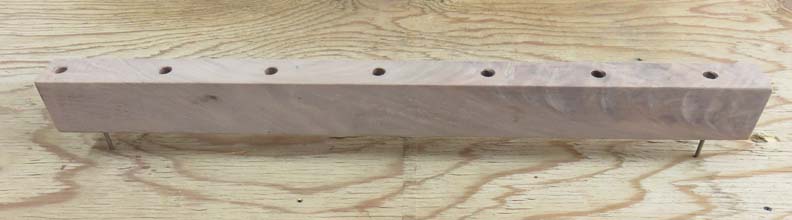
I'm going to use two of the holes to help
me hold the pieces.
|
|
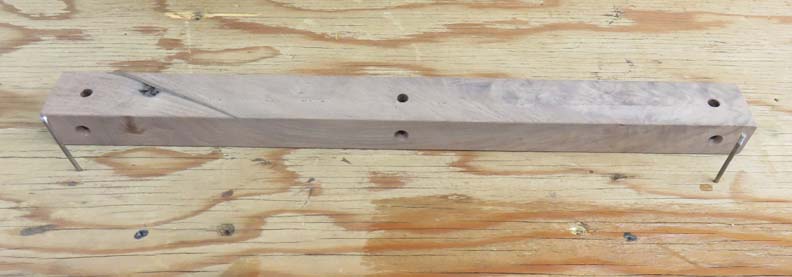 |
Here you can see what I'm talking about. This way I can apply the clear
finish to the bottom surface first (while I'm holding it), then place it
on the nails to do the rest.
|
|
 |
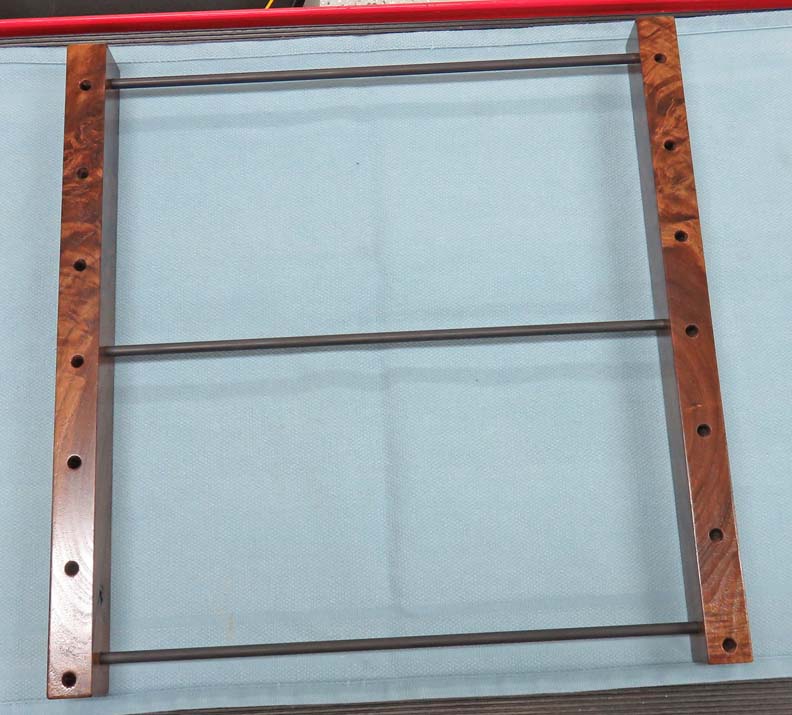
Here is what it looks like put together. Now it's time to add one more
thing to the bottom rack.
|
|
 |
|
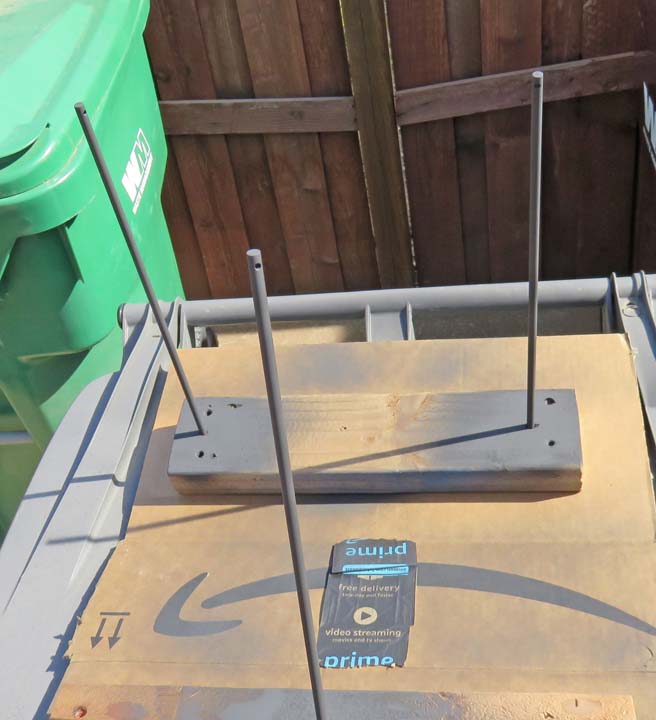
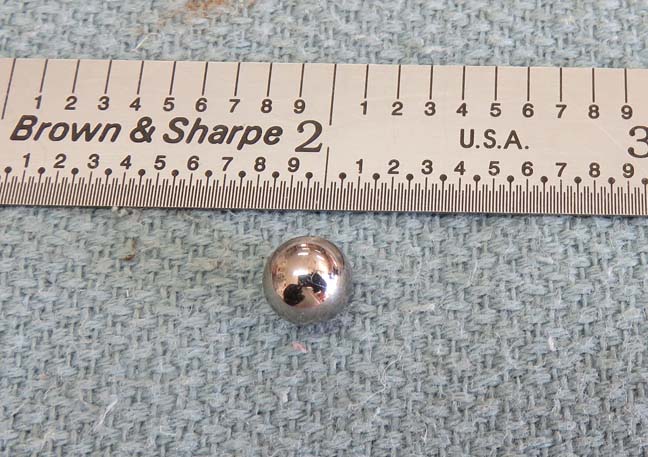
I'll be using two 1/4" diameter ball bearings for the
bottom rack. The reason for this is because the bottom holes on the wood
pieces are 3/8" from the end. If the U shaped rack was placed into those
bottom
holes, the whole thing would sit at an angle. What I need is something
to attach to the bottom rack that's 1/4" in size so the rack will sit
level. I talked with Tracey about this and we agreed that the ball
bearings would be fine.
|
|
 |
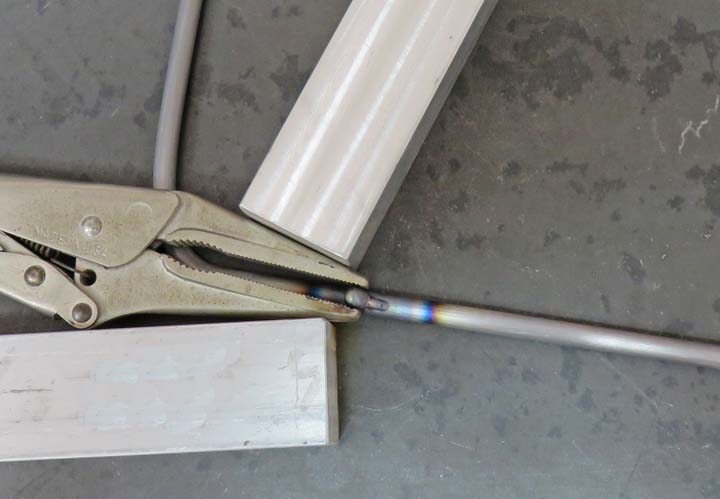
Here I'm welding the ball bearing to the rack. This went pretty fast and
was easy.
|
|
 |
|
After painting all the racks in my paint booth, I started the
curing
process in our household oven. I wondered if this would stink or smoke
while doing so but everything went smoothly. The instructions say to
bake your parts in stages: the first being set at 250 degrees for 30
minutes and then you let them cool for 30 minutes. Now you set your temp
to 400 degrees and bake for another 30 minutes, and then cool again for
the same amount. The third step is to bake at 600 degrees for 30
minutes, but I didn't do this last step so we'll see what happens.
|
|
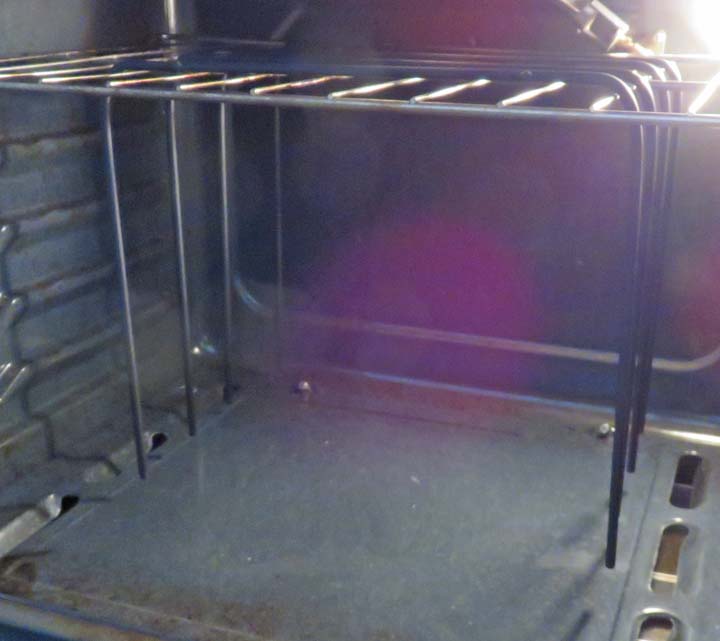 |
Here they are after spending some time in the oven and they all look
good. If fact, I couldn't tell the difference before or after heating,
which is a good thing.
|
|
 |
|
1
2
3
4 |