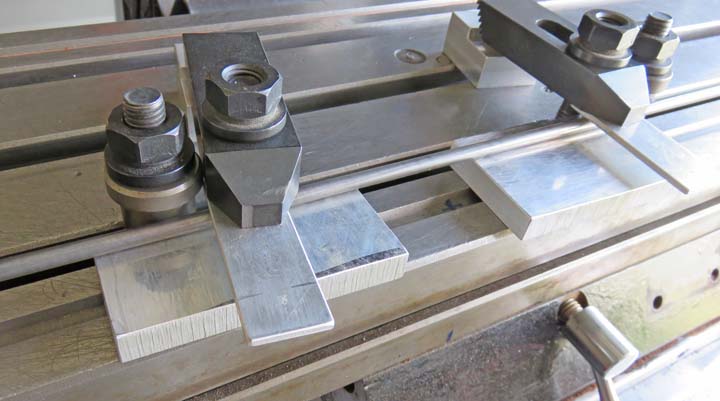
Once my 1/4" material was clamped in place, I removed the pin, placed
a short steel pipe over it and bent the rod to 90 degrees. The aluminum
shims and blocks are used so I don't damage my material while it's
clamped.
|
|
 |
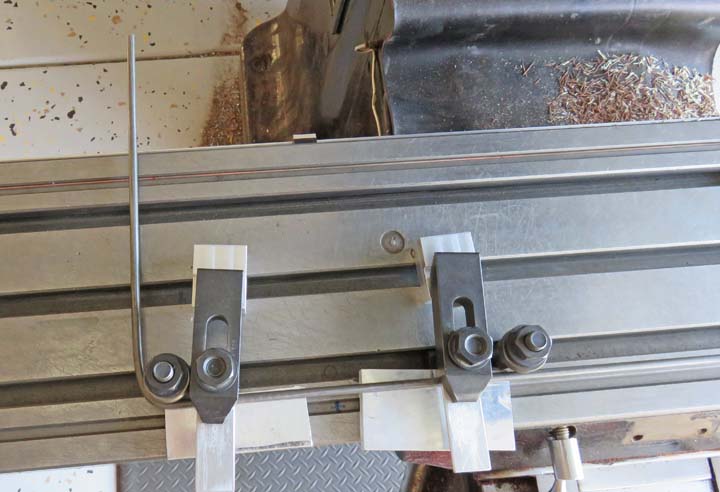
Once I had one side bent, I unclamped my
work piece, turned it around and repeated the process again. Doing it
this way I was assured that both ends were exactly the same length.
|
|
 |
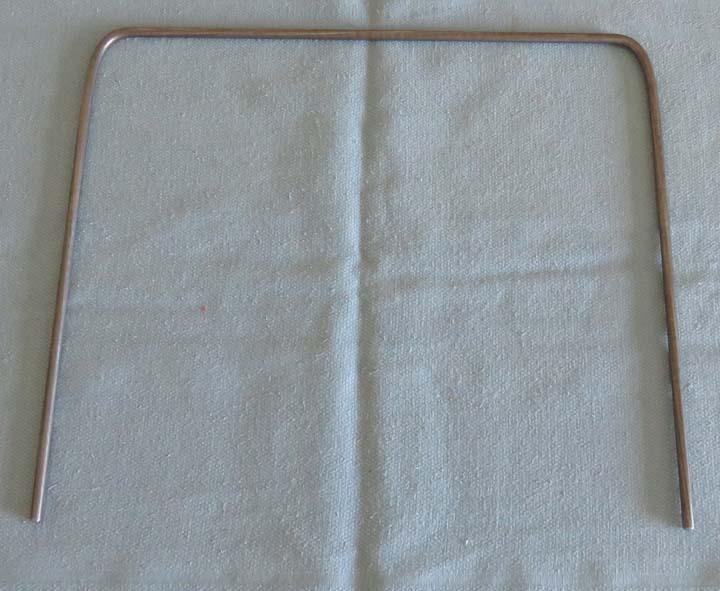
Here is the finished piece which was easy to do and didn't take very
long either. And both legs are the same length too.
|
|
 |
|
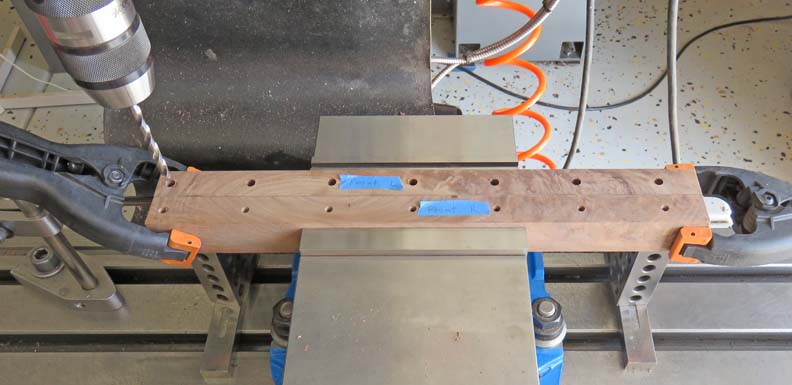
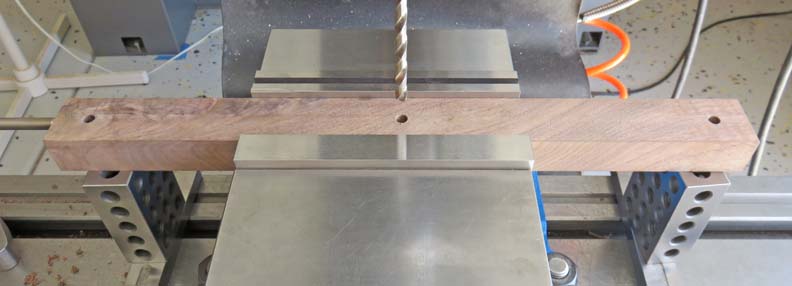
The next step was to drill some holes for the steel
racks. Tracey wanted them to be adjustable to I added a few holes.
Although I'm not sure if she will use these extra locations, it's
easy enough to drill them while I'm here. In the picture below you can
see the drill is sitting at what will become the bottom of the wood
pieces. That hole is 3/8" from the bottom and the rest are 2.5"
apart.
|
|
 |
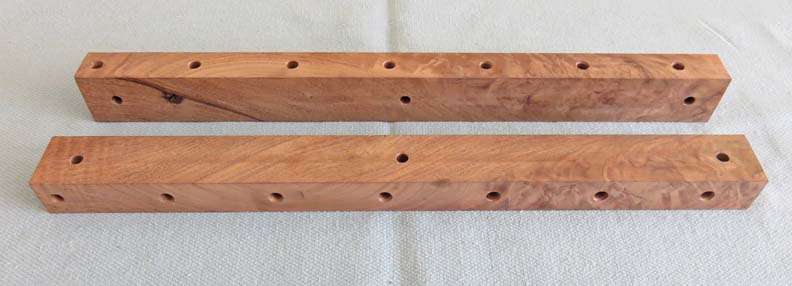
I needed a way to join the two wooden pieces together so I used more of
the 1/4" steel bar for this. I made sure not to have any two holes run
into each other while drilling.
|
|
 |
Here is what it looks like with all of the holes in them. However, what
you can't see are the small screw holes that are on the back side, which
I'll talk about later.
|
|
 |
|
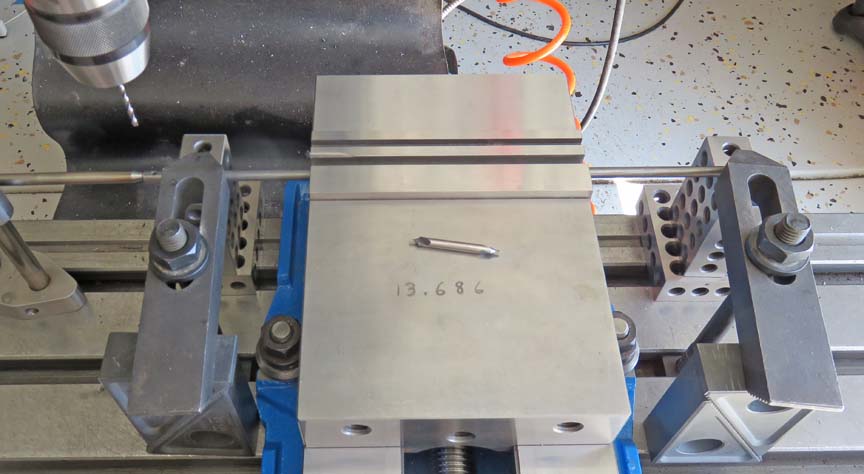
Like I mentioned earlier, I'm going to use some of the 1/4" steel to connect the
two wooden pieces together. And to do that, I'll be putting some
small threads at both ends. The size of the threads are 6-32 and I'll be
using the digital readout to go from one hole to the next. Notice the
two clamps below. I've placed the clamps at each end of the rod to hold
them right next to where I'll be drilling. The number on the vice is the
distance between the threaded holes.
|
|
 |
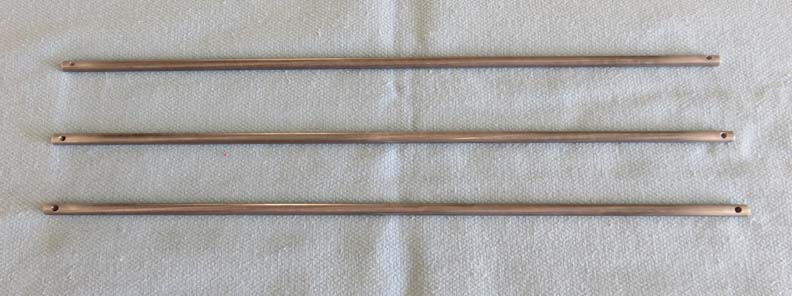
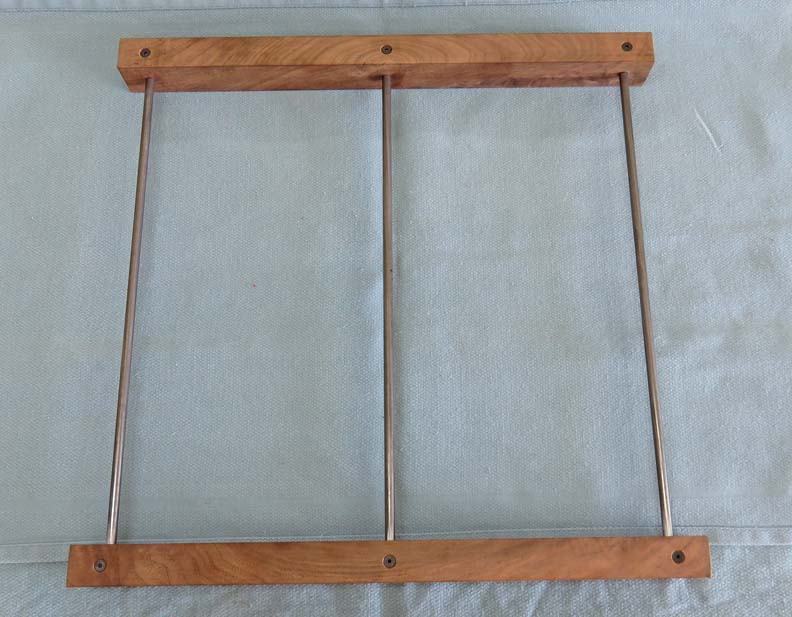
Here are the rods all finished and they came out pretty good.
|
|
 |
Just a close-up of the small threads.
|
|
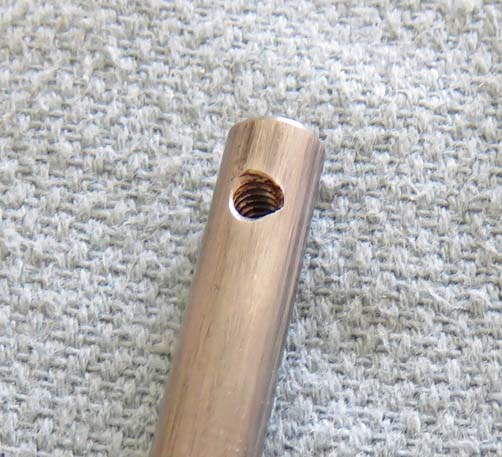 |
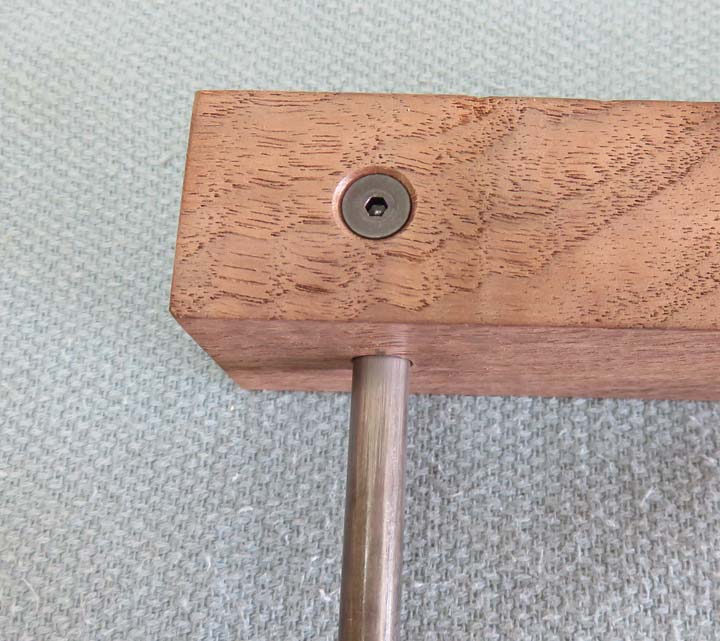
Here you can see what I've been talking about. I used some 6-32 flat head
cap screws to keep the rods from moving.
|
|
 |
Here is a close-up of the flat head screws. These will be on the back
side of the rack so you won't see them. Now it's time to do some
painting.
|
 |
|
1
2
3
4 |