Cooling Rack  1                                              08-2018


My daughter, Tracey, asked me to make something for her because she likes to bake. This project is going to be a 'Cooling Rack' that should come in handy with the limited space on her countertop. She sent me a picture of what she'd been wanting so I would have an idea of what was on her mind. After we talked about it for a few minutes, I had a direction to go in.

This won't be a complicated project to do, but that's not really what I look at when I'm going to make something new. I look at the journey that it takes me and the engineering that takes place while the project is being made. That's the fun part for me and is probably why I like new projects.

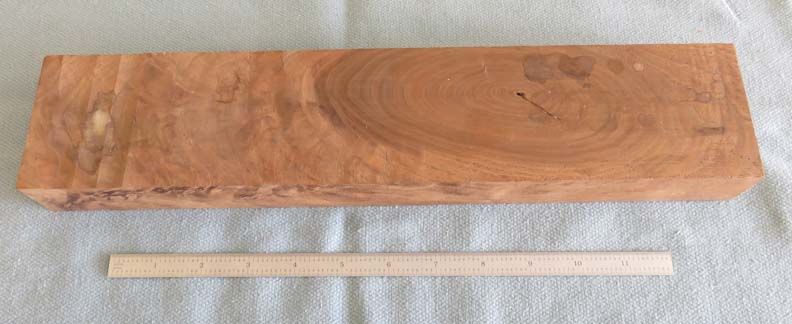
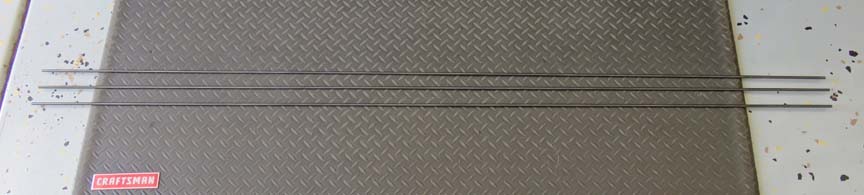
The material for this cooling rack will be made from steel (for the baking sheets to sit on) and wood (to hold all the pieces together). Speaking of wood, I'll be using a nice piece of black walnut that I've had sitting around for many years. This piece has some great 
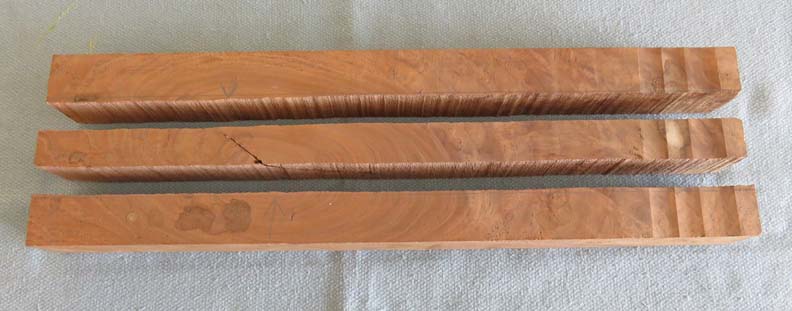
patterns in it and should look nice when it's finished. However, that crack in the middle of this piece won't do so I'll have to work around it.


I used my bandsaw and sliced it up but I'll only use the two outer pieces.


I used my milling machine to square up the two pieces on all six sides. Here I'm working on the ends with a piece of scrap wood as my backup so I don't chip my board. These are 17" long X 1 1/4" X 1".


What you see here are some 1/4" pins (sitting on the wood) to get an idea of the holes that I'll be putting in. Tracey wants this rack to hold four cookie sheets, that way she can keep the oven going and not worry about counter space.


I bought some 1/4" diameter steel bar that are six feet long each. I plan on bending the rods into a U shape and each end will go into the wood.


I cut four pieces that were three foot long each but before bending anything, I made sure they were all the same length and I gave each one a nice chamfer on both ends. Chamfering before they are bent is the easy way to go.


Here you can see what it looks like a little better. This will make it much easier to insert the ends into the wood pieces.


I used my milling machine as a bending fixture and it worked out great for this. By using some one inch diameter pieces to bend around, along with a work stop that is removable, the bending operation went pretty good.


Here you can see I'm using my new work stops for this operation. The pin that is placed through the work stop is 3/8" diameter and can be removed before bending.


1  2  3  4