|
Lamp Hardware
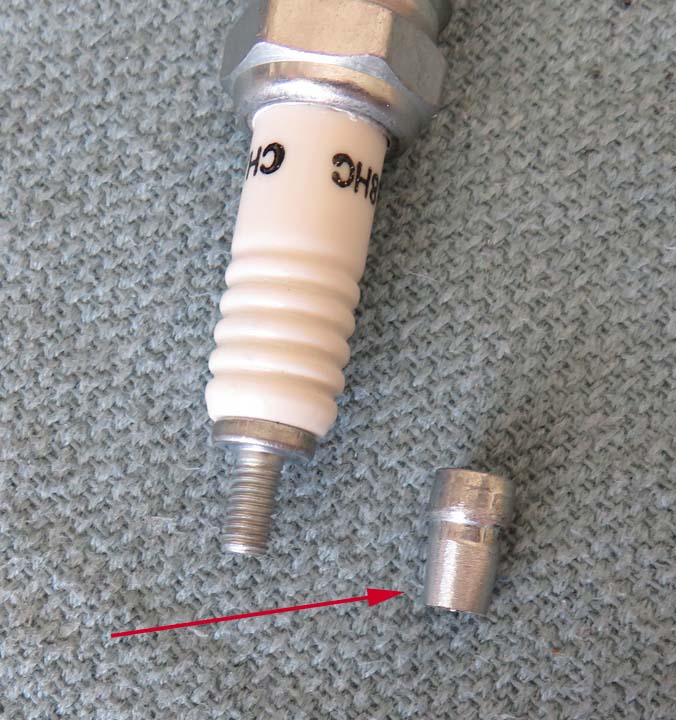
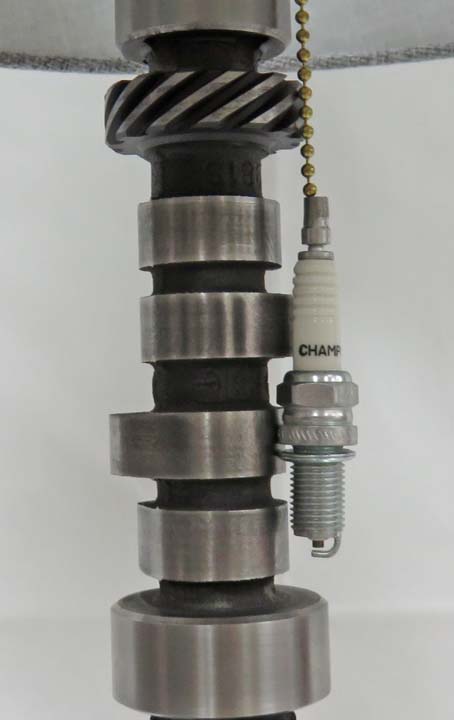
I'll be using a spark plug that I'll attach to the pull chain to turn
the lamp on or off. Why a spark plug? Why not!! Notice the end-cap. I've
turned down the outside diameter slightly with my belt sander (arrow).
This is the area where I'll crimp the pull chain to the spark plugs cap.
With the diameter reduced, this makes it easier to crimp without the
aluminum cracking. I found out this little trick on the last lamp.
|
|
 |
|
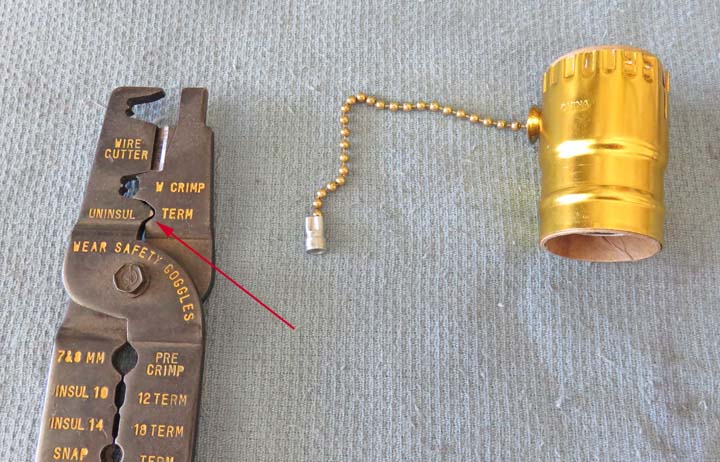
I removed the small ball that came with the chain, then
stuck the pull chain into the cap about halfway and crimped the top
portion of it. By using my trusty multi-tool (that I'd normally use on
spark plug wires) it worked great for this.
|
|
 |
|
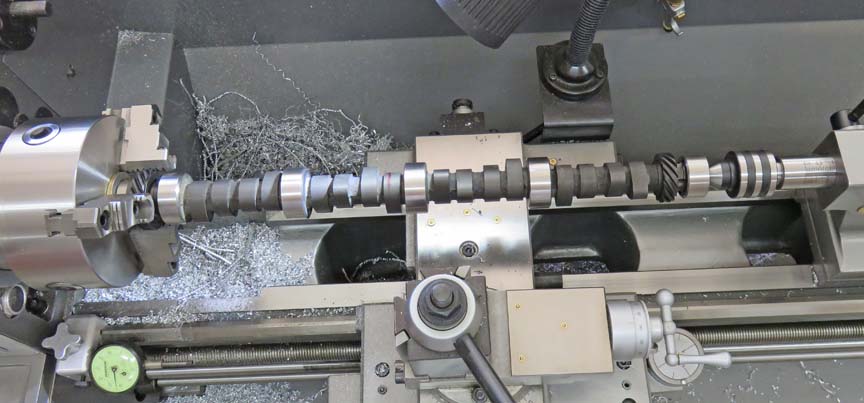
One Final Detail
Now that all of the electrical components are finished,
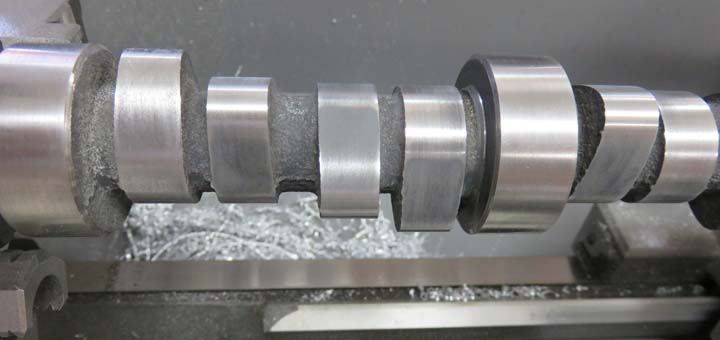
there is one more thing I want to do....polish all of the cam lobes. The
reason for this is two fold: this give the camshaft a little more
contrast and it looks like it was actually run in an engine. I really didn't
want all that break-in coating on there, it made it look too plan....at
least for me it did.
|
|
 |
|
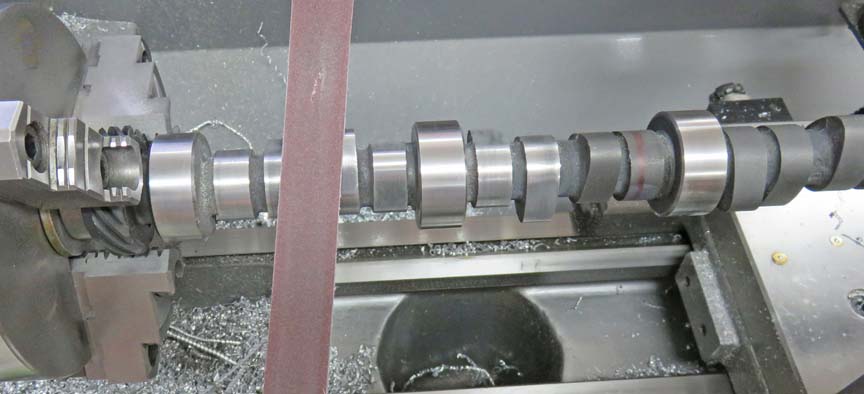
I used some 180 grit sandpaper for this and it worked
pretty good. I had my lathe running at a slow RPM (about 190) and even
with it going that slow it had my hands bouncing all over the place.
However, there was still some hand sanding to do on either side of all
the cam lobes as the sandpaper didn't remove all of the coating in that
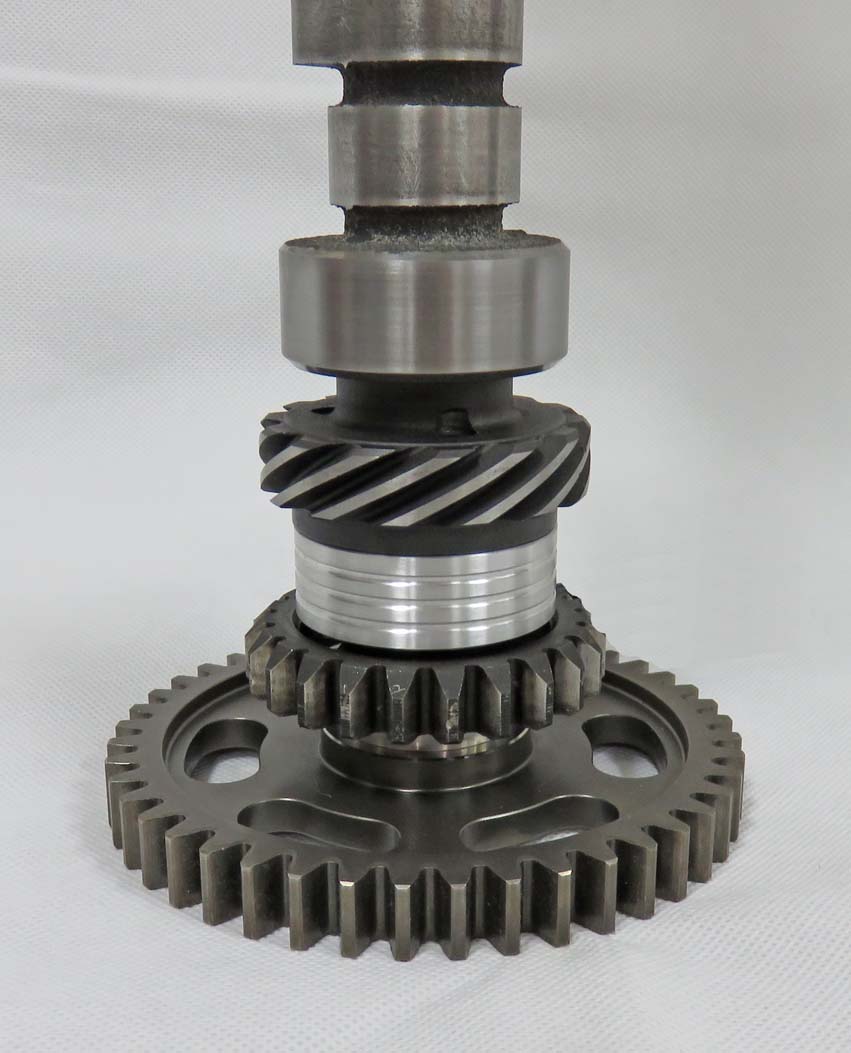
area. I also removed the coating from the outside of both cam gears.
|
|
 |
This didn't take that long and it looks better now.
|
|
 |
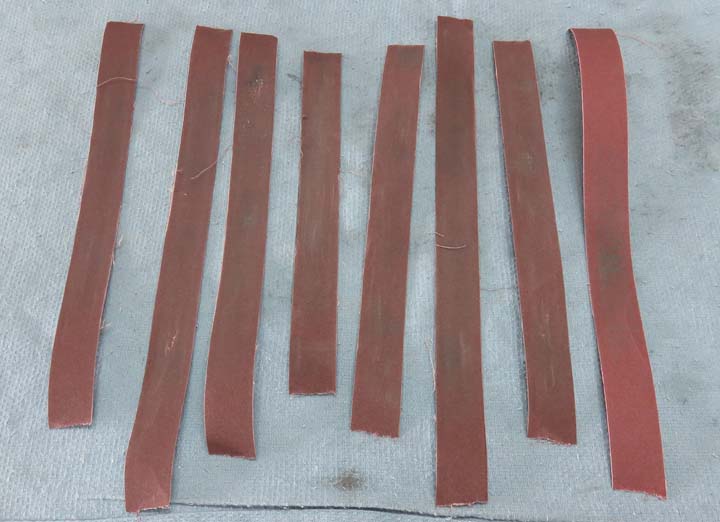
I went through a few pieces of sandpaper.
|
|
 |
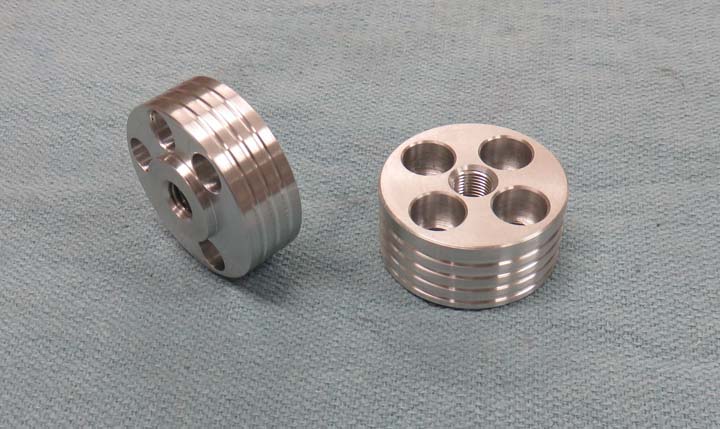
I added some grooves to each adapter to give it a little something
extra.
|
|
 |
|
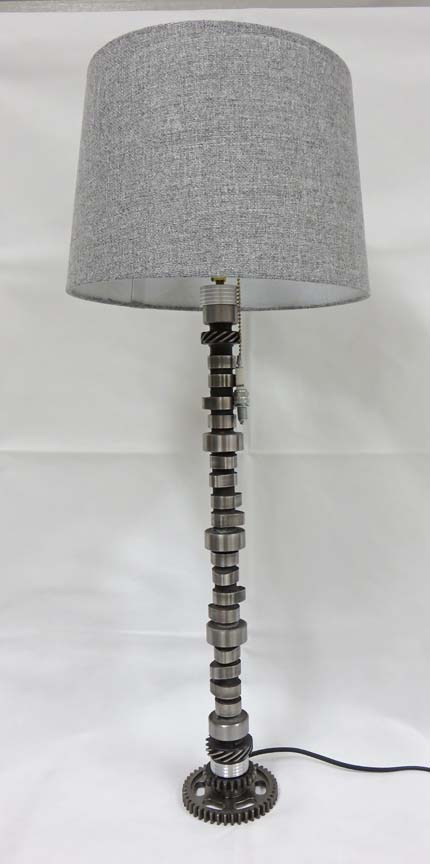
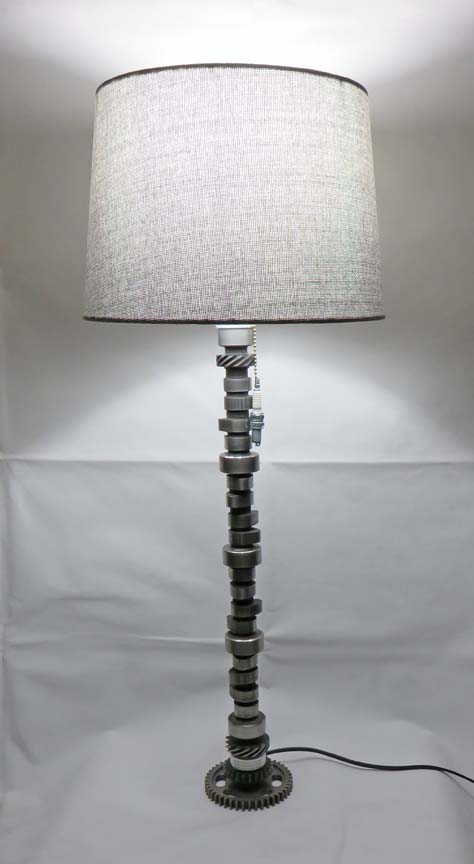
It's Finished!
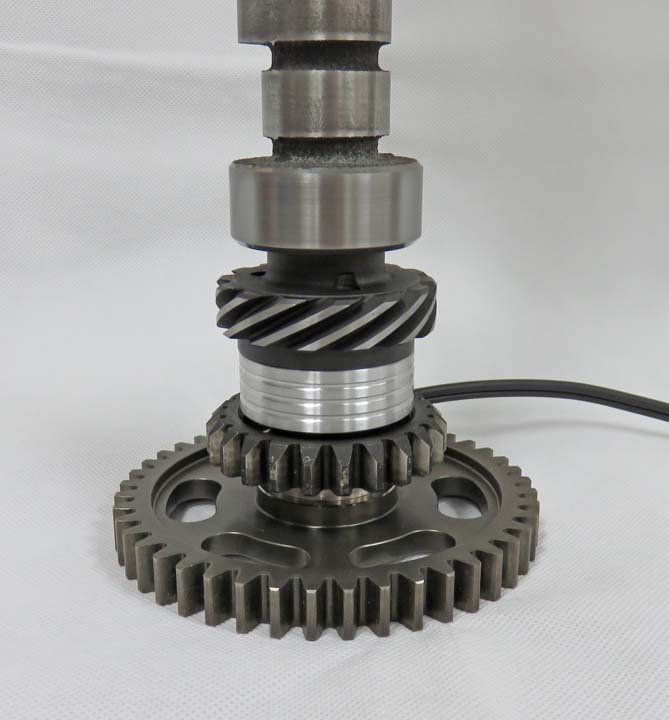
Here is the finished project. If you look close you can see the black
coating removed from both cam gears.
|
|
 |
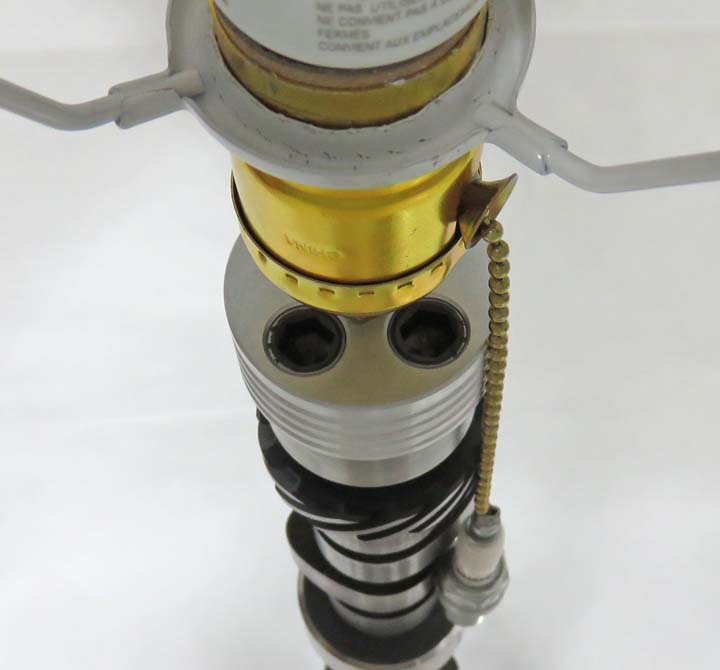
Close up of the base.
|
|
 |
The sparkplug pull chain and you can see the coating removed from the
gear.
|
|
 |
I had to mess with the inner part of the lampshade so it would fit
better, which is the same thing I did on the last one.
|
|
I used an LED for the light, which puts out pretty good light. I'm happy with
how it came out and I had fun making it.
|
|
I removed the lamp cord from this picture and left it large so it can be
used as wallpaper.
|
 |
|
1
2
3
4
5
6 |