|
Working With Felt
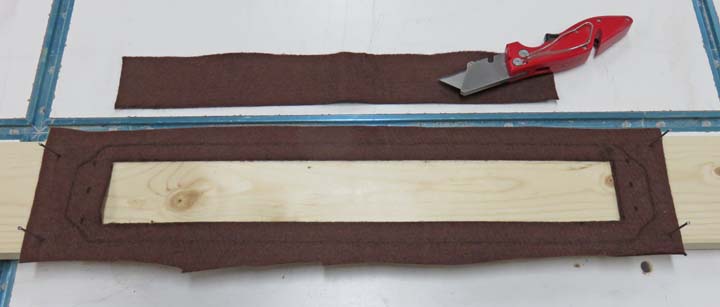
I'm adding some felt to the bottom so the wood base doesn't
scratch the surface that it will sit on. I laid out the pattern of the wood,
nailed the felt to a piece of scrap wood, and then I cut out a window
with my razor knife.
|
|
 |
|
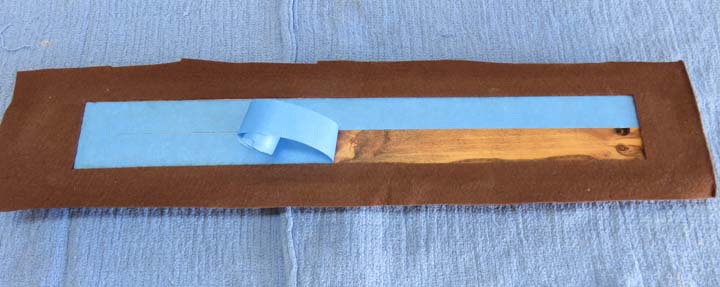
Next I pulled the nails out, placed the felt on the bottom of the wood surface and then placed some tape inside the window area. Once the tape
was in place, I removed the felt, applied some glue to the wood surface,
and then smoothed out the felt. The tape was used a reference to help me
line up the felt and to make sure the glue didn't get in the wrong
places.
|
|
 |
|
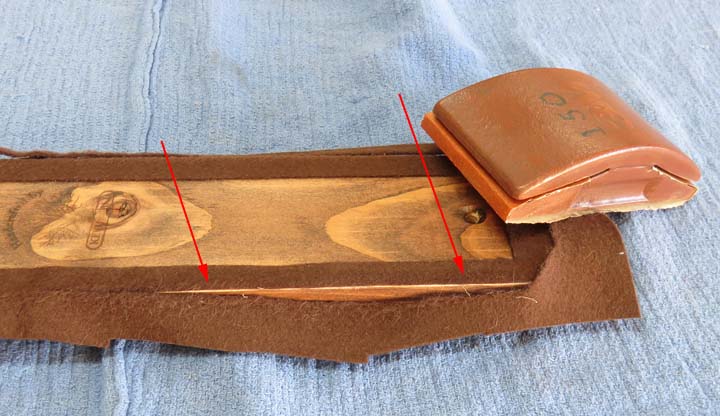
A few hours later I was ready to remove the excess felt
using a sanding block. By sliding my sanding block over the edge of the
felt a few times, with my block held at a 45 degree angle, this gave me a
nice clean cut line (arrows). I slowly worked my way around the
perimeter until all the excess felt was removed.
|
|
 |
|
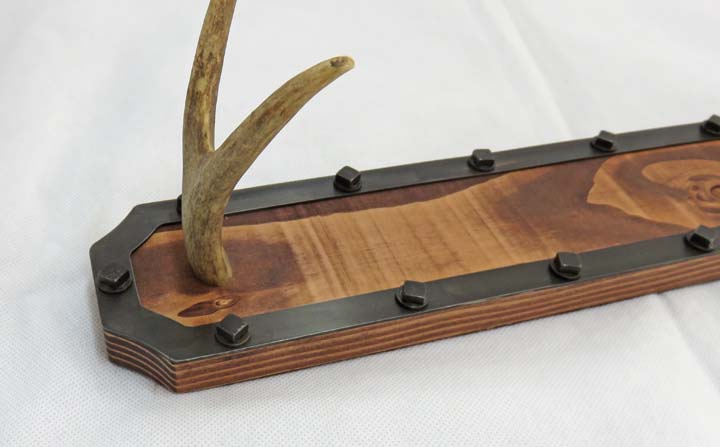
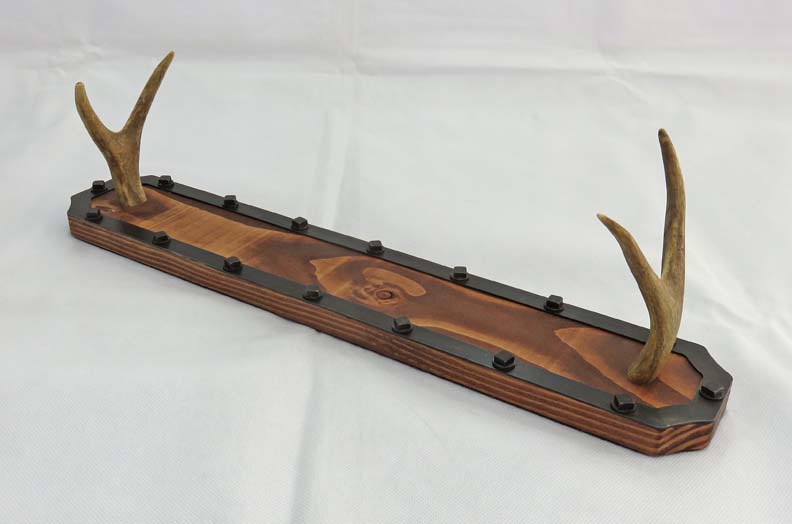
It's Finished
Here it is all finished.
The antlers don't look too large and aren't too high either, which is what I wanted.
|
|
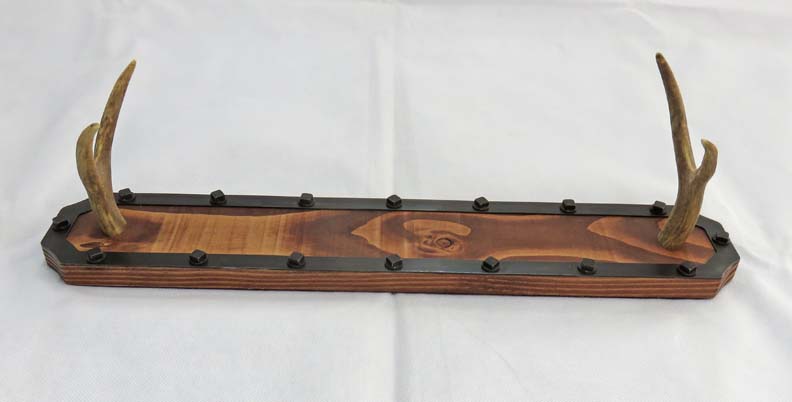 |
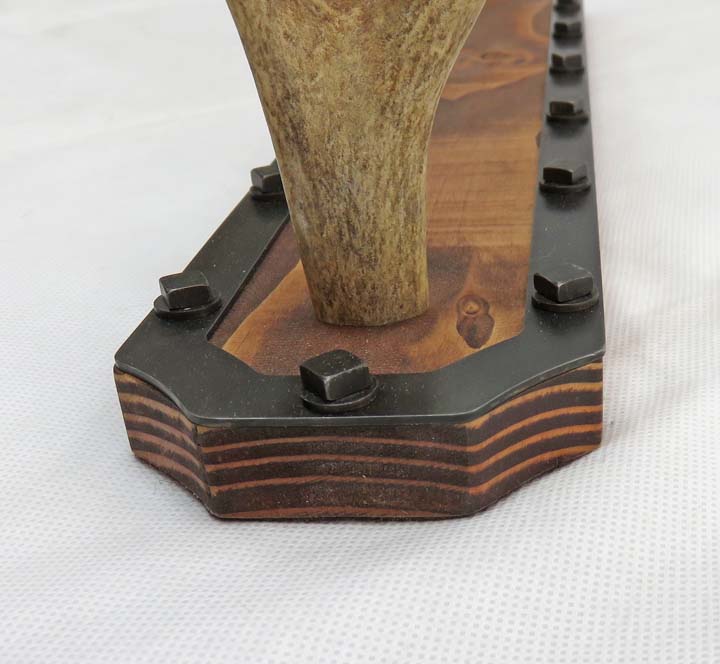
I like the contrast between the wood stain and blued metal.
|
|
 |
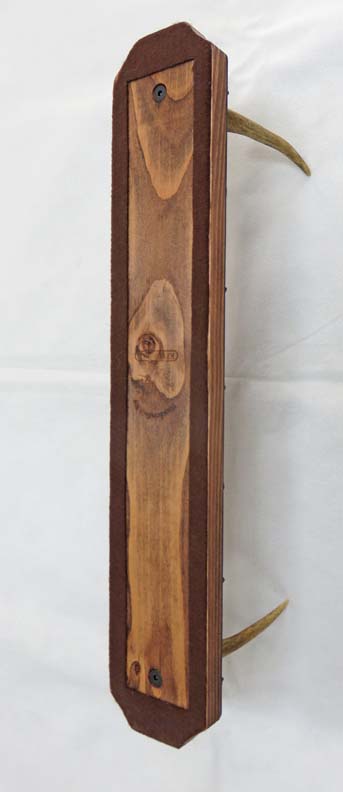
The felt on the bottom was simple to make but it should provide many
years of protection. I also put my brand in the middle but it didn't
turn out very good.
|
|
 |
The grain on this piece of douglas fir looks pretty good.
|
|
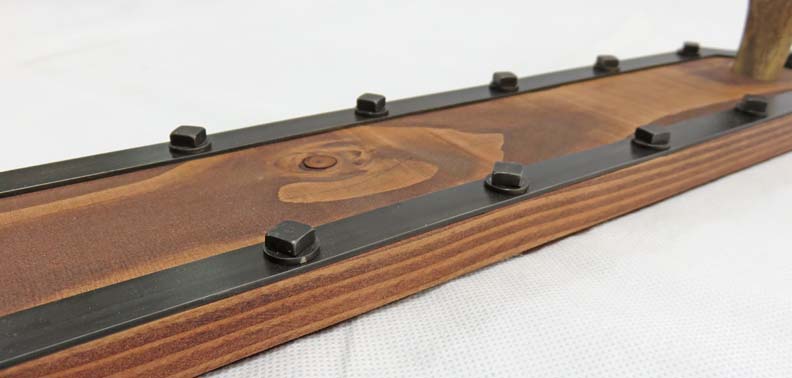 |
The size of the bolts and washers look proportional on the 1/2" wide
metal.
|
|
 |
Now I have to send this back east so I'll need to package this really
well.
|
|
 |
|
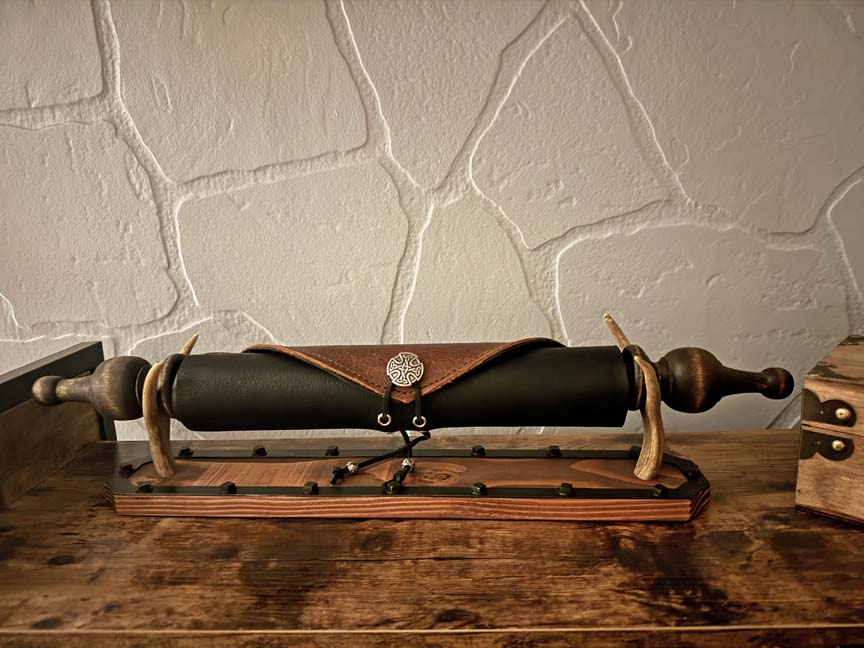
10 Days Later
The scroll holder made it from California to Pennsylvania and it
survived the trip.
|
|
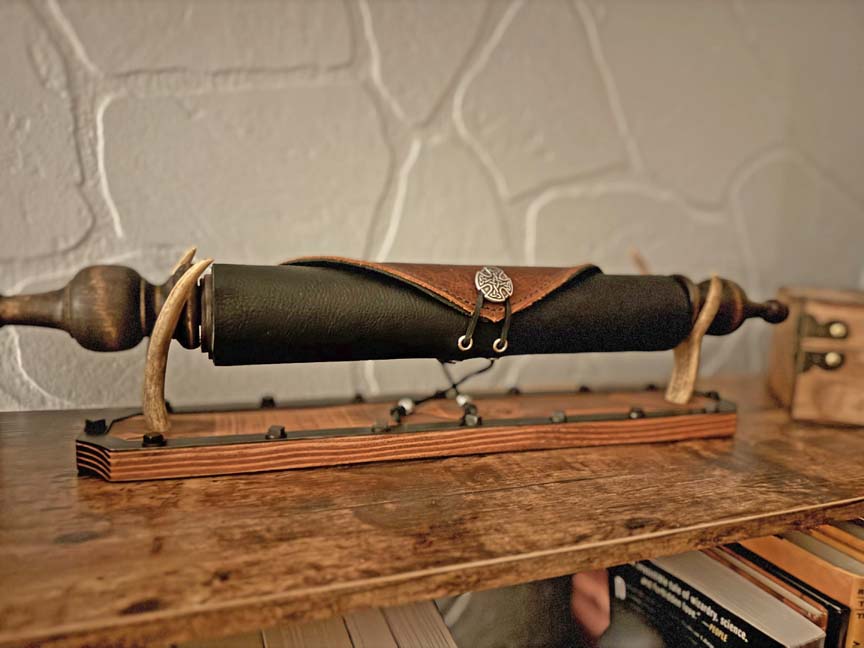
The scroll fits perfectly and it looks awesome resting in the holder.
This was a really fun project and I'm sure Jon and Tracey will get many
years of enjoyment from it.
|
|
 |
|
1
2
3
4
5
6 |