|
Working With Metal Continued
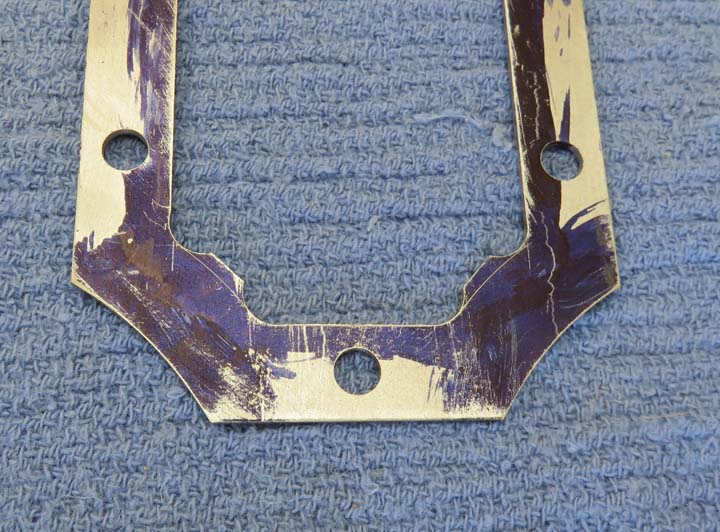
With the all the straight lines machined, it's time to address the
radii in the corners. BTW, the thickness of the sides are 1/2" with the
1/4" holes in the middle.
|
|
 |
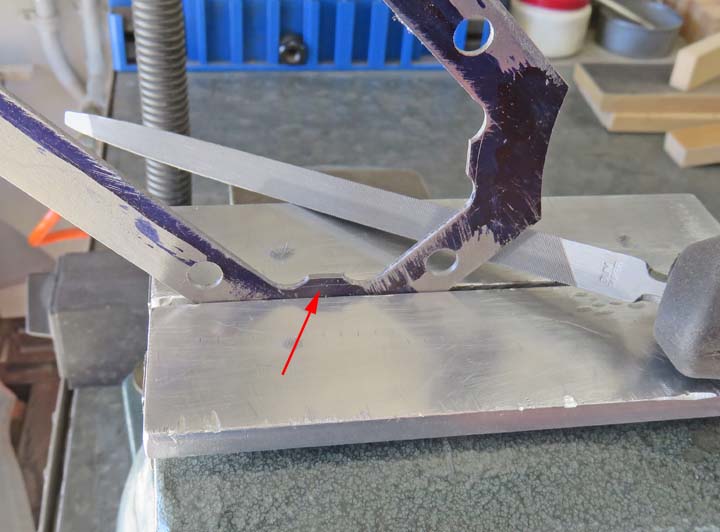
With only four areas that need work, I
used a file and worked to the line.
|
|
 |
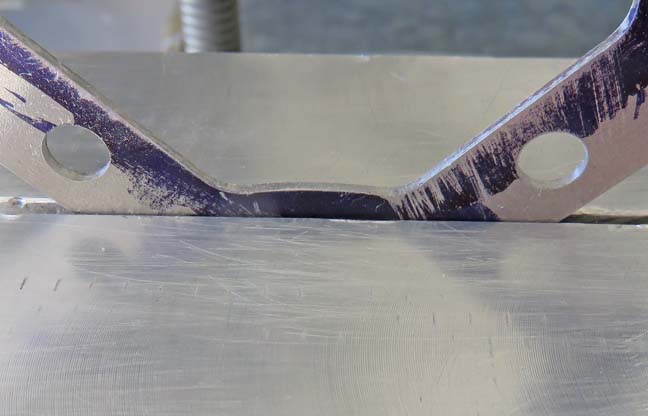
This didn't take long and it worked out great.
|
|
 |
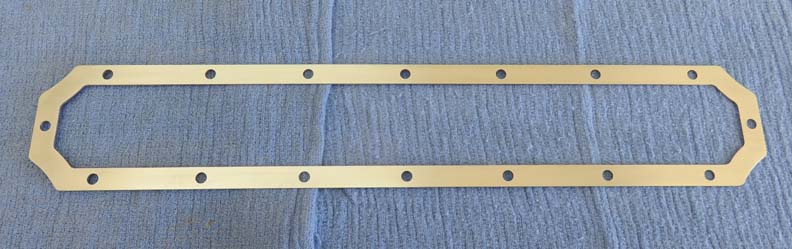
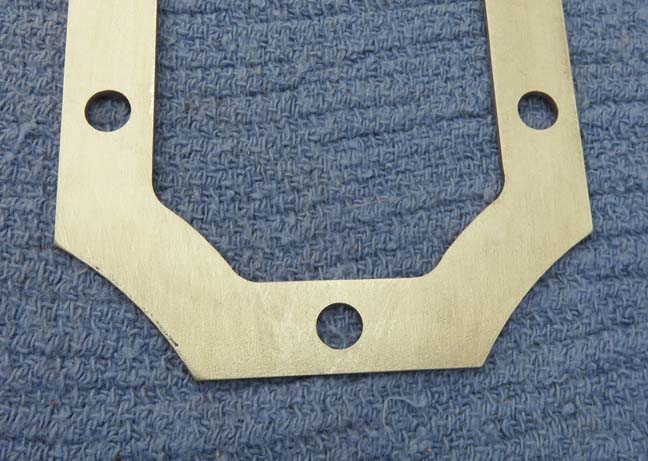
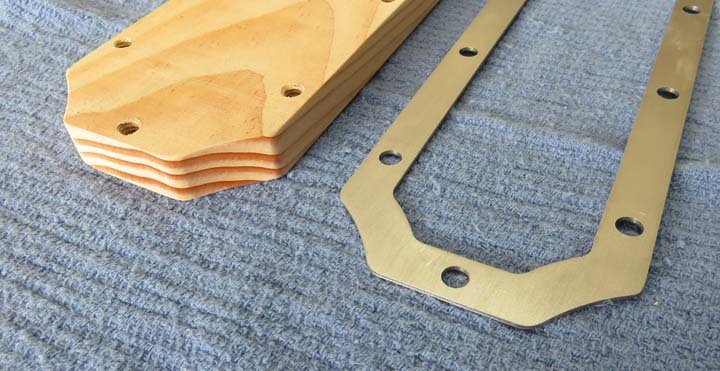
Here is the finished work piece that will be fastened to the top of the
wood.
|
|
 |
A close-up of one end, which I'm happy with. Now it's time to work
on the wood piece again.
|
|
 |
|
Working With Wood Again
If you remember the wedding present I made earlier, this will be the
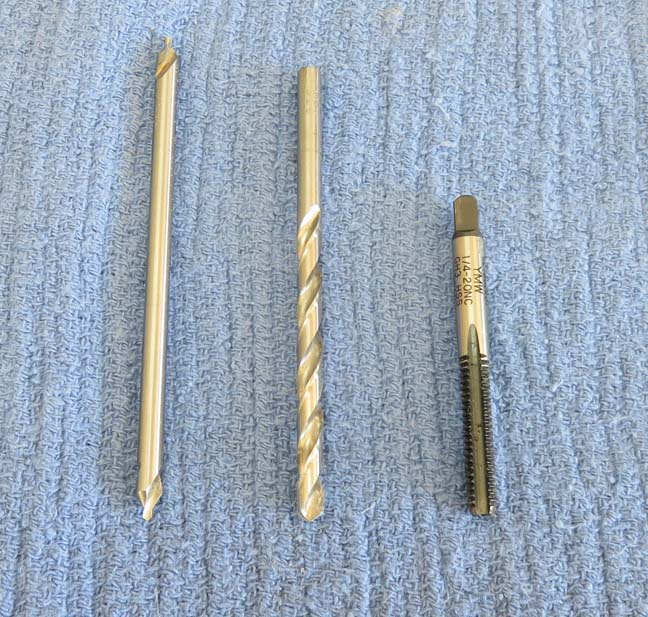
same concept that I did before. I'm going to drill and tap the wood for
some 1/4-20 threads. First I'll use a center drill, then the tap drill
size and then finish with the threads.
|
|
 |
|
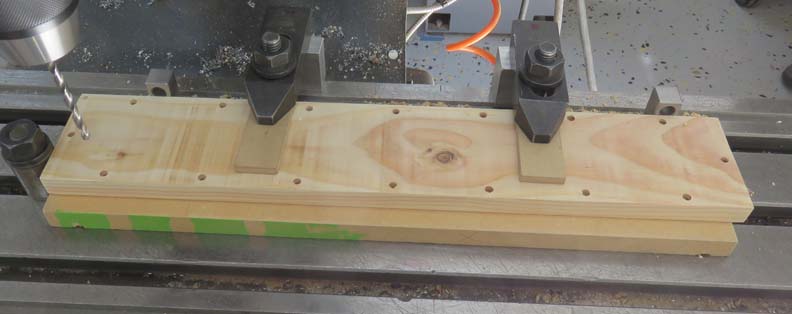
Here I'm drilling all my holes and getting ready to put threads in each
one. I hand tapped each one in place of power-tapping with my milling
machine. The reason is because I have no idea how that would've turned
out so I was being cautious.
|
|
 |
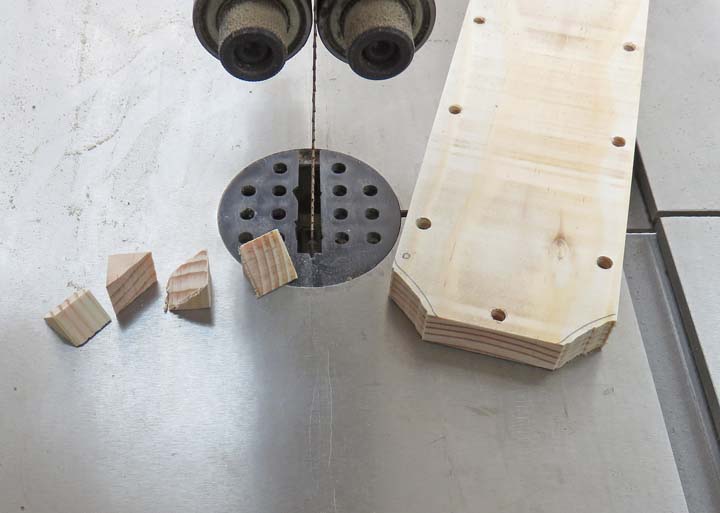
Next I used a pencil and traced around my metal piece giving me some
layout lines to work with. Then I used my bandsaw to cut near the line.
|
|
 |
|
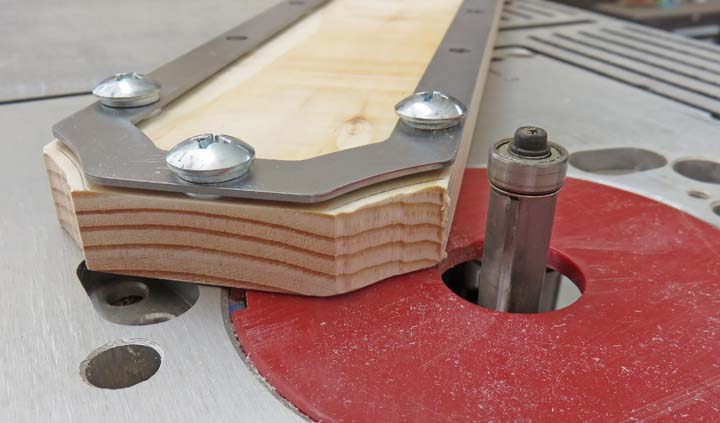
Next I fastened the metal to my wood base and used a flush-trim bit on my
router to finish the four corners. A keen eye will notice the metal is
above the wood surface. I used some washers between the metal and wood
to give me some separation for the bearing to ride on.
|
|
 |
This only took a few minutes and after a quick deburr with some
sandpaper, the wooden part is almost finished.
|
|
 |
|
1
2
3
4
5
6 |