|
Working With Wood Continued
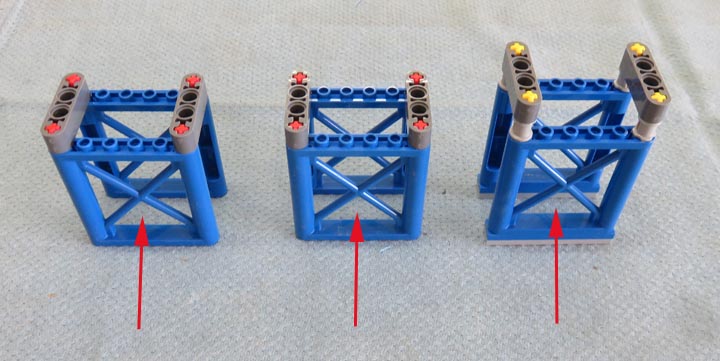
Here I've turned the stands 90 degrees so show you the
direction I'll be installing the clamps (arrows). I'll be making these
clamps out of wood and it will span across the bottom of each stand.
Also, the stand on the right will need a different size clamp because if
you look close,
that base has a different height. I'll use two screws on each clamp.
|
|
 |
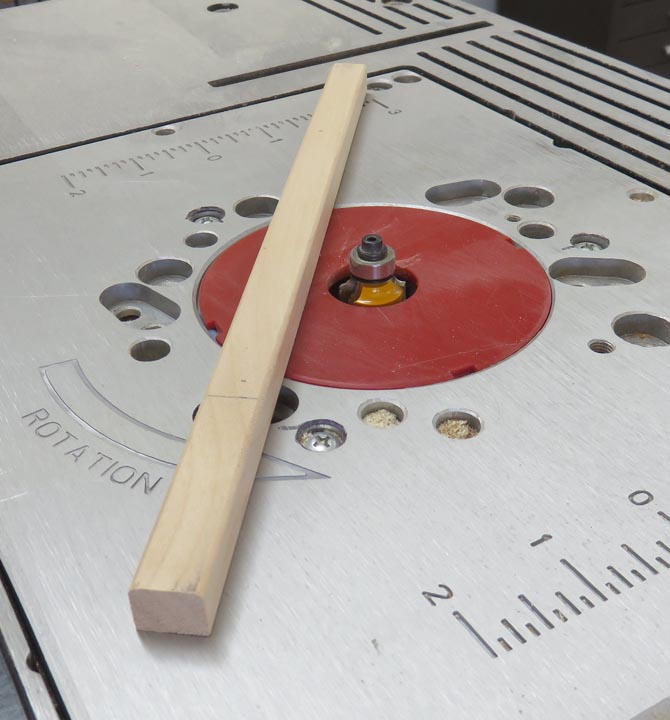
I'm using alder for the species of wood
and it's 3/8" tall X 1/2" wide. Here I'm putting 1/8" corner-round on
the top surface. Then I'll cut this piece into three pieces that will
be 3"
long.
|
|
 |
|
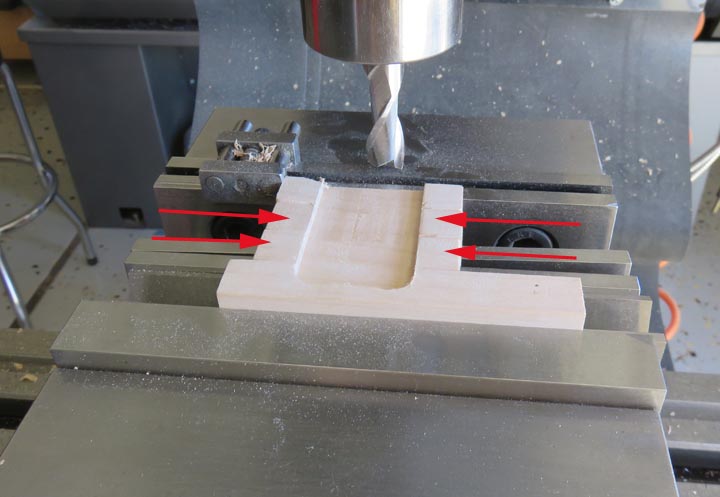
If you look close, you can see there are two of my clamps in
the center (arrows) with some scrap wood on either end of them. These
scrap pieces are sacrificial so I don't get tear-out on the ones in the
middle.
|
|
 |
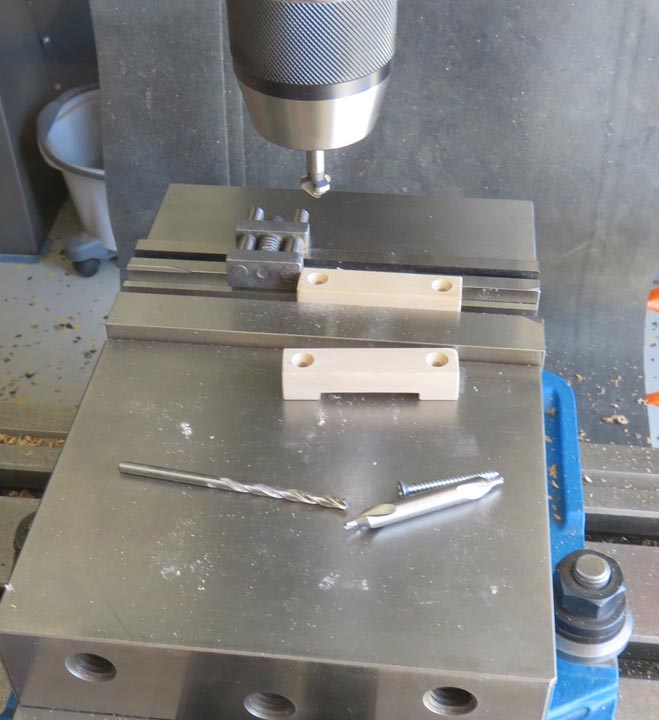
Next I drilled and chamfered some holes for some # 6 flathead screws.
|
|
 |
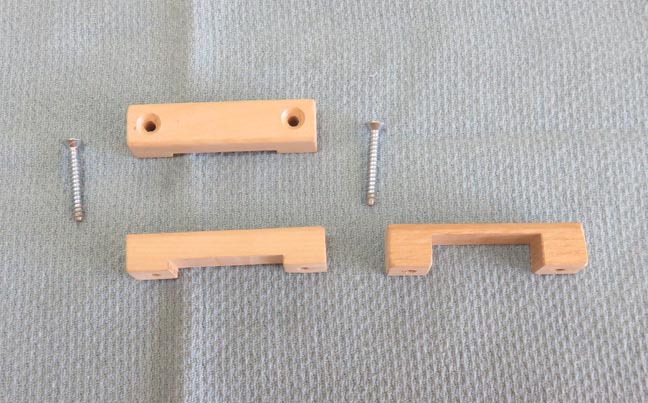
The clamp on the right has a deeper slot to accommodate the different
size base.
|
|
 |
|
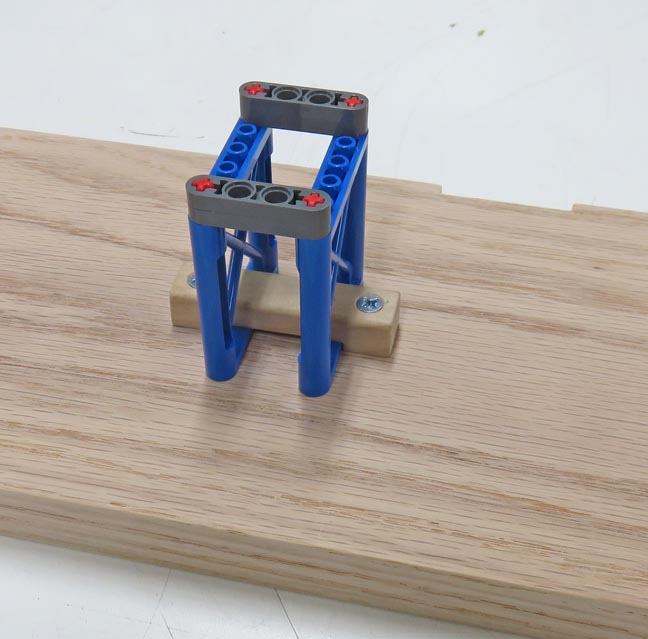
Here is what the clamp looks like installed. I made the
slot depth so that it puts a small amount of pressure on the stand when
it's fastened down. Now it's time to put a clear finish on the shelf and
clamps.
|
|
 |
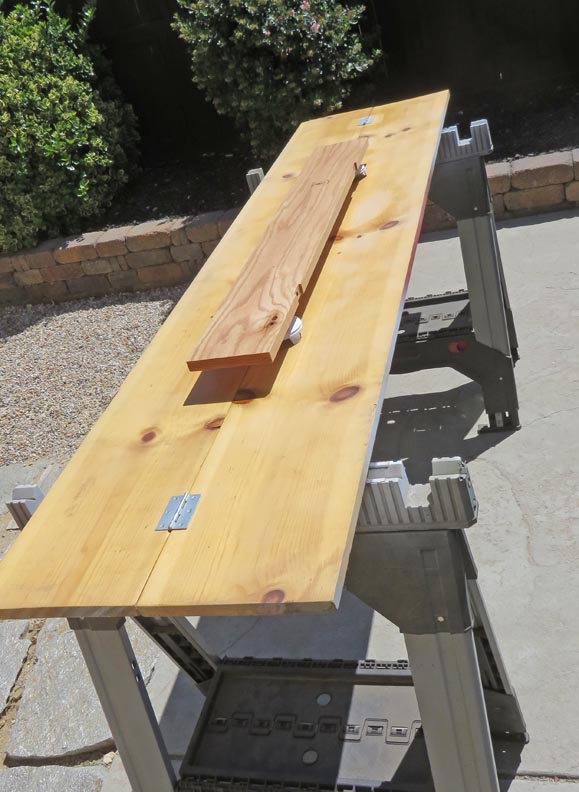
I'm using this satin clear for this project and I'll put three coats on
everything.
|
|
 |
Like always, I used my side-yard as my paint booth.
|
|
 |
|
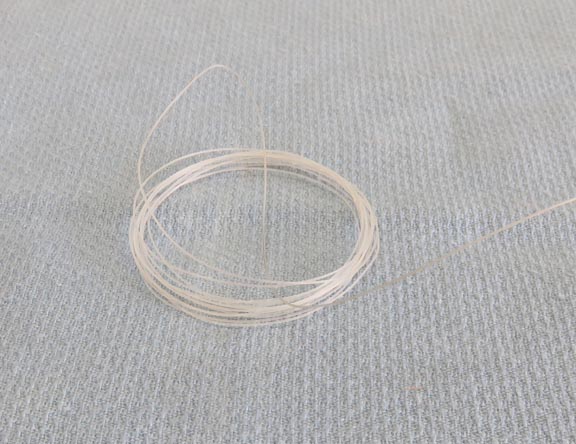
As good as the Lego stands are, I still don't trust the
rocket staying there during an earthquake. So I'm going to use some
fishing line to secure it in three places. This should work great and it
won't be easy to detect either. And I'll put the knot on the backside so
it doesn't show.
|
|
 |
|
1
2
3
4 |

