|
Working With Wood Continued
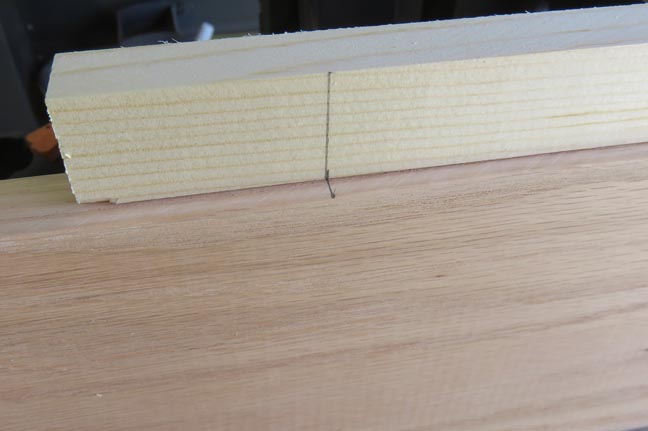
Here you can my see my story stick on top and the line I transferred onto my
shelf. I did this at the other end of the shelf as well. Then I marked
center lines for thickness of the board, giving me my center points.
|
|
 |
|
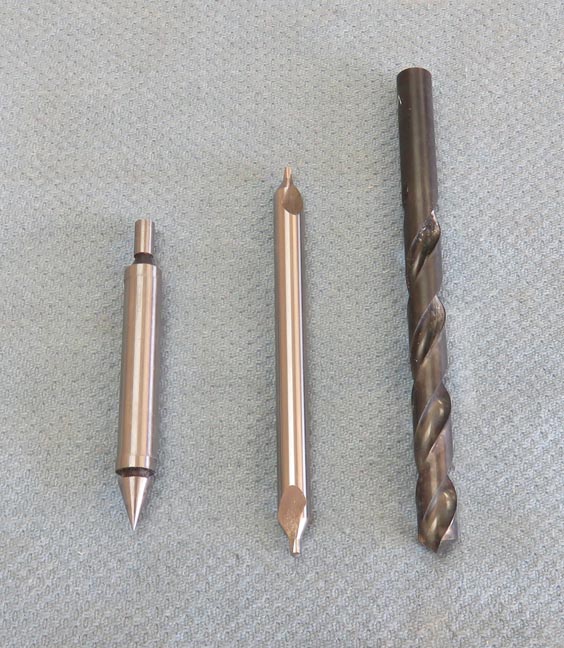
Here is what I plan on using to produce the holes so
they are in the
correct location. The tool on the left is a combination edge
finder/center finder. The middle tool is a center drill and last is my
3/8" diameter drill.
|
|
 |
|
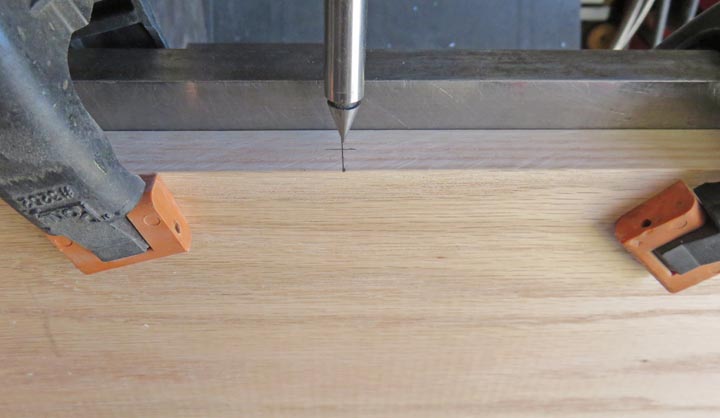
I placed the center finder in my drill chuck, turned on
the milling machine to about 800 rpm's and then use something like a
pencil held against the cone-shaped area near the point. As your pencil
rubs against the cone area, the center finder ends up running true. Then
you turn off the spindle and lower the center finder very close to your
work piece, but not touching it. Last you move your milling machine
table until the center finder point is right in the middle of the layout lines
of your work piece. This ensures that you're in the right location.
At this point you raise the spindle, remove the center
finder and replace it with a center drill. Then you start the milling
machine and drill into your work piece about 1/8" of an inch deep.
|
|
 |
|
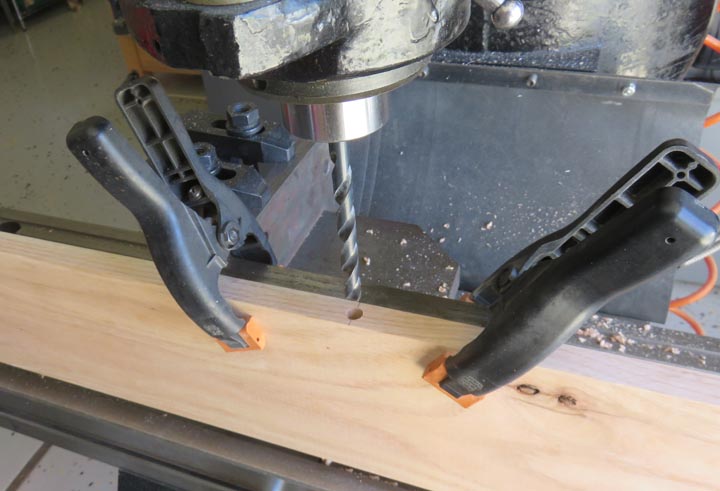
Then you remove your center drill and replace it with
the 3/8" drill. Next you start the machine again and drill down to the
depth that you need. In my case that would be slightly deeper than 4
1/2" because my support rods are 4 1/2" long.
Once this hole is to the desired depth, you remove the
drill and replace it with your center finder again and repeat the whole
process once more at the other end of your work piece. This may sound
like a bunch of steps but it really doesn't take that long. However,
it's necessary to make sure that your holes are in the exact location
that you want them to be.
|
|
 |
|
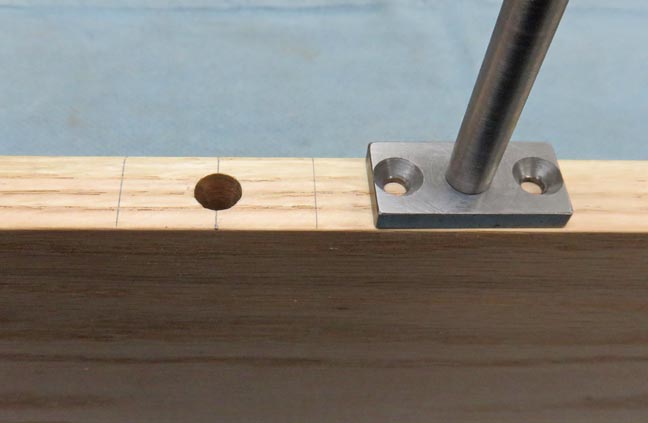
I took the shelf into the house to do a test fit and
everything looked great. Now it's time to put a slot in the back of the
shelf for the bracket to fit into. The pencil lines represent the area I
need to cut away.
|
|
 |
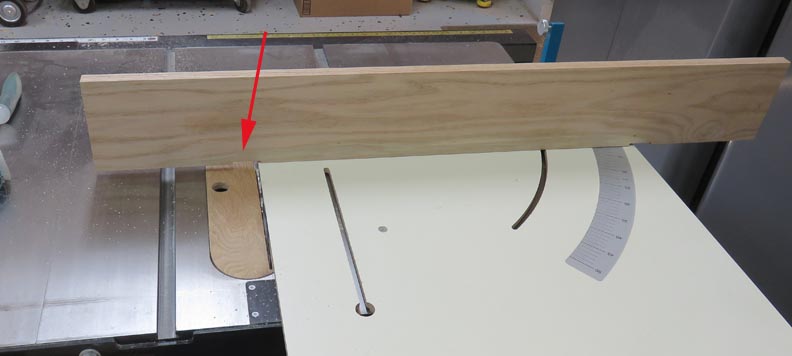
I used my table saw and my cross-cut sled to cut the slot (arrow). I
believe the correct term here is dado in place of the word slot, but
that's the machinist in me calling it that.
|
|
 |
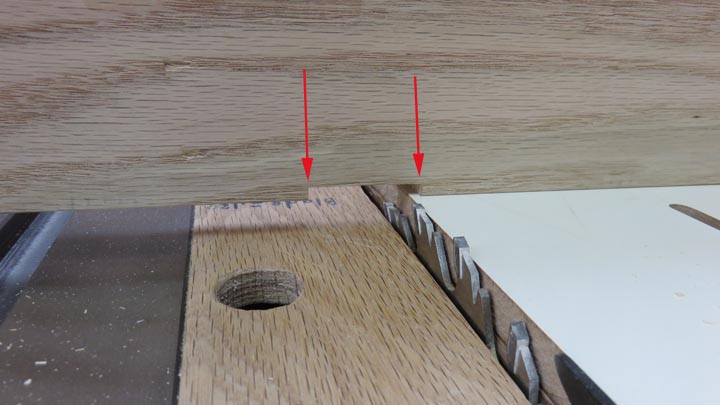
A close-up of the area that I'm cutting away. The depth of the dado is
3/16".
|
|
 |
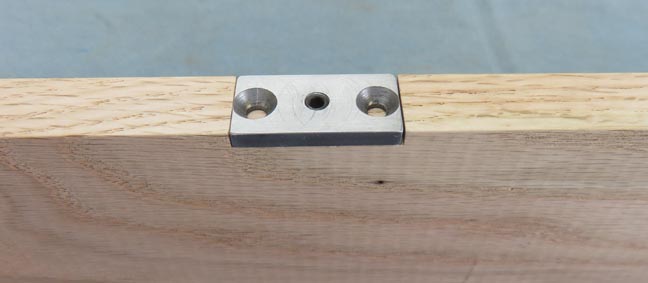
A few minutes later my slots are finished.
|
|
 |
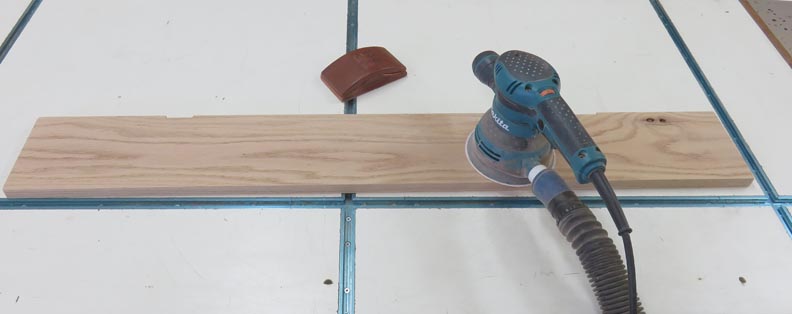
Next I sanded all six sides of my work piece. Now it's time to make some
small clamps.
|
|
 |
|
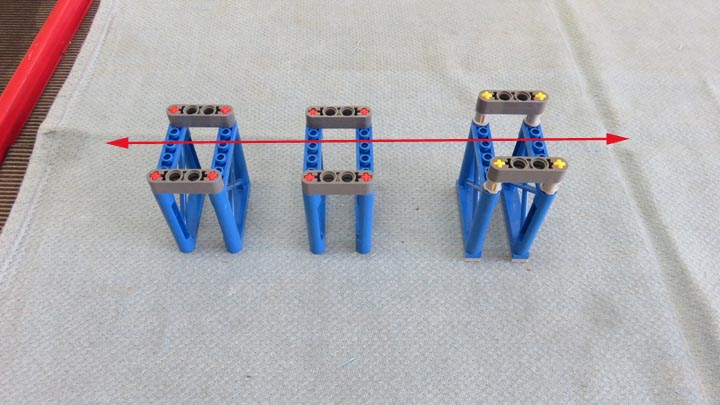
Lego supplied these three stands to help display the
rocket. The arrow shows the orientation of how the rocket would sit on
them. Now you can choose to use these or not depending on how you want
the rocket to be seen. For instance, if you want the rocket to stand
upright, then you wouldn't need them. For me, I'll be using them with
the rocket laying on it's side.
But with the narrow shelf and living in California,
earthquakes are a thing out here so I'm going to plan ahead just in case
the ground starts shaking because it the rocket were to hit the floor,
well, that would be bad. My plan is to make one clamp for each stand
to help keep it from moving. And these clamps will be fastened to the
shelf.
|
|
 |
|
1
2
3
4 |

